
Narrow Gauge Diesel Engine no. 2 - The Green Engine. Built to the scale of 1:27.7 (or 11mm = 1 foot) and running on 16.5mm Peco 'crazy track' which represents an 18 inch gauge industrial narrow gauge railway.
Image Two - The model is based on this industrial diesel 'critter' which I found on Pinterest. I know very little about the engine, but more images can be found on the Industrial Narrow Gauge Railway site here.

Image Three - I sketched up some working plans from the image on the INGR site using the 1:27.7 scale driver as reference.

Image Four - More detailed plans were drawn up on squared paper.


Image Six - A lot of the detailing was guessed at, as I had very little facts about this little engine.
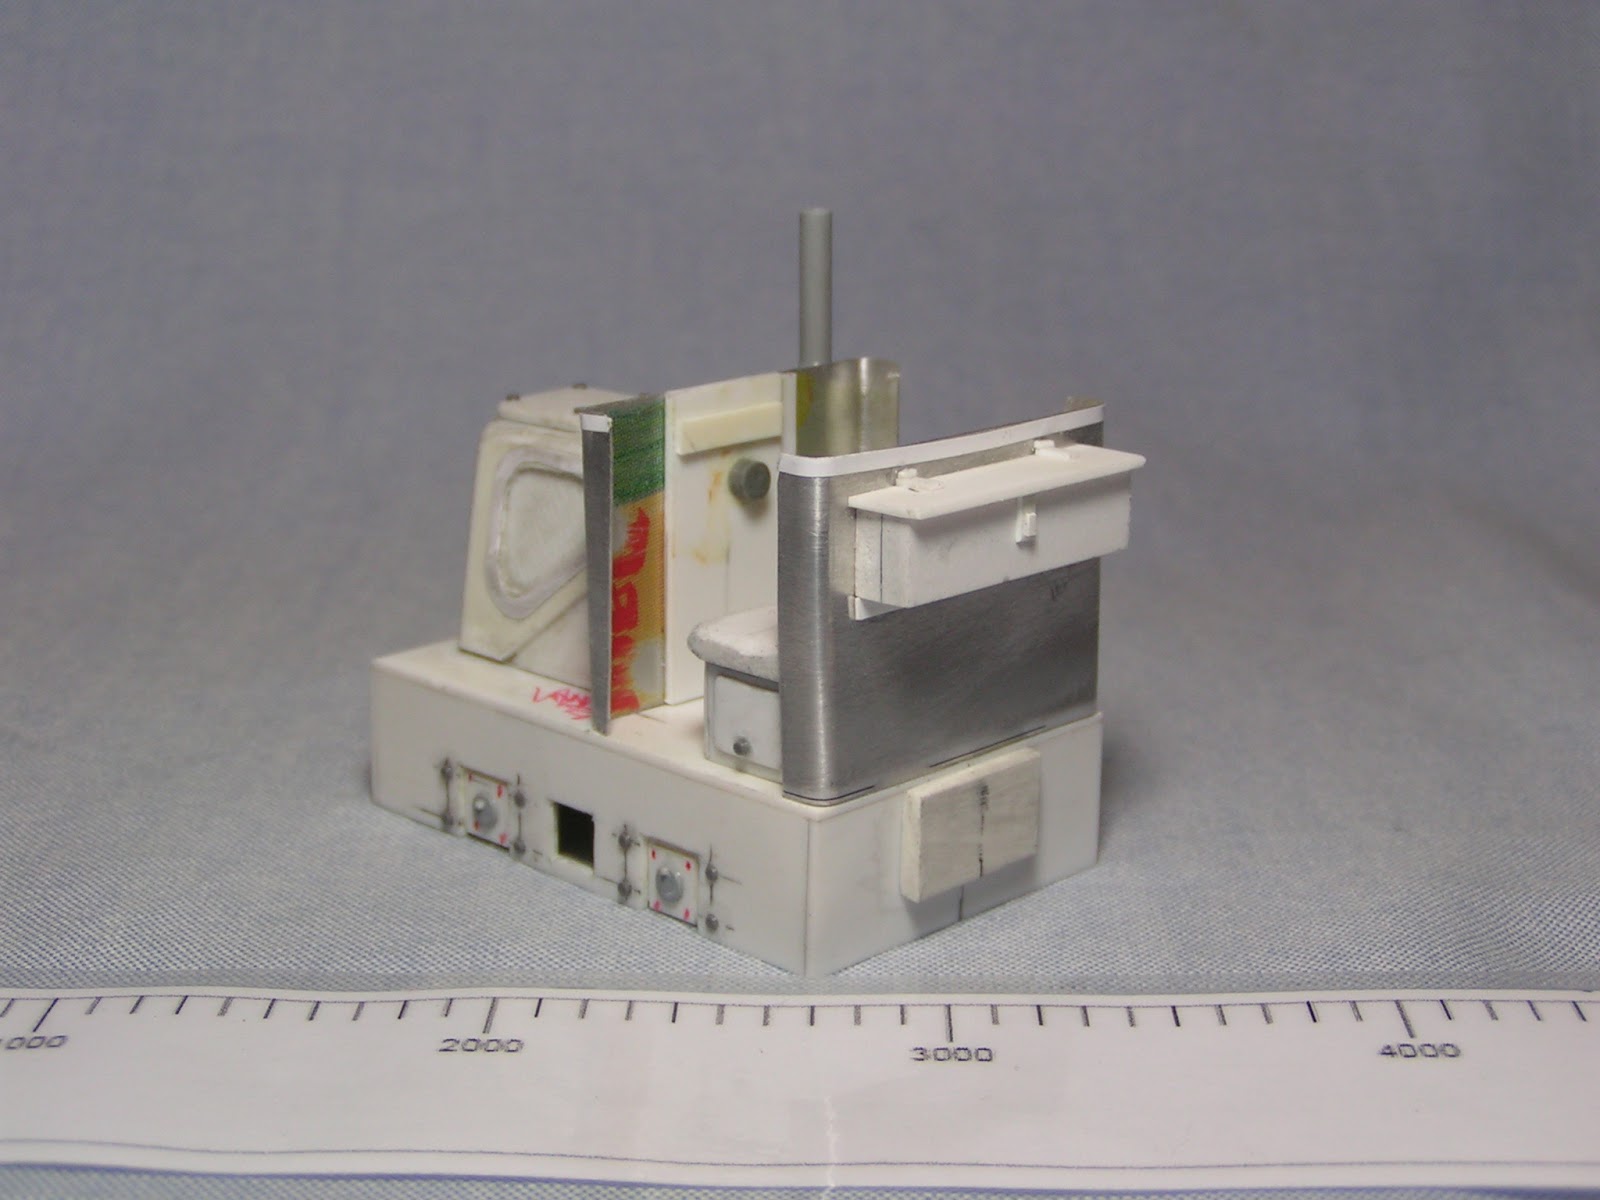
Image Seven - The aluminium sheet was cut with a pair of scissors and bent around a couple of knitting needles.

Image Eight - The exhaust pipe was cobbled together by using a metal spear (a wargame figure spear) as the part that comes out of the bonnet, a section of knitting needle (which has been wrapped in sticky-back plastic to 'beef it up a little) and a section of sprue.

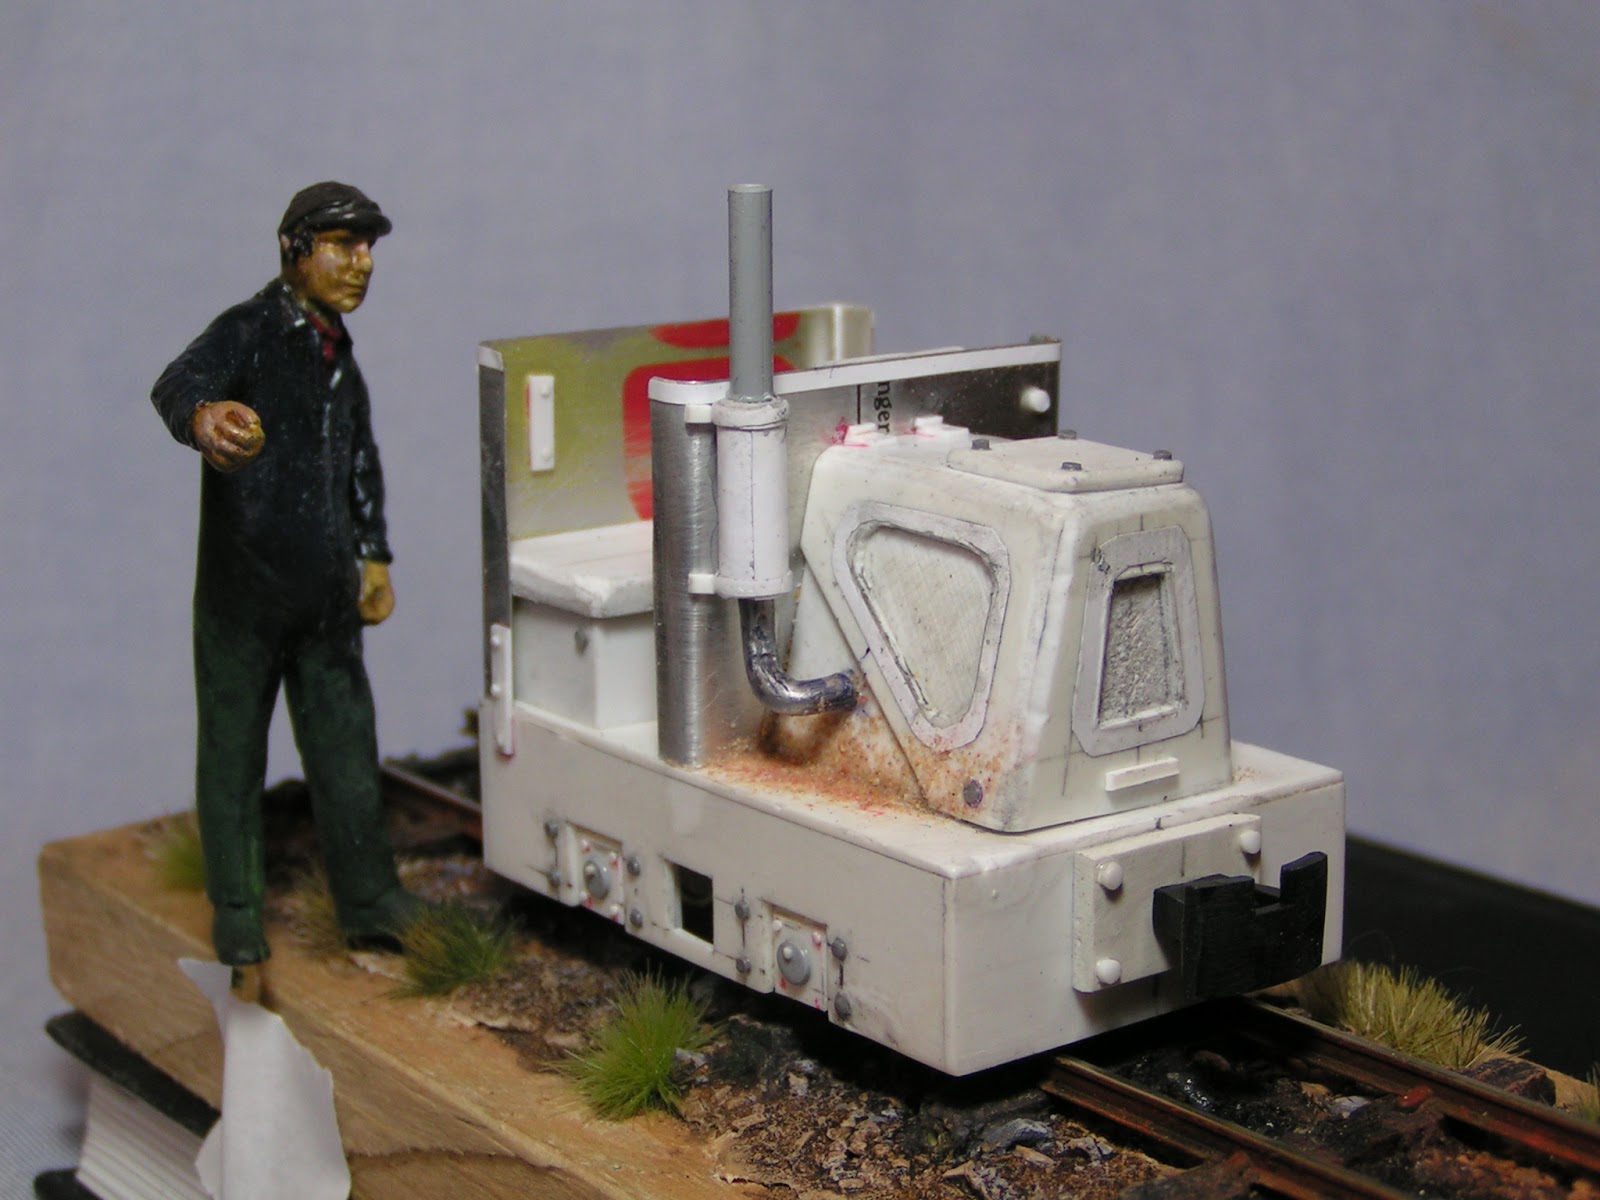
Image Nine - The engine driver alongside the model showing just how small this engine is.

Image Ten - The model show on the section of narrow gauge track. The black buffers were cut from a Gnomy toy and glued in place with superglue, a section of paperclip was used as reinforcement.

Image Eleven - I added fine sand over superglue to the chassis top and the side of the bonnet - as the initial INGR image shows a dark and grainy finish on these areas.

Image Twelve - as above.

Image Thirteen - The model runs on a Tenshodo 'Spud'. This particular spud had been stuffed into a 'spares' drawer for over ten years (maybe even 15 years) as it had a broken top and was not a very good runner. I cleaned up the wheels and the pick-ups and after some delicate repairs, I got it running again. The spud is NOT glued in place, I used plastic card to 'wedge' the spud front and back which seems to work fine.
Spud's need a lot of weight for them to work properly. I filled the bonnet with small scraps of cut up lead soldiers and fixed these in place with superglue. The chassis was further weighted with pieces of lead as can be seen in the image below.
I can report that The Green Engine runs perfectly.

Image Fourteen - The model displayed on the section of narrow gauge track and alongside the first engine driver, shown for scale.
The Green Engine is 60mm long (82mm over buffers), 38mm wide and 60mm tall (to top of the exhaust).
In part two I will give details of how the model was painted and weathered.
Tony


5 comments:
Excellent build mate...and what a bizarre looking vehicle.
Bugger the painting post - can we have a video of it running?? :o))
"Bugger the painting post - can we have a video of it running?"
I'll try to get one once the seated driver is ready.
Tony
Thanks.. I'm amazed at the detail so would love to see the item in action.. :o)
I'm currently working on a 3d printed kit if this loco.
www.3dwayne.co.uk
Post a Comment