Showing posts with label Typhon. Show all posts

Friday, 9 June 2023

Minotaur Shrine for Typhon


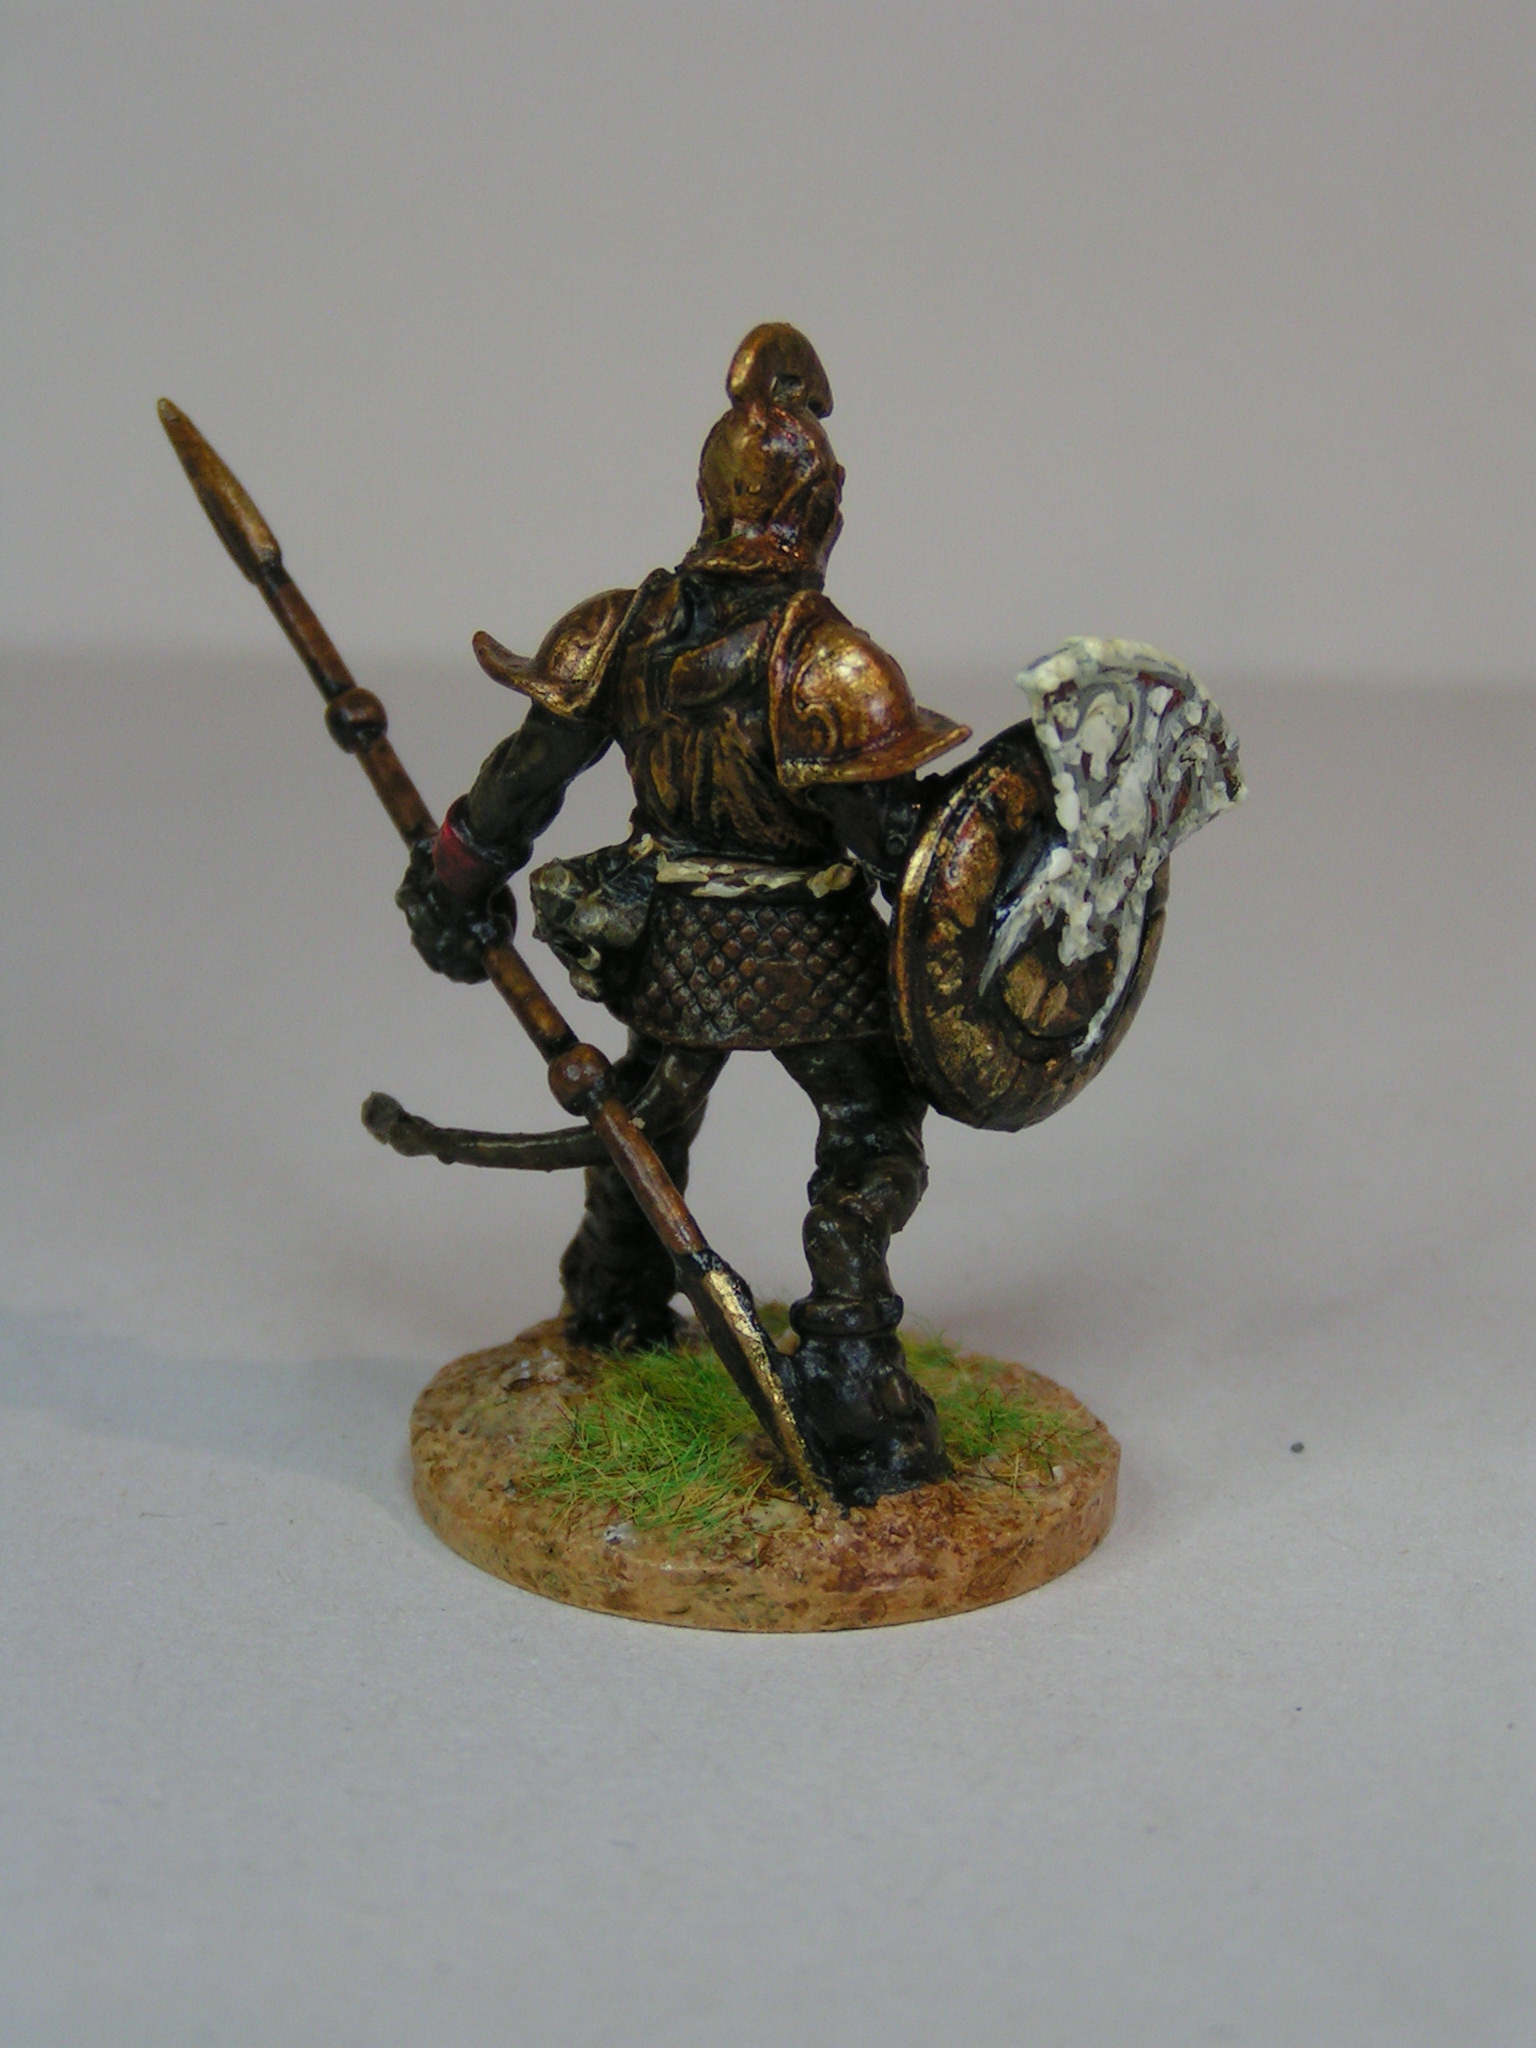
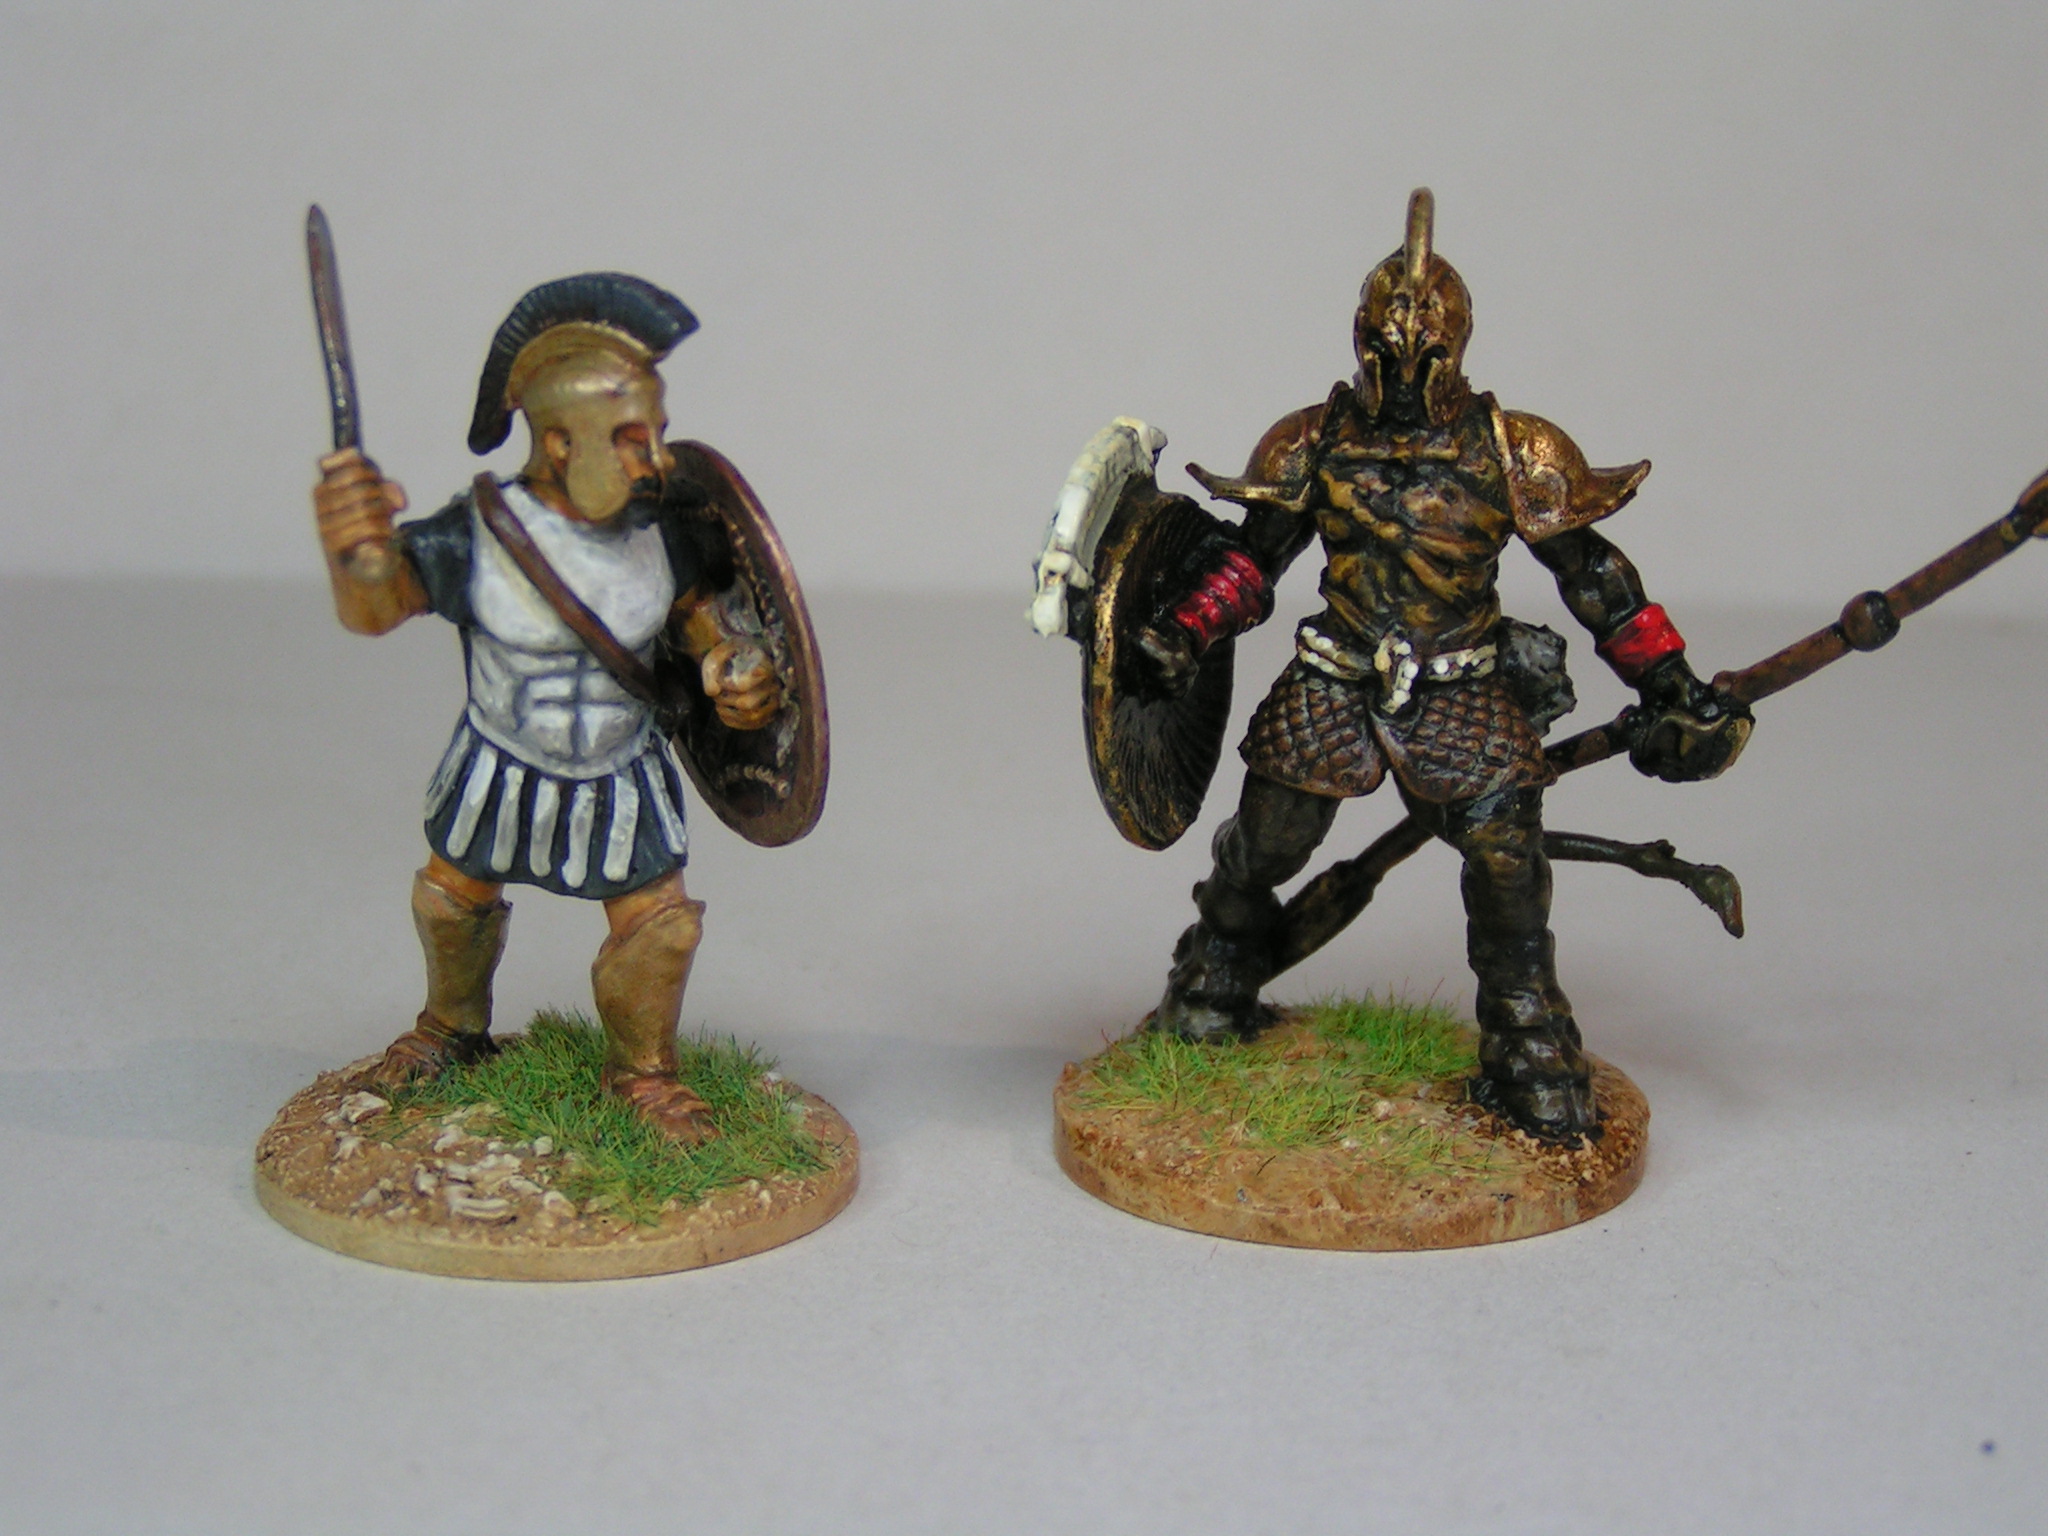
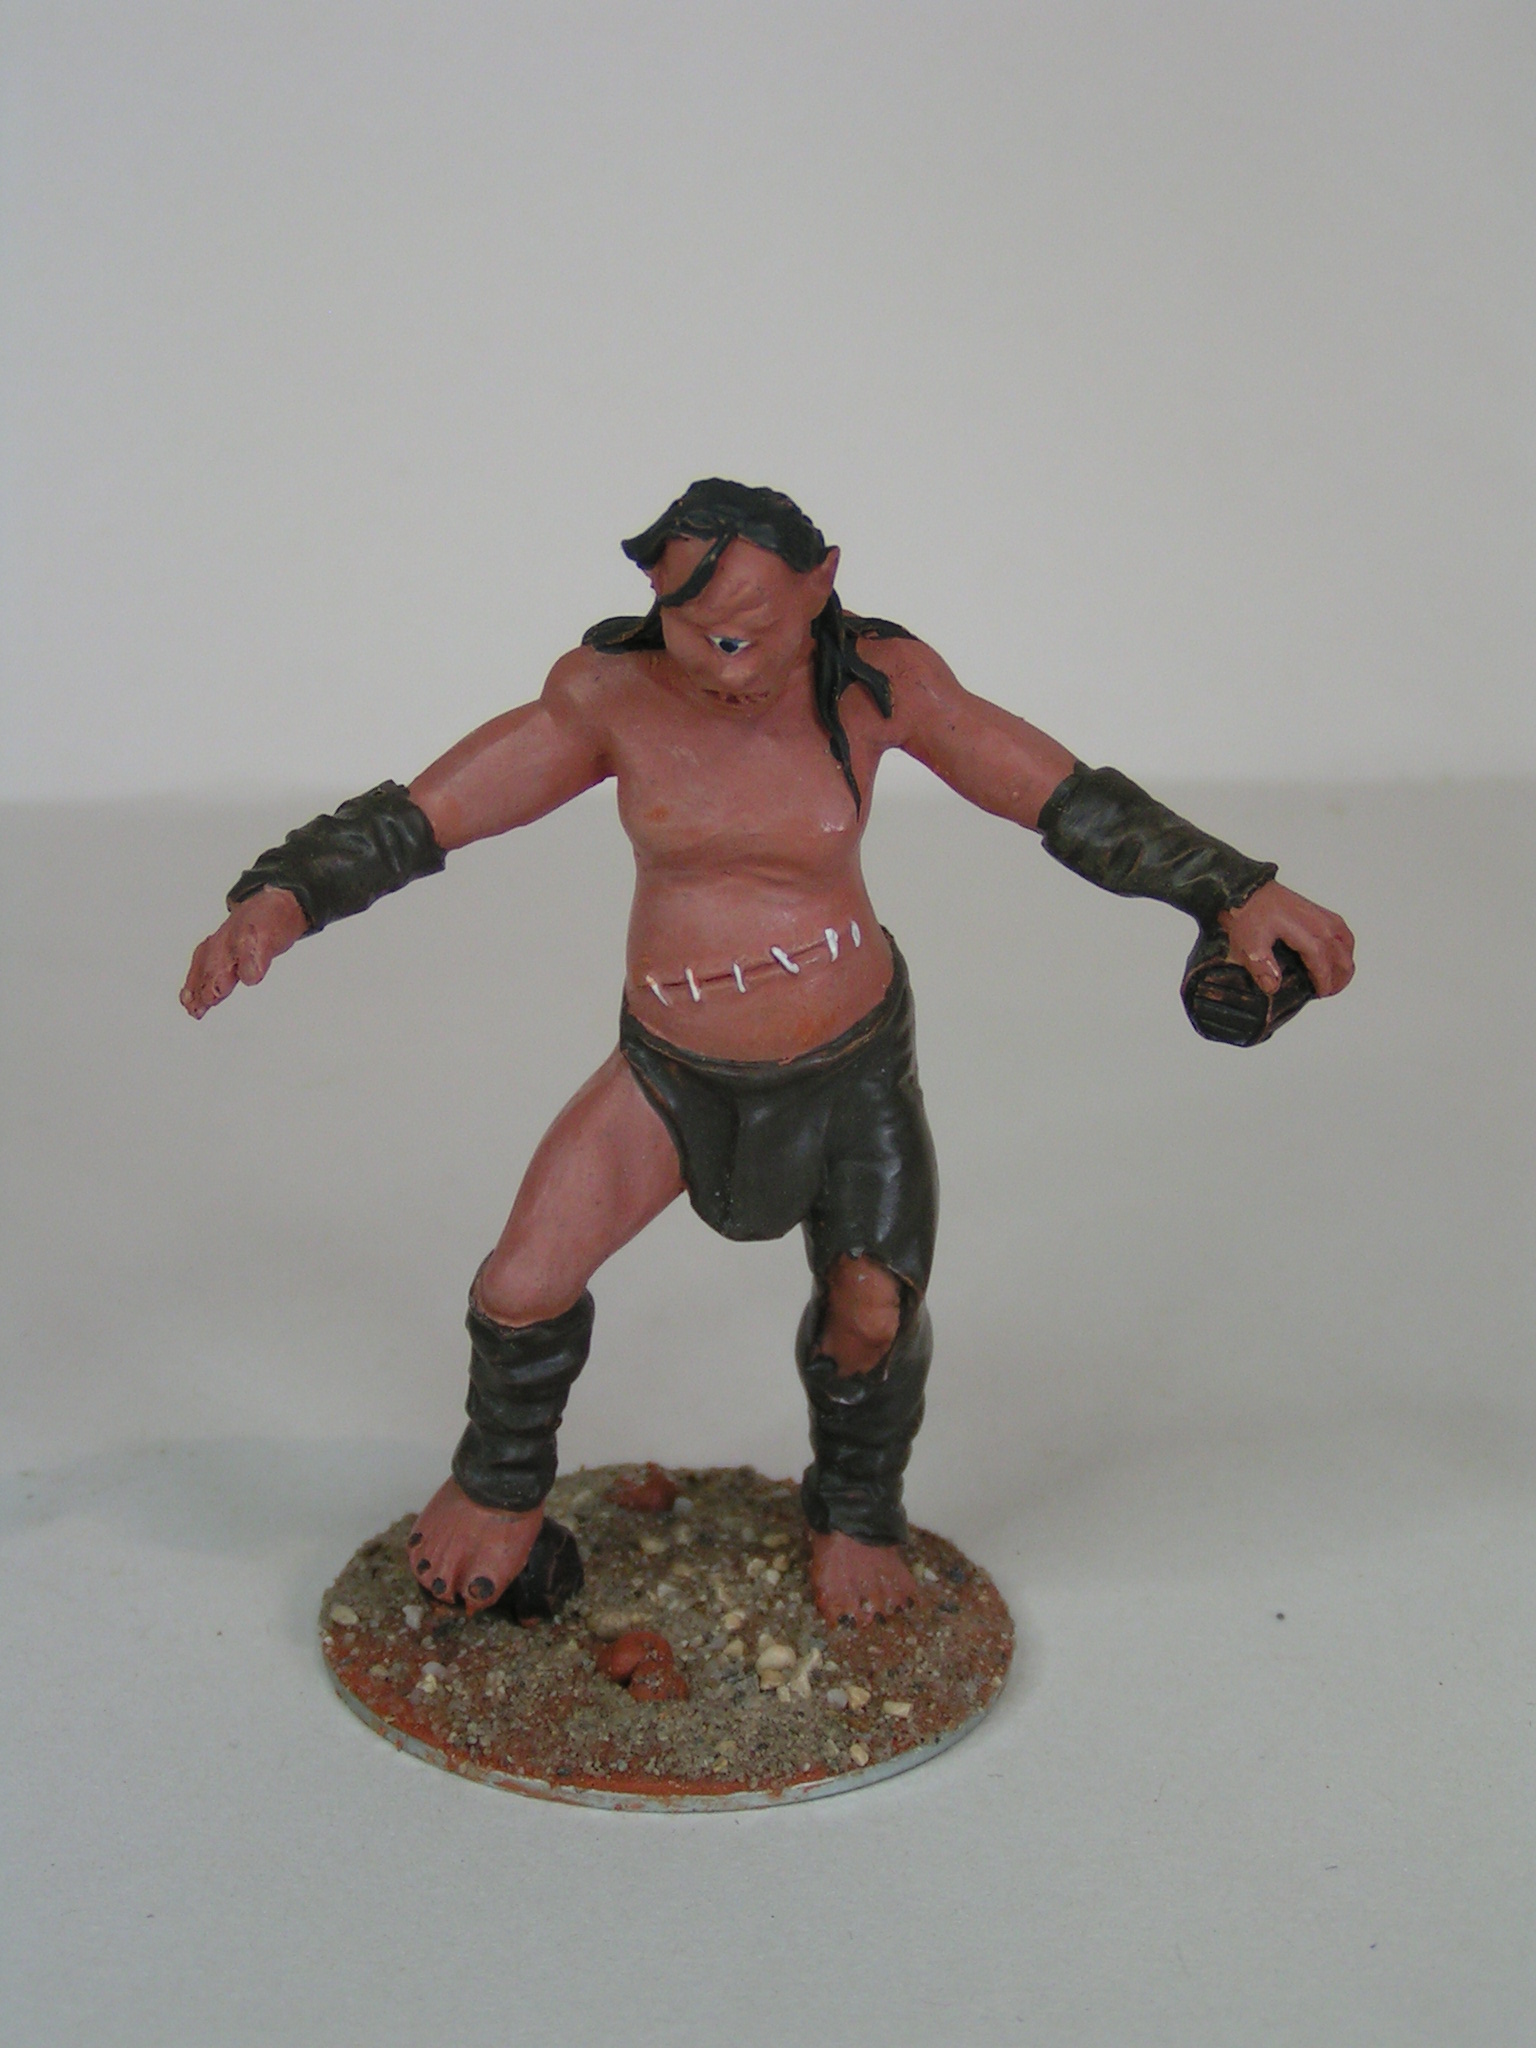
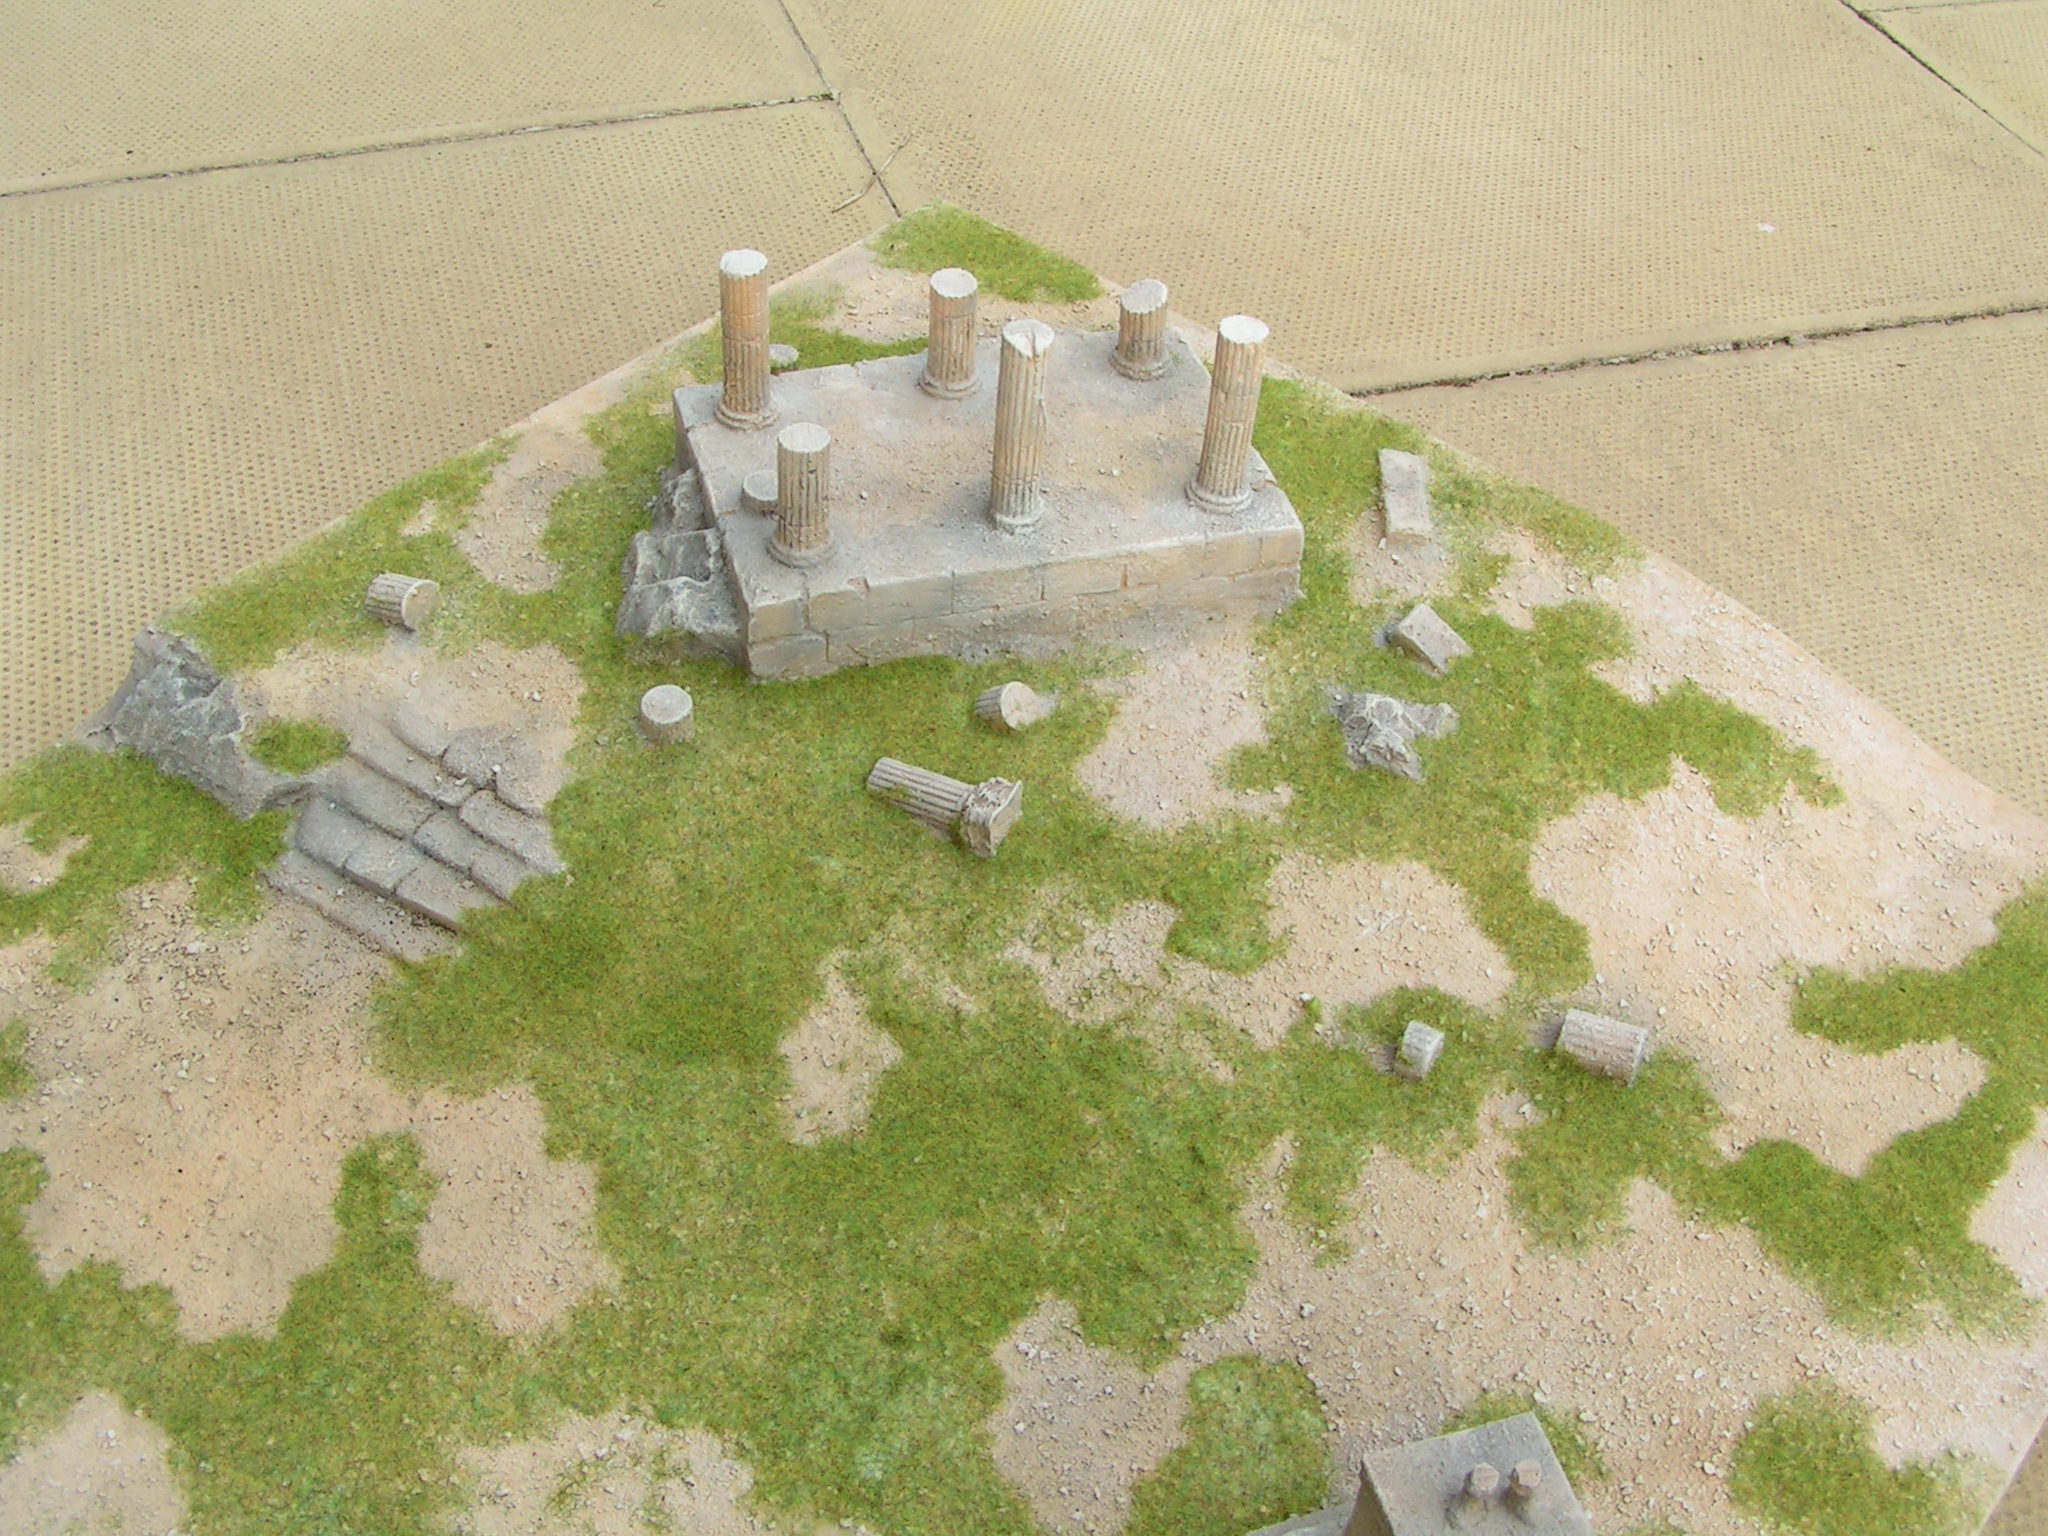
The latest issue of Miniature Wargames - issue 483 from July 2023 features another tutorial written by me and showing how I built this Greek Mythology inspired piece of scatter terrain - a Minotaur Shrine. The main stone was built out of a piece of scrap blue foam with more foam used for the stones and decoration on the base. The Minotaur head was cut from a child's toy with clutter selected from my 'Bits Box'.

Painting was done with acrylics using simple grey paints, drybrushing and washes. The base was decorated with static grass and tufts after being varnished with matt varnish.

For more information, pick up the latest issue from W H Smiths.


Tony

Thursday, 4 May 2023

Armoured Satyr for Typhon

After finishing the large Cyclops I searched through my collection of miniatures for another Typhon or Greek Mythology figure and came across this Satyr. The figure has been sat on my to-do shelf for some time and I no longer remember where I bought it from or any details as to who made the mini.

I do know that I have heavily modified the sculpt as the original stood much taller on longer legs which I both shortened and re-sculpted. Apart from that the figure is pretty much stock.


The paint scheme is very rough and ready, but I feel it is in keeping with the Greek Satyr backstory. I have used lots of washes and very little colour which is different from most of my Greek or Typhon collection.

The figure is cast in tough resin and is mounted on a pre-decimalisation penny with the groundwork built up from Milliput. The final image shows the Satyr alongside one of the Spartan Games Hoplites - the Satyr is just over 42mm tall (head to toe).


Tony

Sunday, 30 April 2023

Cyclops update - finished

The Del Prado Cyclops all varnished, based and finished. The model was bought in Italy, when on a short city break to Lucca and cost just 5 Euros. I've re-based and re-painted the miniature as well as doing some remedial sculpting, adding skulls and general tidying up. the Cyclops is just over 80mm tall and will be a great addition to my Typhon or Greek mythology collection of 40mm Hoplites that I have been collecting for some years. For more information, see the Typhon label.

The final image shows the painted Cyclops alongside one of the 40mm Miniatures from the out of production range once sold by Spartan Games. I am very pleased with the 'sickly' purple and blotchy skin tones, something that sets this model apart from my otherwise 'clean' Typhon figures.


I am now looking through my 'lead mountain' for suitable minis I can add to this project and will keep the Blog updated with any developments.

Tony

Friday, 28 April 2023

Cyclops update - part five


The leather areas were painted in a rich red leather colour with pale or even white fur trim and the skulls were painted in a pale skeleton colour. the hair was picked out in a very dark brown, almost black colour.

The groundwork has been painted in my usual Typhon base colour - a very pale cream highlighted with white with odd stones picked out in grey highlighted white and then given a light wash.

I have used a number of light washes to add depth to the skin and leather areas before varnishing with Galleria mat varnish and gloss varnish for the eye.

I just need to add decoration to the base and this Cyclops is finished.

Tony

Wednesday, 26 April 2023

Cyclops update - part four

The latest update shows the painted skin colour - I was looking for an insipid, unhealthy skin colour and went for this pale purple colouring. The inspiration came from an image I found on the internet - see below and was built up in layers and using thin washes.

The last image shows the rear of the partially painted Cyclops. I used a stippling technique to show skin mottling. 


Hopefully, I can get some more painting done today.

Tony

Monday, 24 April 2023

Cyclops update - part three


I have basecoated the whole model with a dark brown/black mix and added some zenithal highlighting by using a lighter brown across the upper surfaces before 'washing' the miniature with a dark brown wash. In the past I would have used a black basecoat, but recently I have found that I prefer a dark brown base to build up my painting.

The next step will be the flesh areas and I have been searching the internet for inspiration.

Tony

Friday, 21 April 2023

Cyclops update

The Cyclops was mounted on to a 50mm metal washer (may last one - I will have to pick some up the next time I'm shopping) and the groundwork was built up with terracotta Milliput. Sieved stones and sand was then added over PVA glue and sealed with a mix of diluted PVA to which I have added some washing up liquid.

I thought the toy sculpt was a little lacking in features so added a couple of plastic skulls and built up the fur with green stuff following an illustration I found on the internet.


My next step will be to undercoat the model and I'm also looking at more illustrations to help me decide on the flesh colour - the flesh on this simple paint scheme looks to artificial - I want a more putrid flesh colour.

Expect more updates soon.

Tony

Wednesday, 19 April 2023

Another Cyclops for my 40mm Typhon Project

On a recent City Break holiday to Lucca, Italy I picked up this toy Cyclops. The model is from the Del Prado range of Greek Mythology figures and to the best of my knowledge has never been released in the UK. The monster stands just over 80mm tall and as such will be perfect to fight against my 40mm Spartan or Hoplite figures which I use in my games of Typhon (from Alternative Armies). The Cyclops cost just 5 Euros which I thought was a real bargain.

The resin or strong plastic Cyclops was mounted on a metal oval base, but when I tried to saw the base off, it fell away (as can be seen in the above image). The paint scheme is pretty basic and my plan is to re-mount the monster on to a round washer base and paint the figure in a more realistic colour scheme.

The final image shows the Cyclops alongside on of my 40mm Hoplites and a bottle of Army Painter Quickshade shown for scale comparison.


I'll try to post regular updates showing both work-in-progress and my chosen colour scheme.

Tony

Wednesday, 18 August 2021

Jason's Argo - part two

Today's post shows how the model Argo was detailed. The 28mm scale model is available from Grand Manner - see this link.


Tony

Saturday, 7 August 2021

Jason's Argo - part one

This particular model was built over ten years ago as a commission for Grand Manner. The model was meant to represent a small sailing/rowing boat and based on a number of illustrations showing reproductions of early Greek ships or Jason's Argo. The model is scaled for 28mm/32mm miniatures

This image was taken from a children's story book and became the main inspiration when planning and starting construction. The finished resin model can still be bought from Grand Manner - for more information, see this link

The main hull was built up over a sandwich of plastic card with foam, wood and Milliput used to define the sleek shape.

Detailing was done with more foam, plastic card and Milliput epoxy putty.


I will add more work-in-progress shots over the next couple of days but for now, I hope that you like seeing how I work on these master models.

Tony

Friday, 16 October 2020

Typhon - painting one mini at a time the latest update

I've tried to copy the colour scheme from the 1963 film - Jason and the Argonauts on this miniature.


Once the figure of King Aeetes was painted, I varnished the figure with both gloss and matt varnish before decorating the base with static grass.

The final image, showing the Spartan Games Aeetes alongside one of the painted skeletons from my 40mm Typhon collection.


Tony

Wednesday, 14 October 2020

Typhon - painting one mini at a time another update

Another update. This time King Aeetes a character miniature from the Spartan Games range of 40mm metal figures.

The first image shows the slight modifications I did to the model which was then primed with Tamiya spray primer. As with the bulk of my 40mm Typhon figures, the model is mounted onto a pre-decimalisation penny with the groundwork built up with Milliput.  

The second image shows the figure painted in a dirty brown basecoat which was then washed with a dark tone wash from Army Painter.


I'll try to get some more painting done this week.

Tony

Monday, 12 October 2020

Typhon - painting one mini at a time update

Another single figure addition for my 40mm Typhon collection. The base figure is a 40mm Lord of the Rings mini - part of the Lord of the Rings Combat Hex range of plastic figures. I removed the soft plastic spear and replaced it with a new spear modelled from a length of cocktail stick with a new spear head. The shield was a metal shield that I found in my spares or bits box. The figure is mounted onto a pre-decimalisation penny with the base built up with Milliput epoxy putty.


The final painted mini alongside one of my Spartan Games 40mm Hoplites.

Tony

Wednesday, 30 September 2020

A weekend project - part seven

Another post showing the finished ruined shrine gaming board, but this time I have added some of my 40mm Typhon or Greek Myth figures to give an idea of scale. In addition, I think the lighting is better. As detailed in earlier posts, this board was built using scrap materials that I had stored in the workshop or garage. I did not need to buy anything for the model and although it took way longer than the planned weekend - I like it.


 Tony

Sunday, 27 September 2020

A weekend project - part six

The newest terrain board finished. I've glued on some ground foam greenery and static grass tufts while the olive trees which were built from some dried roots and more ground foam have been added to the side of the temple or shrine.

The sides of the board have been painted satin black and then varnished. The board is 560mm x 560mm.


I'll try to get some in-game images soon, but for now the board is finished.

Tony

Saturday, 26 September 2020

A weekend project - part five


I varnished the board with some dilute Galleria matt varnish, which I sprayed through my airbrush as I thought it would protect the surface and give it some strength and then flocked the board with static grass applied over PVA glue in a random pattern.


The weekend project has lasted much longer than I had expected, but I have managed to stick to my goal of using materials that I had to hand and NOT purchase anything specifically for use on the board. I'll try to add some more decoration to the surface later today.

Tony