Tuesday, 2 November 2021

Flintloque/Silver Bayonet cross over

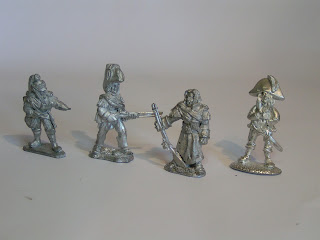
With the official launch of Osprey's new game The Silver Bayonet due later this month, I thought it was time I painted up a unit. I've chosen a unit of Ferach or French and will be working on them over the next couple of days. 

As you can see they are from a wide variety of different Flintoque miniature sets, some based, some not which I have picked from my huge collection of un-painted lead. My intention is to add some equipment to the minis then paint them as a rag-tag group of stragglers for use in my own Flintloque/Silver Bayonet games.
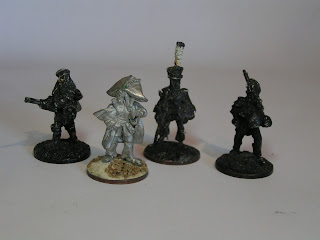

I tried to choose figures with some character as my intention is to build a group or unit of personalities.

Stay tuned for further updates.

Tony

Sunday, 31 October 2021

Happy Halloween


Foul Mouth Freddy and the Worm of Villa Rocca.....

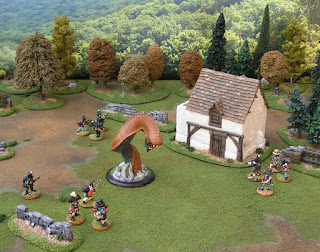
All Hallow's Eve just wouldn't be the same without a tall tale on Orcs in the Webbe and here in 2021 we have this fishy story for you to enjoy. For full details see this link.

Earlier All Hallow's Eve Tales can be found here.

Tony

Saturday, 30 October 2021

More Trees - part thirteen

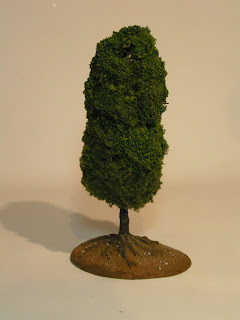
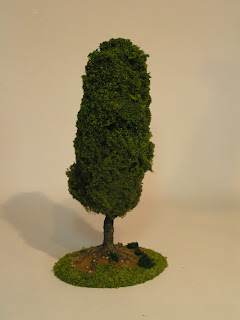
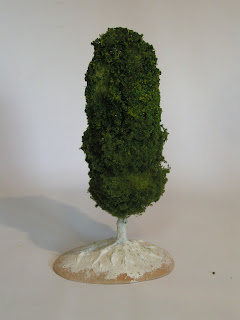
The base or groundwork has been painted in my usual home-made Snakebite Leather, drybrushed and washed with odd stones picked out in grey. The trunk has been painted in a dark brown/grey with hints of green.

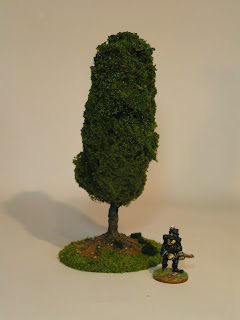
The base was further decorated with scatter and flocking before I added clumps of ground foam. This home-made tree is 190mm tall and mounted on a MDF base that is 95mm x 70mm.

The final image shows a Flintloque RifleOrc alongside to give an idea of scale.


I'm very pleased with how the tree looks, but disappointing as it is a little fragile. The poly-fibre core isn't that firm and I would only recommend this technique for trees that are not going to be handled too much.

Tony

Friday, 29 October 2021

More Trees - part twelve

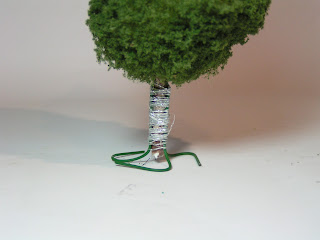
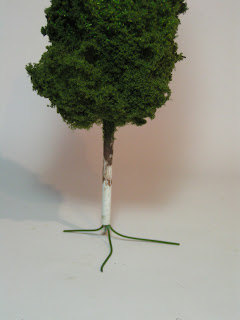
The long plastic tube trunk was cut down and a new shorter trunk made from florist's wire wrapped with thread was added. The exposed edges were sealed with superglue prior to gluing the tree to the MDF base.

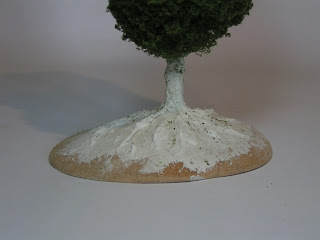
The base and roots were built-up and sculpted from DAS modelling clay. I enjoy sculpting the roots, adding small sausages of DAS and sculpting the surface with a plastic sculpting tool as well as scoring the trunk with the blunt edge of a scalpel.


I just have to add some additional ground cover/texture before painting the base and trunk.

Tony

Wednesday, 27 October 2021

More Trees - part eleven

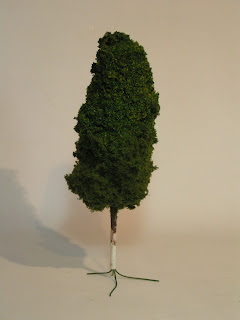
The tree was flocked with a variety of different flocks, darker flocking for the main areas and a lighter flocking for the upper edge.

I used matt spray varnish as the glue and gave the tree armature a good soaking before applying the flock.

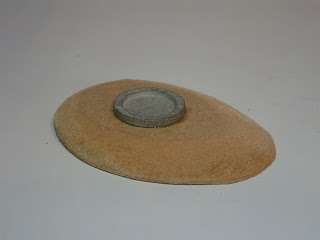
The base was cut from an off cut of MDF and trimmed to shape with a large snap-off bladed knife before being sanded smooth. I superglued a metal base to the MDF which will help to stabilise the tree when it is glued in place.


With the flocking in place the home-made tree is beginning to look like a model tree and I'll be modelling the base once the matt varnish has fully dried.

Tony

Tuesday, 26 October 2021

More Trees - part ten


The wire and bristle tree armature was wrapped with poly-fibre. The fibres were pulled apart and just placed on the bristles. I continued until I had a 'full' tree.

In my next post, I will show how I flocked the tree.

Tony

Monday, 25 October 2021

More Trees - part nine

My earlier posts have shown how I have modified shop bought trees, trimming branches and re-flocking as well as re-basing the models to produce more realistic models. In these posts I will show how I built a model tree from scratch.

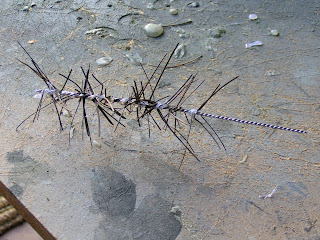
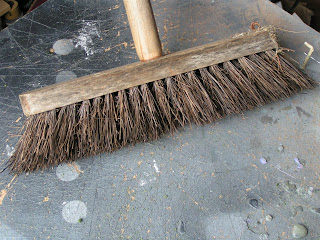
I used some bristles from a garden broom and wire to make this armature which was twisted with the aid of an electric drill and the cup hook (shown next to the broom on the right). I found it best to add some hot glue to the bristles prior to twisting as they had a nasty habit of just falling off the wire when I tried to twist them.

The rather scrawny tree frame had a trunk added from some plastic tubing (a piece of plastic balloon handle) which was also glued in place with my hot glue gun. The tree was then painted with some grey/brown acrylic paint to which I had added standard ready-mixed filler (to bulk out the trunk).


The root structure was modelled from some florist's wire glued in place with superglue. The tree frame didn't take that long to make, but was fiddly and I'm not sure it was worth it. I will post further images once I have some 'body' or foliage added.

Tony