As promised, today I will show how I paint rust effects on plastic.
I chose a couple of plain plastic pieces. The white plastic bracket is from a small paint pot tester rack that I picked up from a scrap resources centre in Worceter for free. While the yellow/grey roller is a spare part from a label printer that had just been replaced and was going to be thrown away.

Step Two
Both pieces have been cleaned up and in the case of the white moulding, I have added a couple of plastic tube brackets or hole extensions which were glued in place with superglue.
I have roughed up the plastic with some sanding sticks prior to applying paint.

Step Three
I produced this colour chart to show the main colours used. They are;
1 - Charred Brown 72.045 Vallejo Game Color
2 - 50/50 mix Charred Brown/ Orange Fire
3 - Orange Fire 72.008 (Note - I usually use Hot Orange 72.009 but on this occasion I had run out)
4 - Rusty Patina a textured craft paint that I have been experimenting with. I find that the texturing is a little to much for smaller models, but can be used on my 1:27.7 scale structures.
5 - Rusty Patina mixed with Charred Brown
6 - Rusty Patina mixed with Orange Fire

Rusty Patina bought from a craft store in Evesham for £7.00

Step Four
I have basecoated the pieces with a Charred Brown to which I have added a tiny drop of black. The black was used around the banding and to add some shadows.
The paint was applied in two thin coats to which I have added some very fine powder which will act as texturing for the rust surface.

Step Five
The first highlight. I have mixed some Orange Fire to the Charred Brown and started to stipple on the rust colour. I use a really old and very damaged brush for this, think dead spider and you are getting close to what the bristles look like!

Step Six
A second highlight using more Orange Fire and the same damaged brush to add more rust effect.

Step Seven
The test pieces have been varnished with Galleria water based, Matt Varnish to which I have added some black (Nuhl) wash, notice how the pieces are now looking matt, but also how the rust texturing has been highlighted with the wash.

Step Eight
I then used an oil based Light Rust Wash, a rust wash from Soilworks to further highlight the shadows around the banding and accentuate surface detail and texturing.

Step Nine
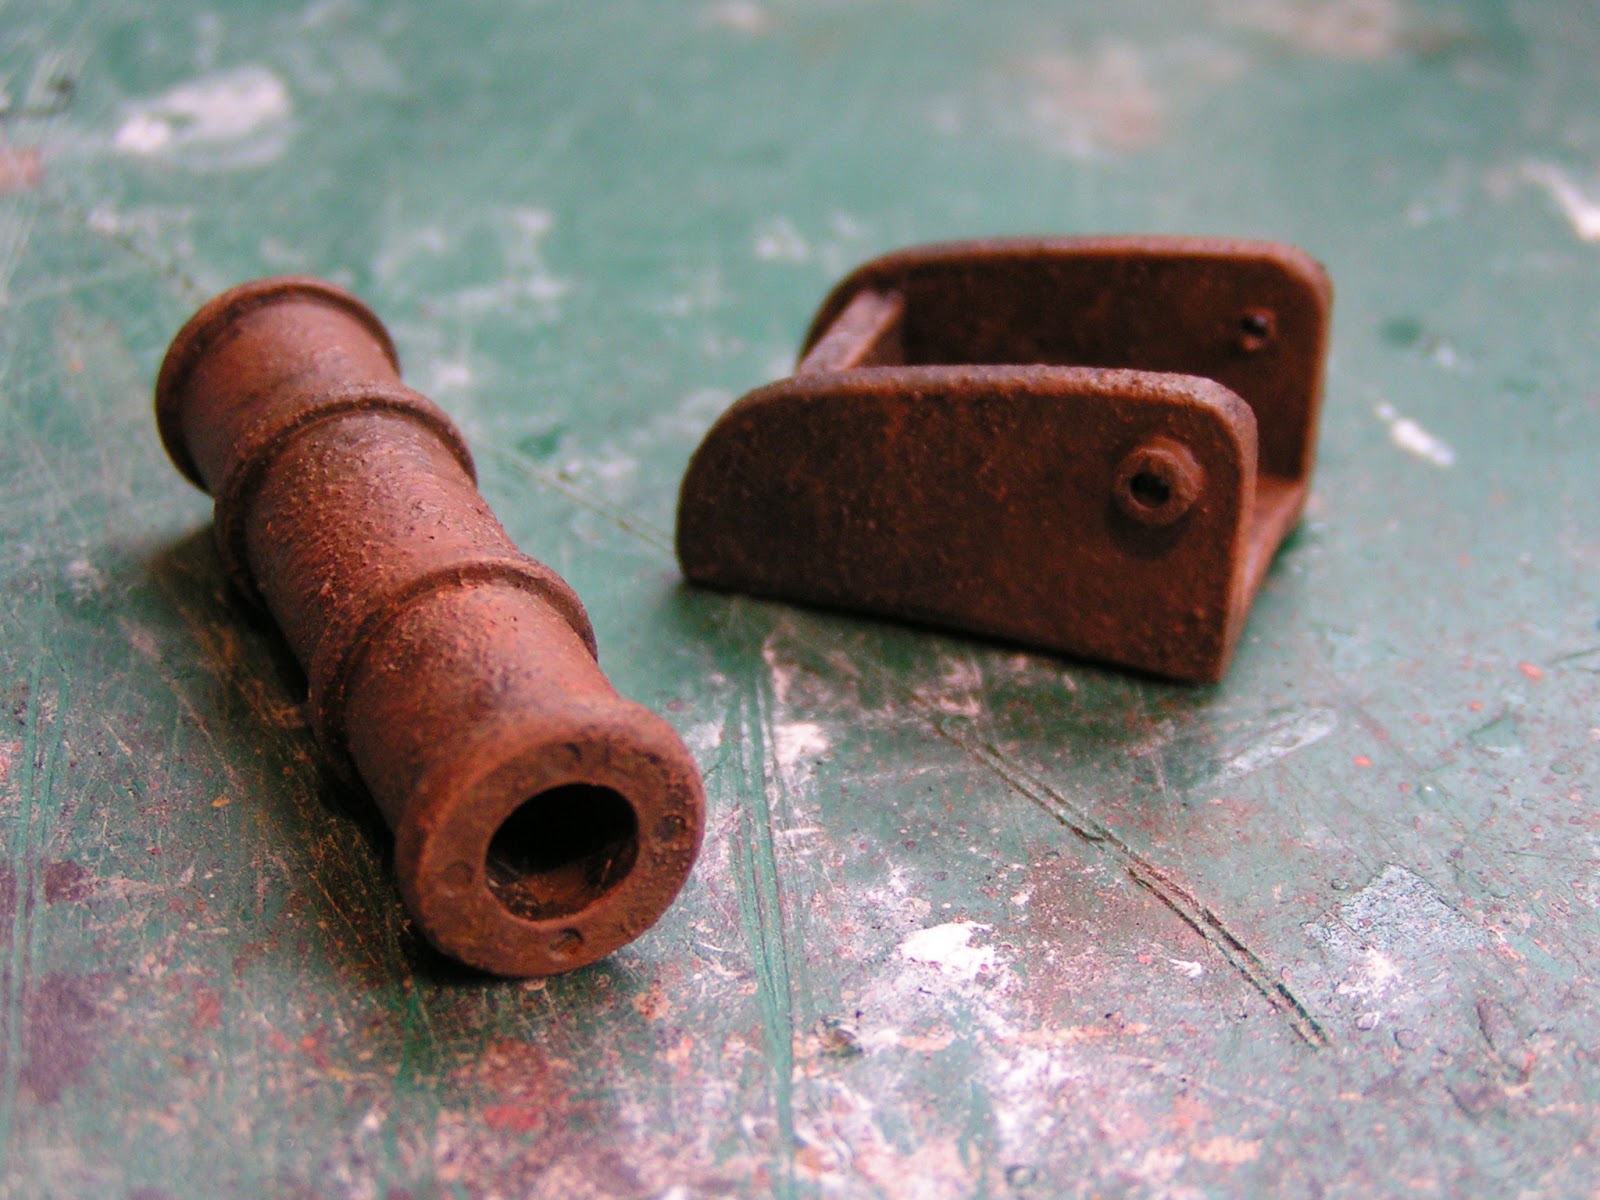
Finally, I have used a rust coloured weathering powder from Humbrol which was dusted on to the pieces with a fan shaped brush, a brush I keep just for adding weathering powders,

And there you have it - How I Paint Rust Effects on Plastic. I hope it is of use to others who paint models and terrain.
Tony


No comments:
Post a Comment