Showing posts with label Airfix. Show all posts

Friday, 4 December 2020

Airfix Hurricane - part nine

Earlier this week I started adding paint to the model. I sealed up the cockpit and undercarriage before spray painting the whole model with Tamiya grey primer, then once dry I painted the under surfaces in a light sky colour. I added subtle mottling by airbrushing lighter and darker areas, and although I thought this looked great it all disappeared once the paint dried!

After sealing the sky with some Klear I masked off the lower areas and airbrushed on the light brown colour (again with mottling) and then it was on to the green which I hand painted.

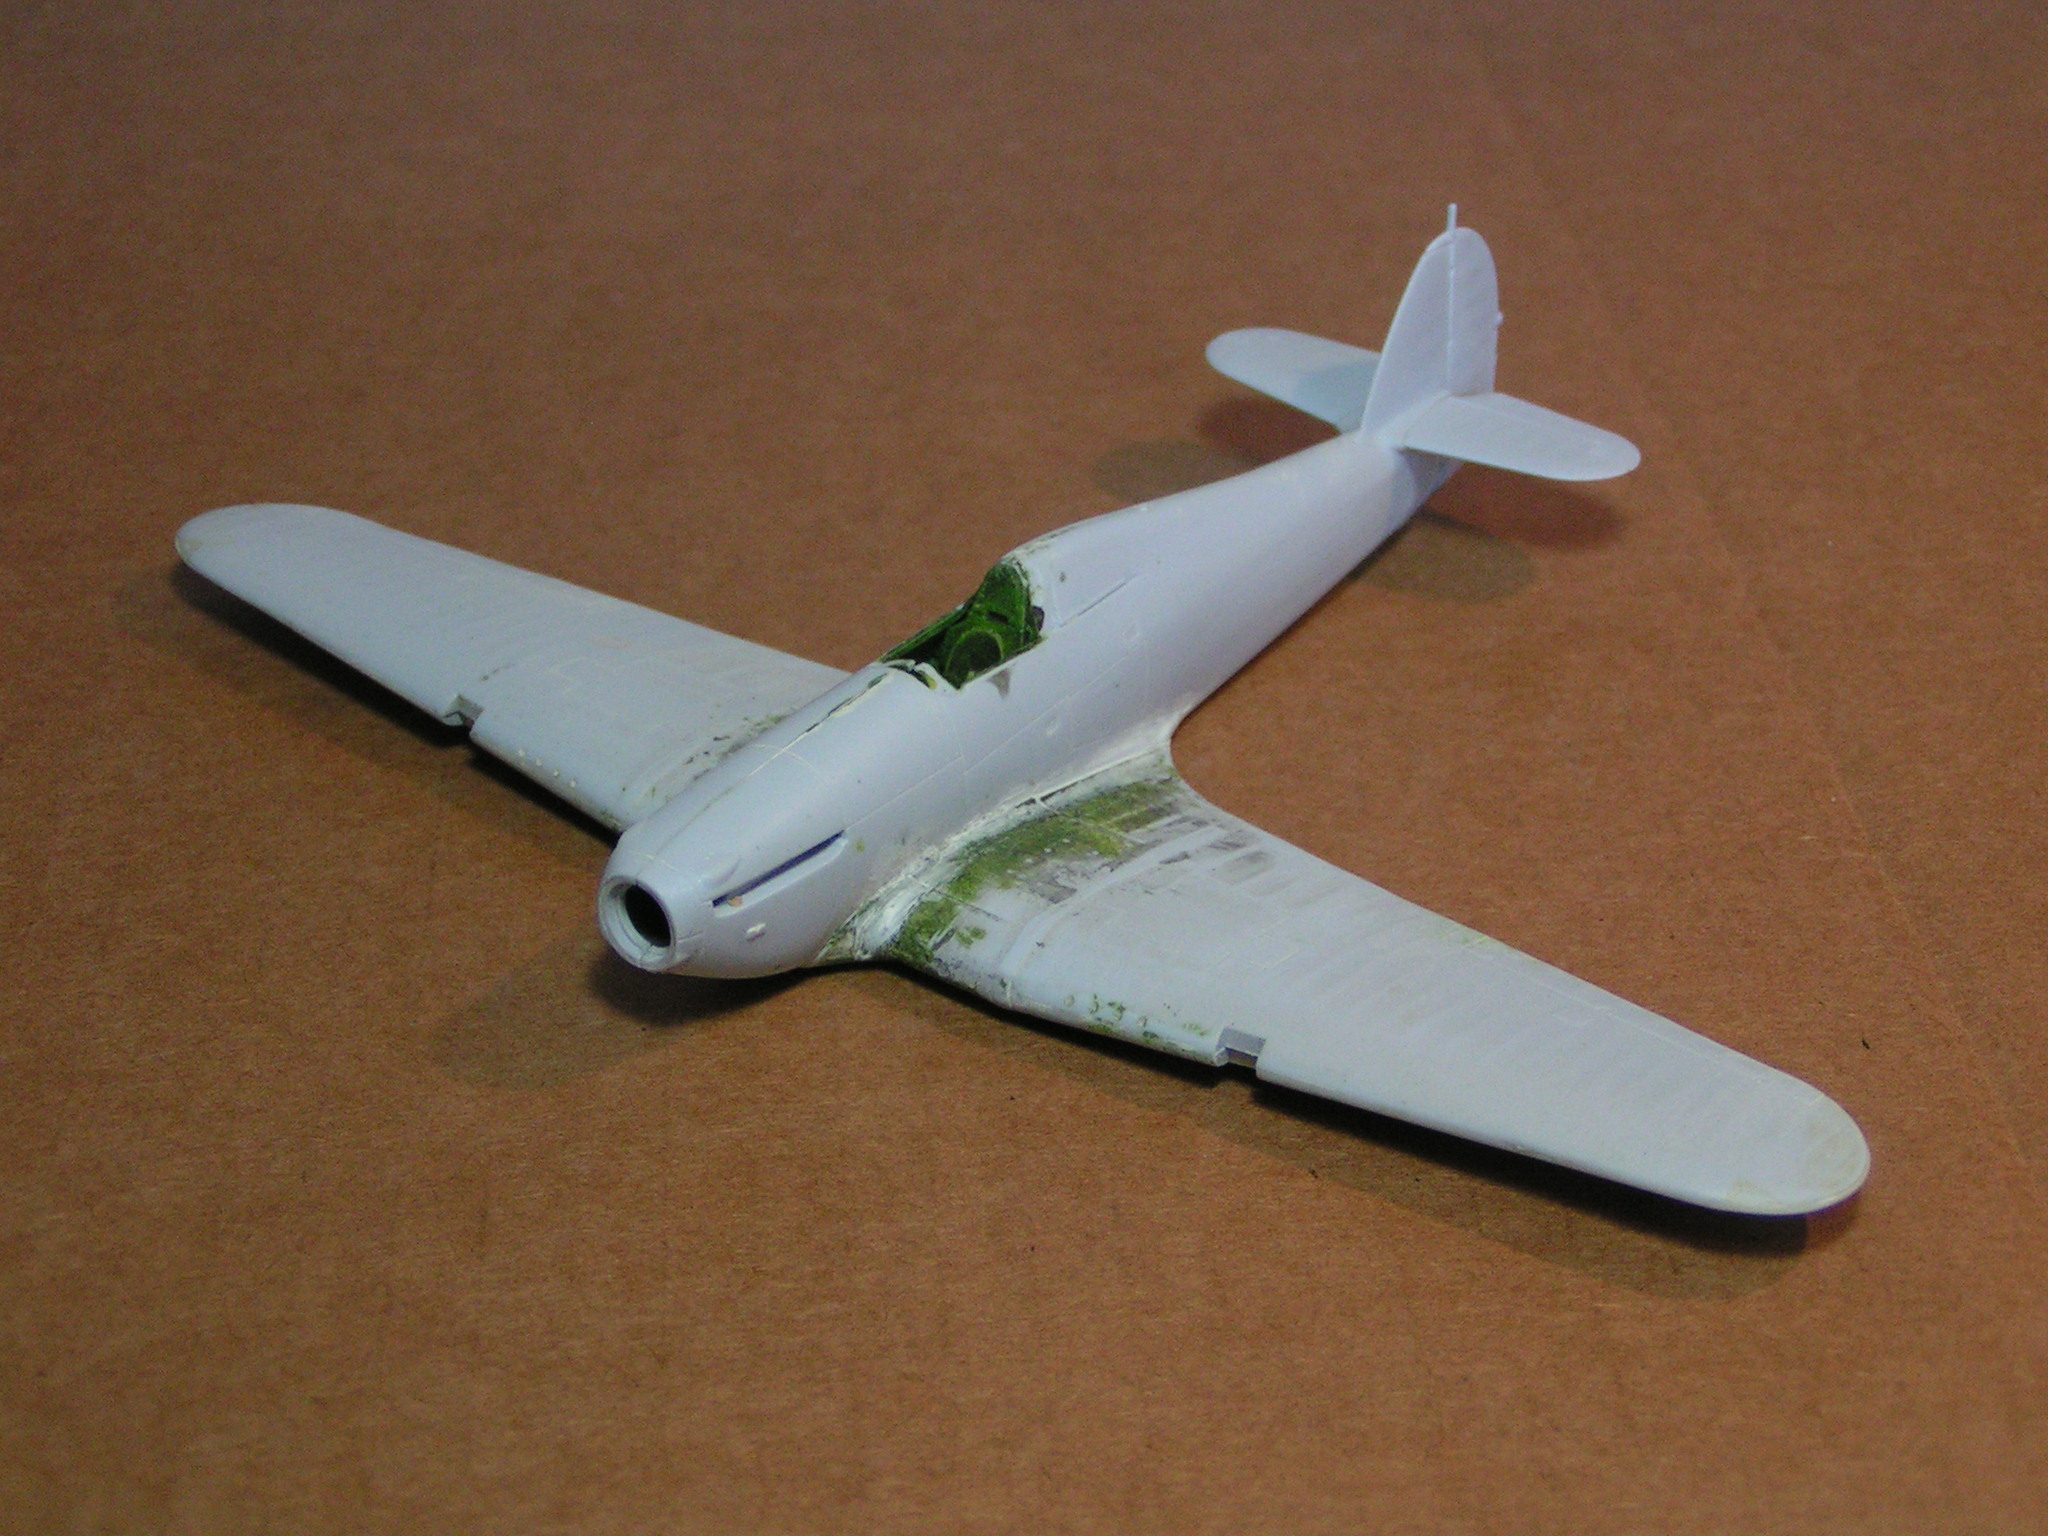
You may be wondering where the images are?

At this stage I thought something was wrong - I had mislaid the tail or rudder (which on this particular model is a separate piece). I searched everywhere for it (on the workbench, on the floor, in my apron and even in the bin) but cannot find it anywhere.

Disappointed I set the model down and have left it part painted.My plan is to search again for the missing piece and if I can find it, I will resume the build, if not then I will look at scratch building a replacement but at this moment I am just not in the mood to proceed.

I'll keep the part finished Hurricane on the workbench to remind me to keep parts safe while building models, but for now the whole project and any modelling down the shed has stalled.

Tony

Friday, 27 November 2020

Airfix Hurricane - part eight

The tail sections have been added. In addition I have glued the radiator housing to the lower fuselage and the model is nearing the stage where I will be adding paint.


It's beginning to look like a Hurricane.

Tony

Monday, 23 November 2020

Airfix Hurricane - part seven

The wings have now been fitted. They went together well and fitted the fuselage perfectly although I had to 'snap' them in place as the fit was a little tight.


Tony

Friday, 20 November 2020

Airfix Hurricane - part six

The one thing I like about this particular project is that I'm NOT rushing it. Unlike Airfix models that I built as a child/teenager, this model is being constructed at a much more leisurely pace.

The fuselage has been glued together with liquid polystyrene glue and then taped and clamped together.

I still needed to add some filler across the top of the nose section, but the main body is now glued together. My main disappointment is that now the two fuselage sides are glued - you can see very little of the interior - actually almost nothing!

I'm glad I added the seat belts as these at least add some interest to the cockpit. I'm wondering if these new Airfix kits are a little over engineered for their own good after all, I've spent almost a week detailing and painting the cockpit but so much of it can't be seen.....


 Tony

Wednesday, 18 November 2020

Airfix Hurricane - part five

I built the seat belts from some blue masking tape and plastic card and glued the seat to the cockpit rear before spray painting all of the interior with Tamiya grey primer.

The cockpit was painted in a yellow/green British cockpit colour before being stippled with a darker shadow colour and then 'washed' with a Dark Tone wash from Army  Painter. The dash board and seat belts were then painted with a fine detail brush before drybrushing with a lighter green colour.


The next step will be gluing the fuselage together.

Tony

Wednesday, 11 November 2020

Airfix Hurricane - part four


Progress has been slow, but steady. I've sanded back all of the filler and the seam on the wing front has been eliminated. I used some fine sanding sticks and a little bit of Vallejo filler/putty to smooth out the join, then a seam scraper to reinstate any panel lines.


Cockpit detailing was added to the upper wing. these are very fine plastic mouldings and needed a lot of care to remove from the sprue and clean up. Hopefully I'll be able to add some paint soon.


Tony

Monday, 9 November 2020

Airfix Hurricane - part three

Even after clamping the upper and lower wings together I still had a nasty seam on one side of the front wing, so I filled the join with Milliput and isopropolene alcohol (Milli-butter) and allowed the mix to fully set - it doesn't take too long.


 I'll sand back the join later.

Tony

Saturday, 7 November 2020

Airfix Hurricane - part two

My first impressions of this kit are that it is a million miles away from what I had expected. Old Airfix would have had a 'L' shaped seat with a simple pilot placed into the fuselage sides in step one - this kit has loads of small detail for the interior and surface detailing that is just beautiful to behold. The difference is as chalk to cheese from the kits I used to make and paint in a day (sometimes an afternoon)!


I've included a shot of the first two pages of the instructions to show what I mean.

Step one for me was building the internal walls of the main undercarriage bay and then adding the upper wing to the lower wing. This was done with liquid polystyrene cement and some small dots of superglue to strengthen and fill the joints.

I did have some issues with the fit of the upper to lower wing, but after applying the glue and four spring loaded clamps I left it for the day.


I'm not planning on rushing this build - I want to see just how different these new generation kits are to the ones I remember as a teenager. So far I'm very impressed.

Tony

Friday, 6 November 2020

Airfix 1/72nd scale Hawker Hurricane Mk.1

In a break from the usual, I thought I'd try something new.....

I saw this Airfix kit in a charity shop on Wednesday and thought I'd try making it. This will be the first Airfix plane model I have built for over three decades. The boxed kit cost me just £4.99. I checked all the pieces were sealed and that the decal were still included before picking it up and bring it back to my workbench.

My plan is to build it as a straight from the box project - I'm not interested in buying any resin updates or changing the colour scheme. So stay tuned to see how I get on.


 Tony