Showing posts with label On-line build. Show all posts

Sunday, 30 April 2023

Cyclops update - finished

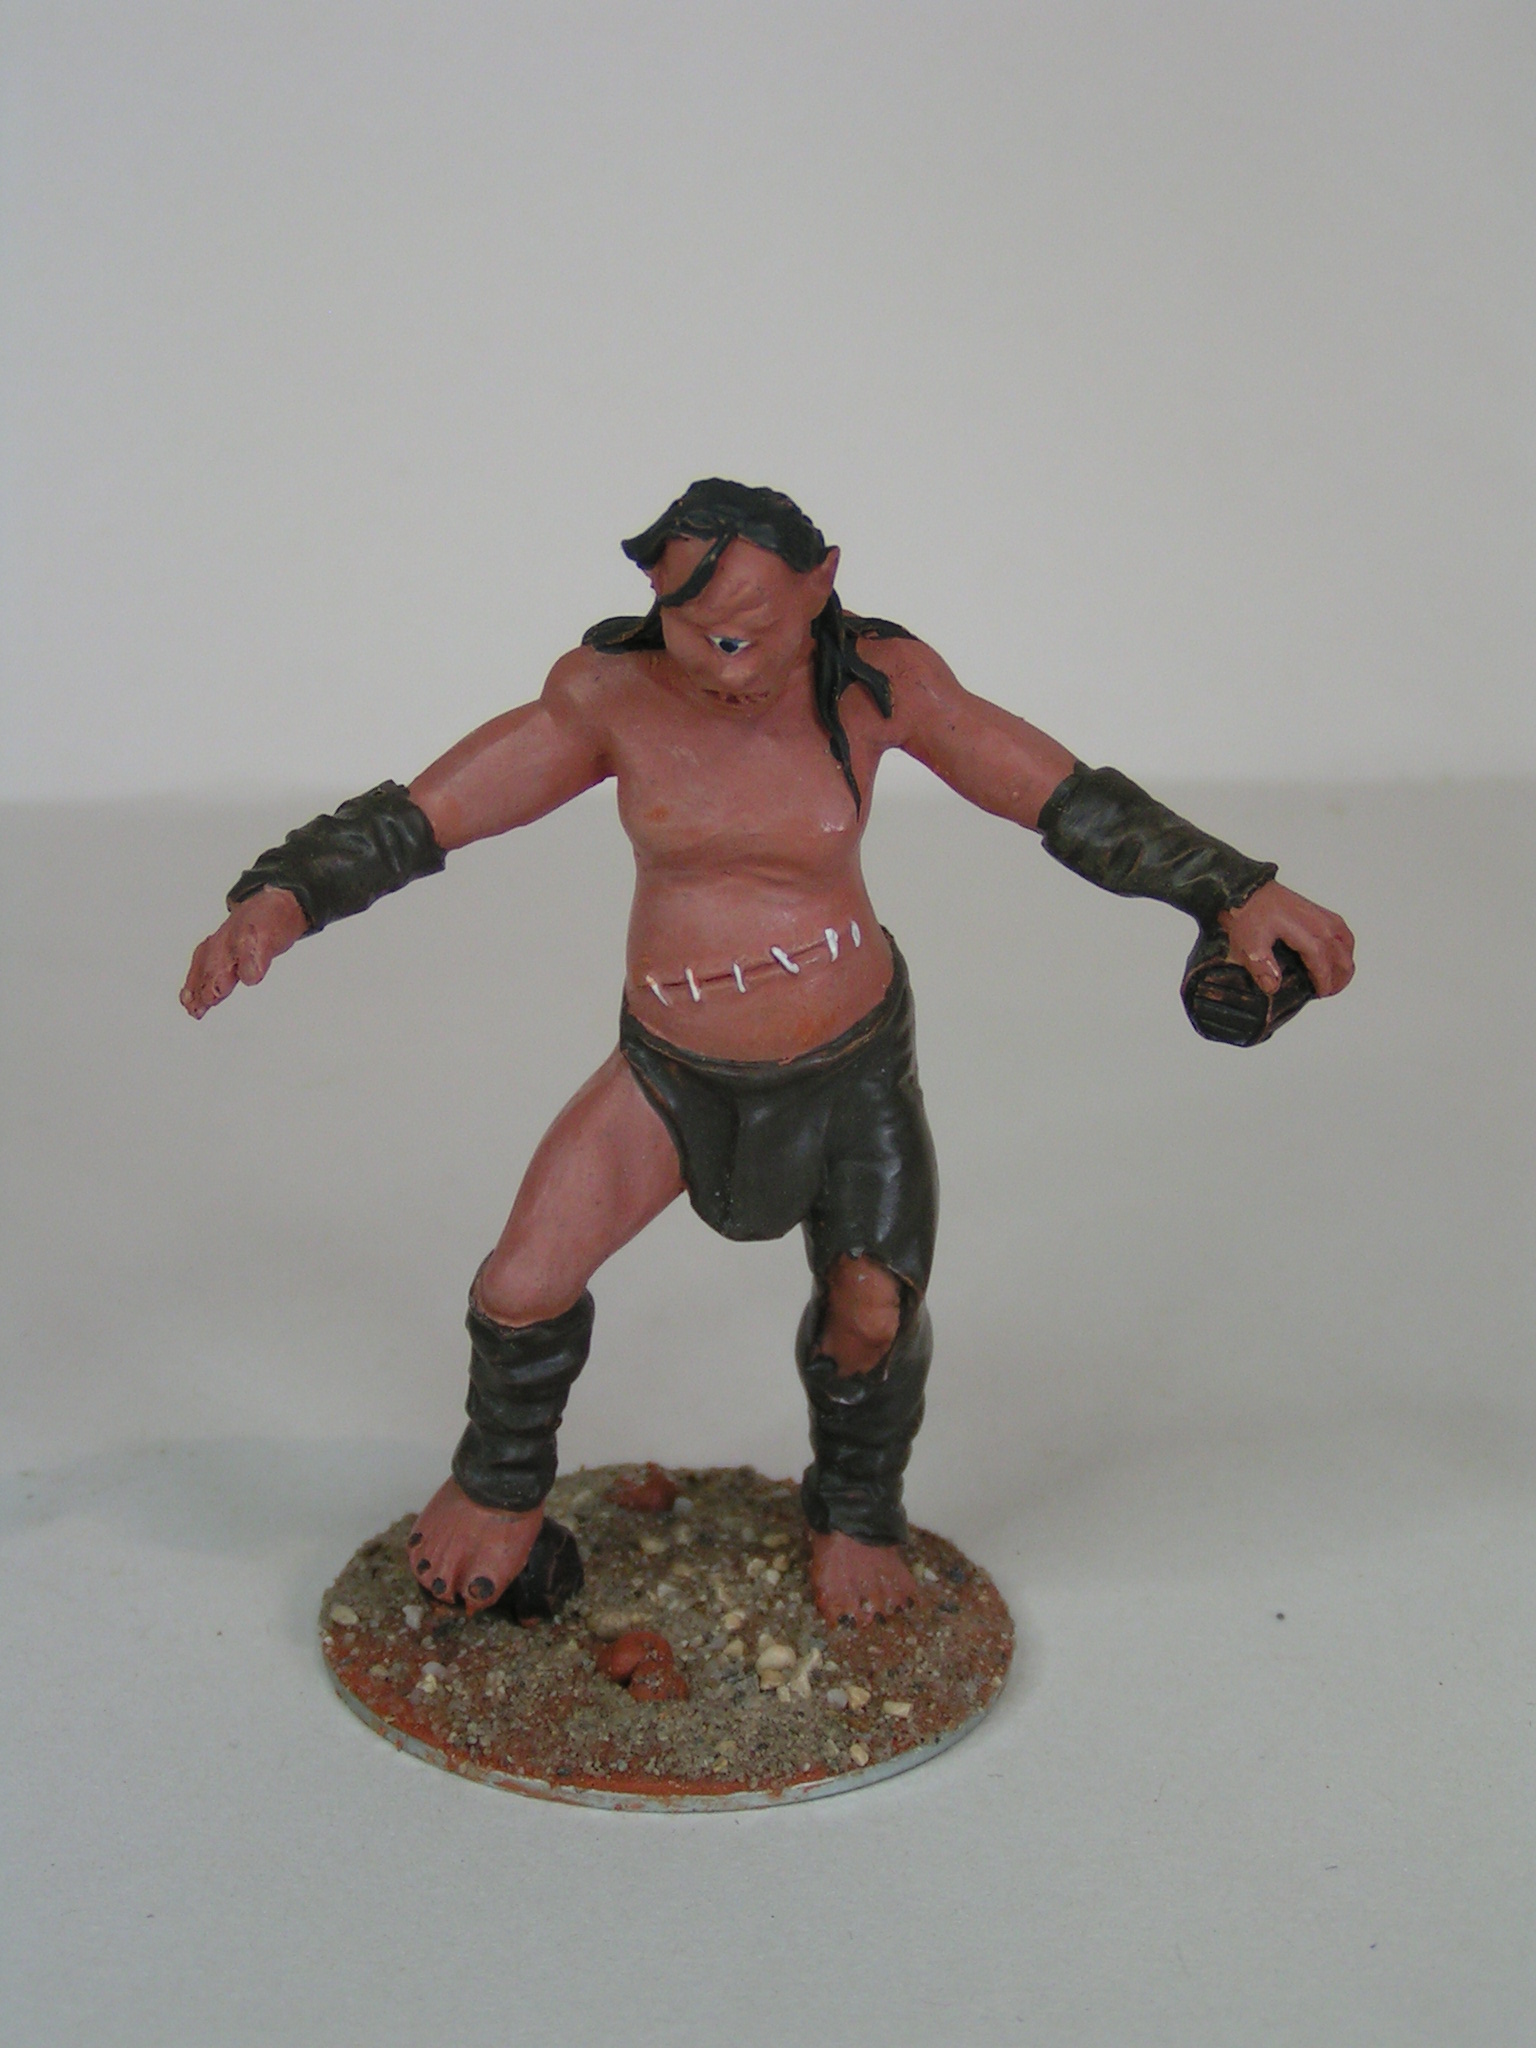
The Del Prado Cyclops all varnished, based and finished. The model was bought in Italy, when on a short city break to Lucca and cost just 5 Euros. I've re-based and re-painted the miniature as well as doing some remedial sculpting, adding skulls and general tidying up. the Cyclops is just over 80mm tall and will be a great addition to my Typhon or Greek mythology collection of 40mm Hoplites that I have been collecting for some years. For more information, see the Typhon label.

The final image shows the painted Cyclops alongside one of the 40mm Miniatures from the out of production range once sold by Spartan Games. I am very pleased with the 'sickly' purple and blotchy skin tones, something that sets this model apart from my otherwise 'clean' Typhon figures.


I am now looking through my 'lead mountain' for suitable minis I can add to this project and will keep the Blog updated with any developments.

Tony

Friday, 28 April 2023

Cyclops update - part five


The leather areas were painted in a rich red leather colour with pale or even white fur trim and the skulls were painted in a pale skeleton colour. the hair was picked out in a very dark brown, almost black colour.

The groundwork has been painted in my usual Typhon base colour - a very pale cream highlighted with white with odd stones picked out in grey highlighted white and then given a light wash.

I have used a number of light washes to add depth to the skin and leather areas before varnishing with Galleria mat varnish and gloss varnish for the eye.

I just need to add decoration to the base and this Cyclops is finished.

Tony

Wednesday, 26 April 2023

Cyclops update - part four

The latest update shows the painted skin colour - I was looking for an insipid, unhealthy skin colour and went for this pale purple colouring. The inspiration came from an image I found on the internet - see below and was built up in layers and using thin washes.

The last image shows the rear of the partially painted Cyclops. I used a stippling technique to show skin mottling. 


Hopefully, I can get some more painting done today.

Tony

Monday, 24 April 2023

Cyclops update - part three


I have basecoated the whole model with a dark brown/black mix and added some zenithal highlighting by using a lighter brown across the upper surfaces before 'washing' the miniature with a dark brown wash. In the past I would have used a black basecoat, but recently I have found that I prefer a dark brown base to build up my painting.

The next step will be the flesh areas and I have been searching the internet for inspiration.

Tony

Friday, 21 April 2023

Cyclops update

The Cyclops was mounted on to a 50mm metal washer (may last one - I will have to pick some up the next time I'm shopping) and the groundwork was built up with terracotta Milliput. Sieved stones and sand was then added over PVA glue and sealed with a mix of diluted PVA to which I have added some washing up liquid.

I thought the toy sculpt was a little lacking in features so added a couple of plastic skulls and built up the fur with green stuff following an illustration I found on the internet.


My next step will be to undercoat the model and I'm also looking at more illustrations to help me decide on the flesh colour - the flesh on this simple paint scheme looks to artificial - I want a more putrid flesh colour.

Expect more updates soon.

Tony

Wednesday, 19 April 2023

Another Cyclops for my 40mm Typhon Project

On a recent City Break holiday to Lucca, Italy I picked up this toy Cyclops. The model is from the Del Prado range of Greek Mythology figures and to the best of my knowledge has never been released in the UK. The monster stands just over 80mm tall and as such will be perfect to fight against my 40mm Spartan or Hoplite figures which I use in my games of Typhon (from Alternative Armies). The Cyclops cost just 5 Euros which I thought was a real bargain.

The resin or strong plastic Cyclops was mounted on a metal oval base, but when I tried to saw the base off, it fell away (as can be seen in the above image). The paint scheme is pretty basic and my plan is to re-mount the monster on to a round washer base and paint the figure in a more realistic colour scheme.

The final image shows the Cyclops alongside on of my 40mm Hoplites and a bottle of Army Painter Quickshade shown for scale comparison.


I'll try to post regular updates showing both work-in-progress and my chosen colour scheme.

Tony

Wednesday, 22 December 2021

Christmas 2021 Project - part ten

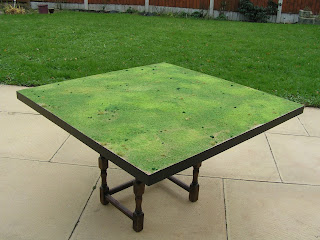
The flocked board was sprayed with a custom mix of PVA glue, matt varnish, flow improver and water to 'seal' the flock and ground foam, then once fully dry I added odd clumps of dark green ground foam and different coloured static grass tufts applied over superglue. The skirmish board was then 'hoovered' to remove any loose scatter before these images were taken.


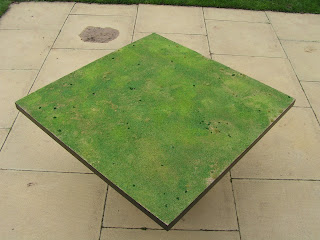
To recap, the homemade board is 32 inches x 32 inches and designed to be used with the new Osprey Games The Silver Bayonet. My plan was to have some impromptu games over the holiday period, but like many the recent news of a new Coronavirus variant has meant that plans for Christmas have been changed and cut back. Never-the-less, I will try to have at least one solo game to test out the new rules.

It might be a little early, but Merry Christmas and stay safe.

Tony

Monday, 20 December 2021

Christmas 2021 Project - part nine

The board was 'flocked' with a mix of fine ground foam and dyed sawdust (the same mix that I use on my scratch built terrain). It was applied over PVA glue and sprinkled on in a random manner allowing areas of the original groundwork colour to show through in places.

When this was fully dry, I used my home-made static grass applicator (a battery operated fly killer with a metal sieve) to add areas of static grass, again applied over PVA glue.


Tony

Saturday, 18 December 2021

Christmas 2021 Project - part eight

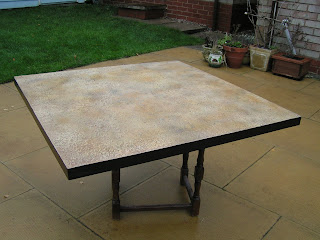
The table edges were painted black (three coats over a grey undercoat as I wanted a long lasting finish) and then the whole table was matt varnished in preparation for the flocking.


I'm less certain we will be able to have a game over the Christmas period, not because I think it won't be finished, more because I'm uncertain as to the Covid regulations and the possibility of meeting up.

Progress has been OK, but I was never in a rush to finish.

Tony

Thursday, 16 December 2021

Christmas 2021 Project - part seven

Following on from the earlier post, I thought the light coloured drybrushing seen in the last post was to light so I used my airbrush and added diluted wash tones from Army Painter across the surface to add some colour to the board. The washes were used to 'tint' the drybrushed areas rather than cover them completely.

This process continued until I had a more 'earth' coloured base on which to start adding detail.


I then started to paint individual stones in a grey, highlighted white colour similar to the style I use when basing my minis. I'm not sure how much of this will be seen when I later 'flock' the board - but I know it's there.

Tony

Tuesday, 14 December 2021

Christmas 2021 Project - part six

Painting of the Silver Bayonet skirmish board continued in the traditional manner with lighter drybrushing using a large paint brush. 


The second drybrush was a little lighter in both colour and technique picking out just the highest highlights and exaggerating the texture.


Tony

Monday, 13 December 2021

Christmas 2021 Project - part five

At last some paint.....

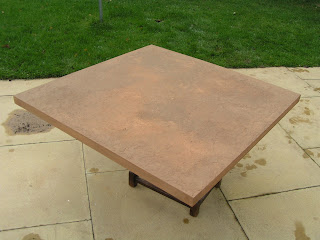
I've used a Dulux Matchpot to lay down the first Snakebite Leather colour. This was painted on with a large, stiff brush and further highlighted by adding some subtle variation to the basic brown colour by adding some dark brown acrylic paint to the mix.

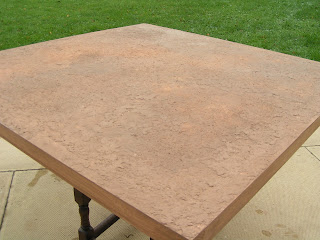
This second image shows the texture that was added to the surface ready for some drybrushing. If you 'click' on the image, you can see a larger picture.


Tony

Friday, 10 December 2021

Christmas 2021 Project - part four

With the polystyrene glued in place and all gaps filled, I painted the whole board; foam and frame with some spare DULUX ENDURANCE paint and while the paint was still wet, I sprinkled on some sieved stones and fine sand.

Even with the stones and sand added, I felt that there could be even more texture, so I used some modelling compound (a paper mache style product from Geek Gaming) which I applied over PVA glue.


Prior to taking this photo, I sanded the surface with some coarse sandpaper to remove the more prominent imperfections and waited for the modelling compound to fully dry.

Tony

Wednesday, 8 December 2021

Christmas 2021 Project - part three


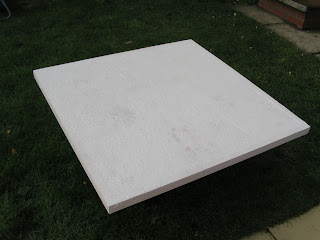
The wooden frame has had a piece of well used and secondhand white polystyrene glued in place (the polystyrene was salvaged from a skip). I used No More Nails tube adhesive to glue the polystyrene in place and tool boxes and wooden boxes as weights to hold the foam while the glue dried. I then smoothed on some builders caulk to fill any gaps around the edges and any deep gouges in the foam.

Prior to taking this photo, I have roughly sanded the edges in my first attempt to smooth out the wooden frame, I would expect to return to this once I have done some more work on the gaming module.

Tony

Monday, 6 December 2021

Christmas 2021 Project - part two

Stage 2 - Woodwork

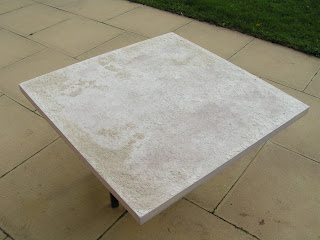
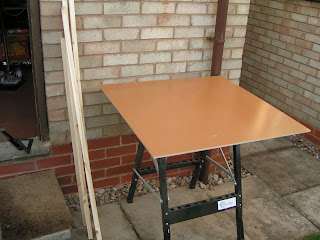
The image above shows the raw material; a piece of 9mm thick MDF Laminate and some scrap strip wood. the MDF has already been cut to 32 inches x 32 inches.

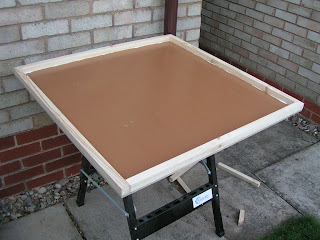
The 22mm thick strip wood was first cut then glued and screwed in place. I used a tenon saw and a square to ensure a tight fit and plenty of woodwork glue/PVA. The screws were countersunk from below and spaced every 4 inches to make sure that I countered the warping, with oval nails being used to secure the ends.


Most of the time was spent ensuring square cuts, so measure twice and cut (slowly) once. You can see the strip wood off-cuts on the floor below my workbench.

Tony

Tuesday, 30 November 2021

Flintloque/Silver Bayonet cross over - part eighteen

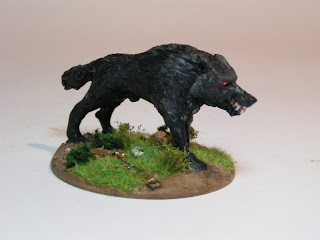
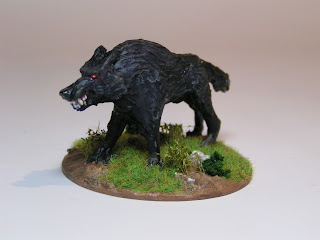
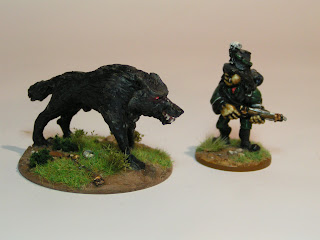
The Black Dog stand-in has now been matt varnished with small dots of gloss varnish on the mouth, eyes and nose then had the base decorated with static grass and tufts applied over a mix of PVA and superglue.

The final image shows the finished model alongside an Alternative Armies Rifle Orc to give an idea of scale. The Black Dog stands 30mm tall (to it's haunches) and is mounted on to a 50mm metal washer.


As with the earlier French (Ferach) unit this has been a fun project and I'm now looking at what my next Silver Bayonet project can be.

Tony

Monday, 29 November 2021

Flintloque/Silver Bayonet cross over - part seventeen

The Black Dog stand-in has now had teeth and eyes painted in. Not a great deal of work, but they do add menace to the supernatural creature.

The base and groundwork has been painted in my usual (home made) GW Snakebite Leather colour with odd stones picked out in grey, highlighted white.

And don't forget the Flintloque flintlock, which I think adds to the base. The mini and base have now been gloss varnished (for strength) and once dry, I will matt varnish and add some static grass.


I am well aware that November has been a little heavy on The Silver Bayonet and I make no apologies for that, but rather promise that there is more to come.

Tony

Sunday, 28 November 2021

Flintloque/Silver Bayonet cross over - part sixteen

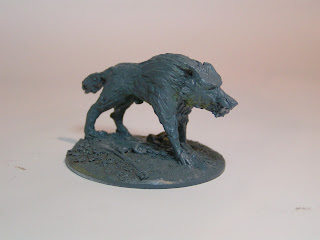
The Black Dog stand-in was painted black (obviously). I used various acrylic paints to which I had added some black wash to ensure an all over base coat.

I then built up the fur in stages using a grey/blue base and highlighting with more blue and a touch of grey which was concentrated on the upper edges leaving the lower edges and belly in the original black.

I then washed the whole model with a mix of black and blue washes diluted with water. The final wash had some purple added just to define the fur. Black is very rarely just black.


I'm pleased with the subtle effect of blue/purple highlights over black and I now just need to paint the features - what little they are!

Tony

Saturday, 27 November 2021

Flintloque/Silver Bayonet cross over - part fifteen

The groundwork was textured with sieved stones and sand applied over PVA glue and I've refined some of the features on the Black Dog with small bits of Green Stuff applied over superglue to give the miniature a bit more character.

The model was then primed with a grey spray can primer in preparation for the painting.


I've been watching a number of different You Tube tutorials on how to paint black fur and look forward to starting the painting of this Silver Bayonet inspired model.

Tony

Friday, 26 November 2021

Flintloque/Silver Bayonet cross over - part fourteen

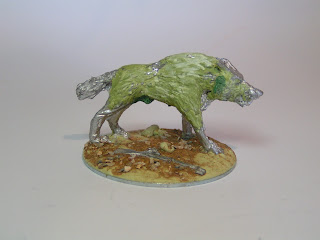
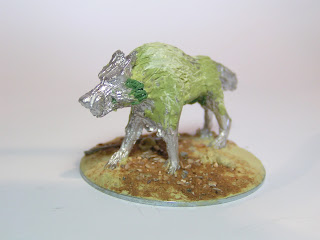
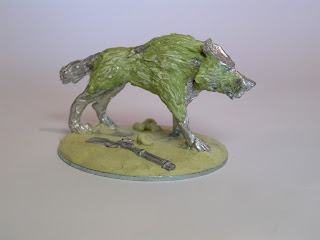
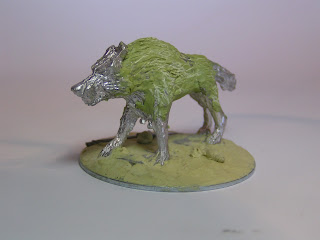
The base for the Black Dog was built up with standard Yellow/Grey Milliput with a flintlock from the Alternative Armies spares/gun pack.

I felt that the base model was a little scrawny and used a mix of Milliput and Green Stuff to bulk up his shoulders and haunches. I then used a scalpel to add the fur texture before leaving it to fully set.


I still think the model and sculpting needs refining, but I'll wait until the weather is a little warmer and I can get down the shed.

Tony