Showing posts with label Frostgrave. Show all posts

Monday, 22 October 2018

How to Build a Small Witchlands Tomb - another 'lost' article from 2012


The Small Witchlands Tomb 

First published on Barking Irons Online back in 2012.

Another Masterclass tutorial that was 'lost' when Barking Irons Online closed down. This model was constructed at the same time as the large Tomb (see below - which also features in Dampfpanzerwagon Guide No. 3 - Models For Wargamers) and was intended as an addition to my existing graveyard scenery collection. 

For details of how to order a copy of Models For Wargamers please see this link.


Introduction

The smaller square tomb uses the same materials (scraps of blue foam), glued into a cube shape and then sanded square similar to the larger one shown above.  The door is made from textured lollipop sticks stuck to thin card before being glued into the doorway with a hot glue gun.


The first step was to carve and texture the stonework.  I first cut shallow horizontal lines around the building. I varied the height to give same interest then cut small vertical cuts with a scalpel to simulate the rough stone blocks.

The cuts were opened-up with the point of a sharp pencil, first the horizontal and then the vertical cuts.

To texture the blocks, I used a broken stone from the garden to press random groves and indents into the blue foam.  Then with a piece of thick plastic card I pressed into the foam to vary the depth or height of some stones.

More detail

I also added a simple triangular roof cut from blue foam over a square of plastic card and further textured the walls by vigorously brushing the foam with a stiff brush.  Prior to this photo being taken, I have added odd stone blocks from DAS modelling clay and given the whole structure a coat of thinned-down ready-mixed filler and PVA glue.

The wooden door was modelled from cut down and coloured lollipop sticks then glue in place with my hot glue gun.

Note;  There are many and varied techniques for texturing blue foam, you can use sandpaper, stiff brushes and even wire brushes to distress the foam.


Cutting down on the height

Between the last image and this one, I have removed 8mm from the base of the tomb as I thought it looked too tall.

I mounted the tomb onto an oval of 3mm thick plastic card with my hot glue gun and chamfered the edges before adding a blue foam step to the doorway and building up the groundwork with DAS.


Groundwork

The base or groundwork was textured with sieved stones and fine sand added over PVA glue. While later the whole tomb was coated with a custom mix of ready-mixed filler, PVA glue and some white acrylic paint.

The door has been detailed with slivers of plastic rod glued in place with superglue and the walls have been painted a very nice shade of Mint Green – Oh no they haven’t!  In a further attempt to add even more surface texture to the stonework I have mixed up some PVA glue and very fine sand the sort that is used to make children’s sand pictures and comes in a wide variety of colours, in this case green!  When painted on to the tomb, the fine sand adds surface detail but also turned the model pale green.


Painting

The painting was done in the same way as the previous tomb.  I used a mix of very dark brown and black to basecoat the model.


The first highlight was a red-brown tube acrylic paint which I ‘scrubbed’ on. A second and lighter drybrush of Snakebite Leather was added to the roof and corners of the building to add further highlights.


The second highlight was a grey mix and again ‘scrubbed’ on.

Note;  By ‘scrubbed’ I mean that I have used a stiff brush and little paint to vigorously scrub the stonework – a bit like drybrushing but with a stiff brush and with more force.


The third or light grey highlight was drybrushed on with a large brush.


I decided to paint the door of the tomb green, as I wanted to add some colour to the ‘grey’ stonework.  I used a Dark Angels Green base, highlighted with Forest Green from Foundry and then further highlighted with some Forest Green/Snakebite Leather.


The door studs were painted Black, Bestial Brown and then selectively highlighted with small touches of Hot Orange from Vallejo.


Finishing of

Next came the groundwork.  Regular readers will not be surprised that I have started with Snakebite Leather from Games Workshop. (What would I do without this paint pot?)  A number of lighter drybrushes later and the odd stone picked out in grey – painting finished.


Prior to adding the dyed sawdust base, I gave the whole building a very light drybrush of Skull White as I felt it looked too grey and needed highlighting.

The base was treated to a layer of dyed sawdust and some static grass which was applied over PVA glue and the model tomb is now ready for my gaming table. The simple tomb is ideal as a starter model or for use on a Frostgrave themed table.

This is another of the 'lost' tutorials that were written for Barking Irons Online. It is my intention to post all of these tutorials on my Blog over the next couple of months.

Tony

Friday, 1 January 2016

Let it Snow (again)


Earlier this this year, actually last year! I posted images of a section of scratch built walling with some snow covering, see this post for details. I wrote how the 'Magic Snow' had contracted when drying out and that I felt the test had been a mistake. However I did not give up and bought some Snow Powder off the internet.

The new Model Snow was bought from The London Model Soldier Bunker via e-bay. It is a very fine white powder produced from natural white stone. I applied the new Snow with some white acrylic paint, a touch of uPVA glue and very little water as I did not want any swelling of the initial Magic Snow.

The first image shows the new Snow.

While the second image shows the old Magic Snow.


Image three shows the original scratch-built section, further details can be found here.


Happy New Year.

Tony

Tuesday, 1 December 2015

Let it snow, let it snow, let it snow.....


I have throughout this year tried to have a new piece of scratch-built terrain as the first post of each new month, December is slightly different; as you can see - my first post was detailing the Orcs in the Webb Advent Calendar - something that I have supported with articles and submissions since it was conceived.

However - here is a terrain gallery image, showing how I have added snow to one of the scratch-built Frostgrave terrain models.

First a warning -

DON'T TRY THIS AT HOME - IT DOESN'T WORK

As Sue and I were browsing the shelves in the Christmas isle at Poundland, I saw this MAGIC SNOW POWDER and thought - that should work!

I mixed up some snow powder with acrylic paint, uPVA glue and a tiny (I do mean tiny) amount of water and applied the snow with an old paintbrush.

The snow powder says that it will expand up to 100 times! And it did. I have been sparing with the powder as this was a test. I thought that it looked OK, that is until it dried out. As when it dries it contracts back to it's original 1/100th of the size leaving a horrible mess.


I had read that using bicarbonate of Soda can damage the model - well it can't be any worse than this. So I will be re-snowing the base with soda or proper snow sometime in December.

You have been warned.

Tony

Sunday, 1 November 2015

Frostgrave Terrain - part six


Another month and another piece of scratch-built terrain. In fact another piece of Frostgrave scatter terrain.

This time a small statue on a stone plinth.

Image Two - The base figure is a Monster-in-my-Pocket lion with wings mounted onto some plastic card rectangles and a block of Blue Foam.


Image Three - The base is my usual 3mm plastic card with the groundwork built up from DAS modelling clay and further textured with sieved stones and sand.

In this image, I have coated the whole model with dilute uPVA glue. I find that this gives the slightly soft plastic of the M-i-m-P toy figures a much better undercoat.


Image Four - The basecoat was mixed from black, white, brown and blue and painted on to the model with a large, soft brush.


Image Five - The first drybrush.


Image Six - After the model was 'washed', I painted the base or groundwork in my usual Snakebite and white mix.


Image Seven - And the latest piece of Frostgrave terrain is finished and ready for the table. Once the model was varnished, I added railway scatter and ground foam.

This model is quite small - just 95mm long x 70mm wide and 70mm tall, to the top of the wing.


 I will try to post images of these pieces with added snow at some stage in the future.

Tony

Sunday, 25 October 2015

Frostgrave Terrain - part five


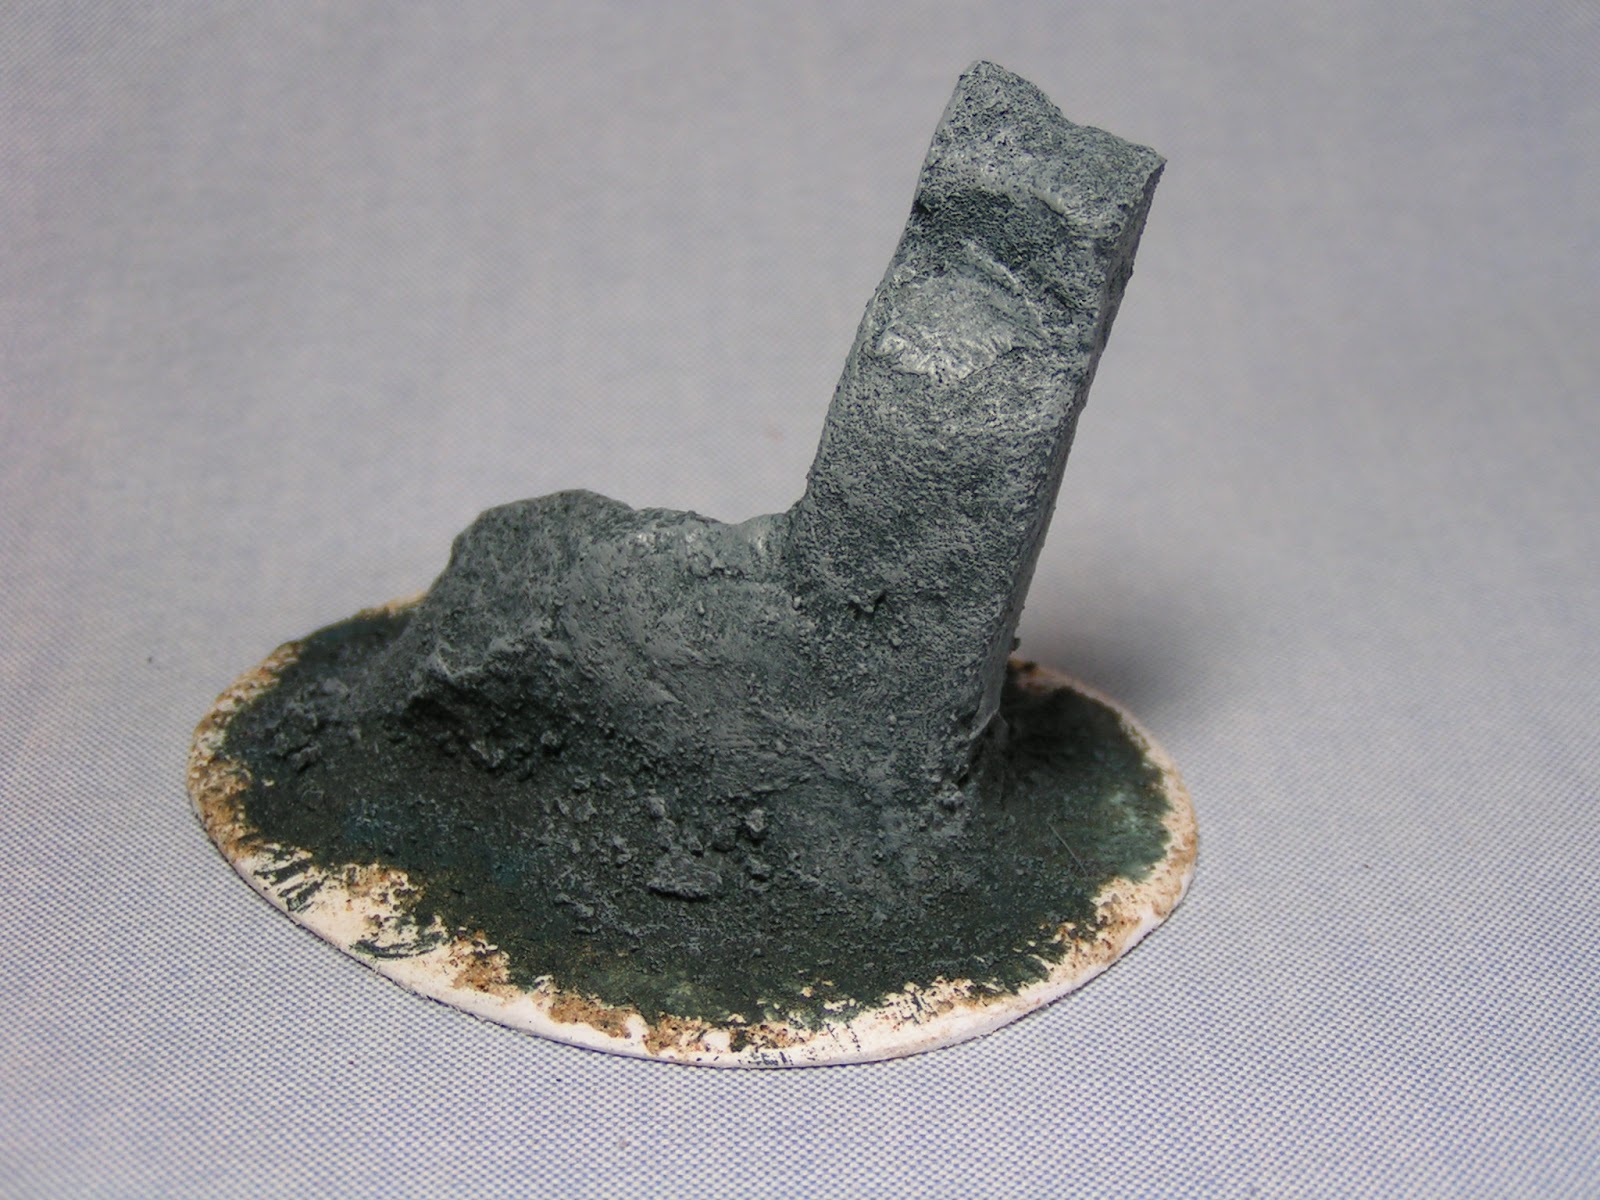
The latest piece of Frostgrave themed terrain - a small rock outcrop.

Images Two and Three - I have used a scrap piece of Blue Foam, some stones from the garden and an oval of 3mm thick plastic card to produce this small piece of scatter.

In these images you can see how the groundwork has been built up from DAS modelling clay and the base further textured with sieved stones and sand applied over uPVA glue.

I have undercoated the Blue Foam with uPVA glue.


Image Four - The basecoat is once again a mix of black, white brown and blue.


Image Five - The first drybrushing is added. This is to help define the detail and is quite a thick or sloppy drybrushing.


Image Six - The second drybrushing is much lighter and a true drybrush - having very little paint on the brush. I have also started to tint the rocks with washes.


Image Seven - The base or groundwork is painted in my usual Snakebite Leather, highlighted with a Snakebite/White drybrushing.


Image Eight - Individual stones have been picked out in a grey colour highlighted white.


Images Nine and Ten - The model has been varnished with Galleria matt varnish and the base further detailed with railway scatter and static grass clumps.


The model is 85mm x 65mm and 60mm tall.

Once again, I have not added any snow to the model. I plan on adding it later.

Tony

Sunday, 18 October 2015

Frostgrave Terrain - part four


Following on from the two earlier posts detailing how I build my simple Frostgrave terrain, I have in this piece of scenery combined the soft cream insulation foam and a rock from the garden to produce a hybrid.

Images Two and Three - The rock and foam have been glued to a piece of 3mm thick plastic card which was picked up at my local ALDI's store. The plastic card was/is a sign detailing new offers and was found, abandoned in the carpark. Recycling at it's very best.


I have built up the groundwork with DAS modelling clay.


Image Four - After adding sieved stones and sand to the base the basecoat is a mixture of black, white, brown and blue - as detailed in the earlier posts.

The metal pumpkin was given to me free of charge from Dark Arts Studio earlier this month and I thought it looked OK tucked into the rock face. I certainly adds colour!


Images Five and Six - Further painting and highlighting was done by drybrushing the rock face with a large flat brush. I have further highlighted the rocks with various 'washes'.


Image Seven - The groundwork was painted in my usual mix of Snakebite Leather and Snakebite/white highlights.


Image Eight - The pumpkin was built up from a mid-brown, highlighted with orange and then further highlighted with yellow.


Image Nine - After varnishing with Galleria Matt varnish, I have added both  railway scatter and some static grass clumps.


Another piece of Frostgrave terrain finished and ready for the gaming table. As I have noted in earlier posts, I will add the Baking Soda snow later.

The model is 110mm long x 50mm wide and 40mm tall.

Tony

Friday, 16 October 2015

Frostgrave Terrain - part three


My latest piece of scratch built terrain for Frostgrave started as a simple stone from the back garden.

Image Two - The stone and an oval of 3mm thick plastic card.


Image Three - I glued the stone in place with my trusty Hot Glue gun.


Image Four - And built up the groundwork with DAS modelling clay.


Image Five - The groundwork was further textured with some sieved stones and sand sprinkled over uPVA glue.


Image Six - The basecoat was a mix of black, white, brown and blue. I tend to add these colours with a large brush and mix them on the model rather than on a palette.


Image Seven - The drybrushing began with a lighter mix of the black, white and blue colour. I apply the drybrushing with a flat or chisel headed artist brush.


Image Eight - A second drybrushing of white on the highest points.


Image Nine - The groundwork or base was painted in my usual colour mix of Snakebite Leather from GW with highlights picked out with a Snakebite/white drybrush.


Image Ten - The base was further detailed with some of the individual stones picked out in a black/white mix. I have also 'washed' the model with various brown and sepia washes. I like to 'blur' the join between the stone and the base colour and I think this is illustrated perfectly in this image.


Image Eleven - the base was decorated with flock, railway scatter and static grass tufts after being varnished with galleria Matt varnish.


This model is 75mm x 70mm and 50mm tall. It cost virtually nothing to make as the stone was free, the plastic card picked up from a DIY store carpark, the rest of the materials and paint was already in my possession.

Stay tuned for further examples of scratch-built terrain in future posts.

Tony

I also recommend watching this interesting tutorial from Tale of Painters on painting stones and applying snow.