Showing posts with label Aeronef. Show all posts

Friday, 13 October 2023

Scratch Built Airships - Miniature Wargames issue 487

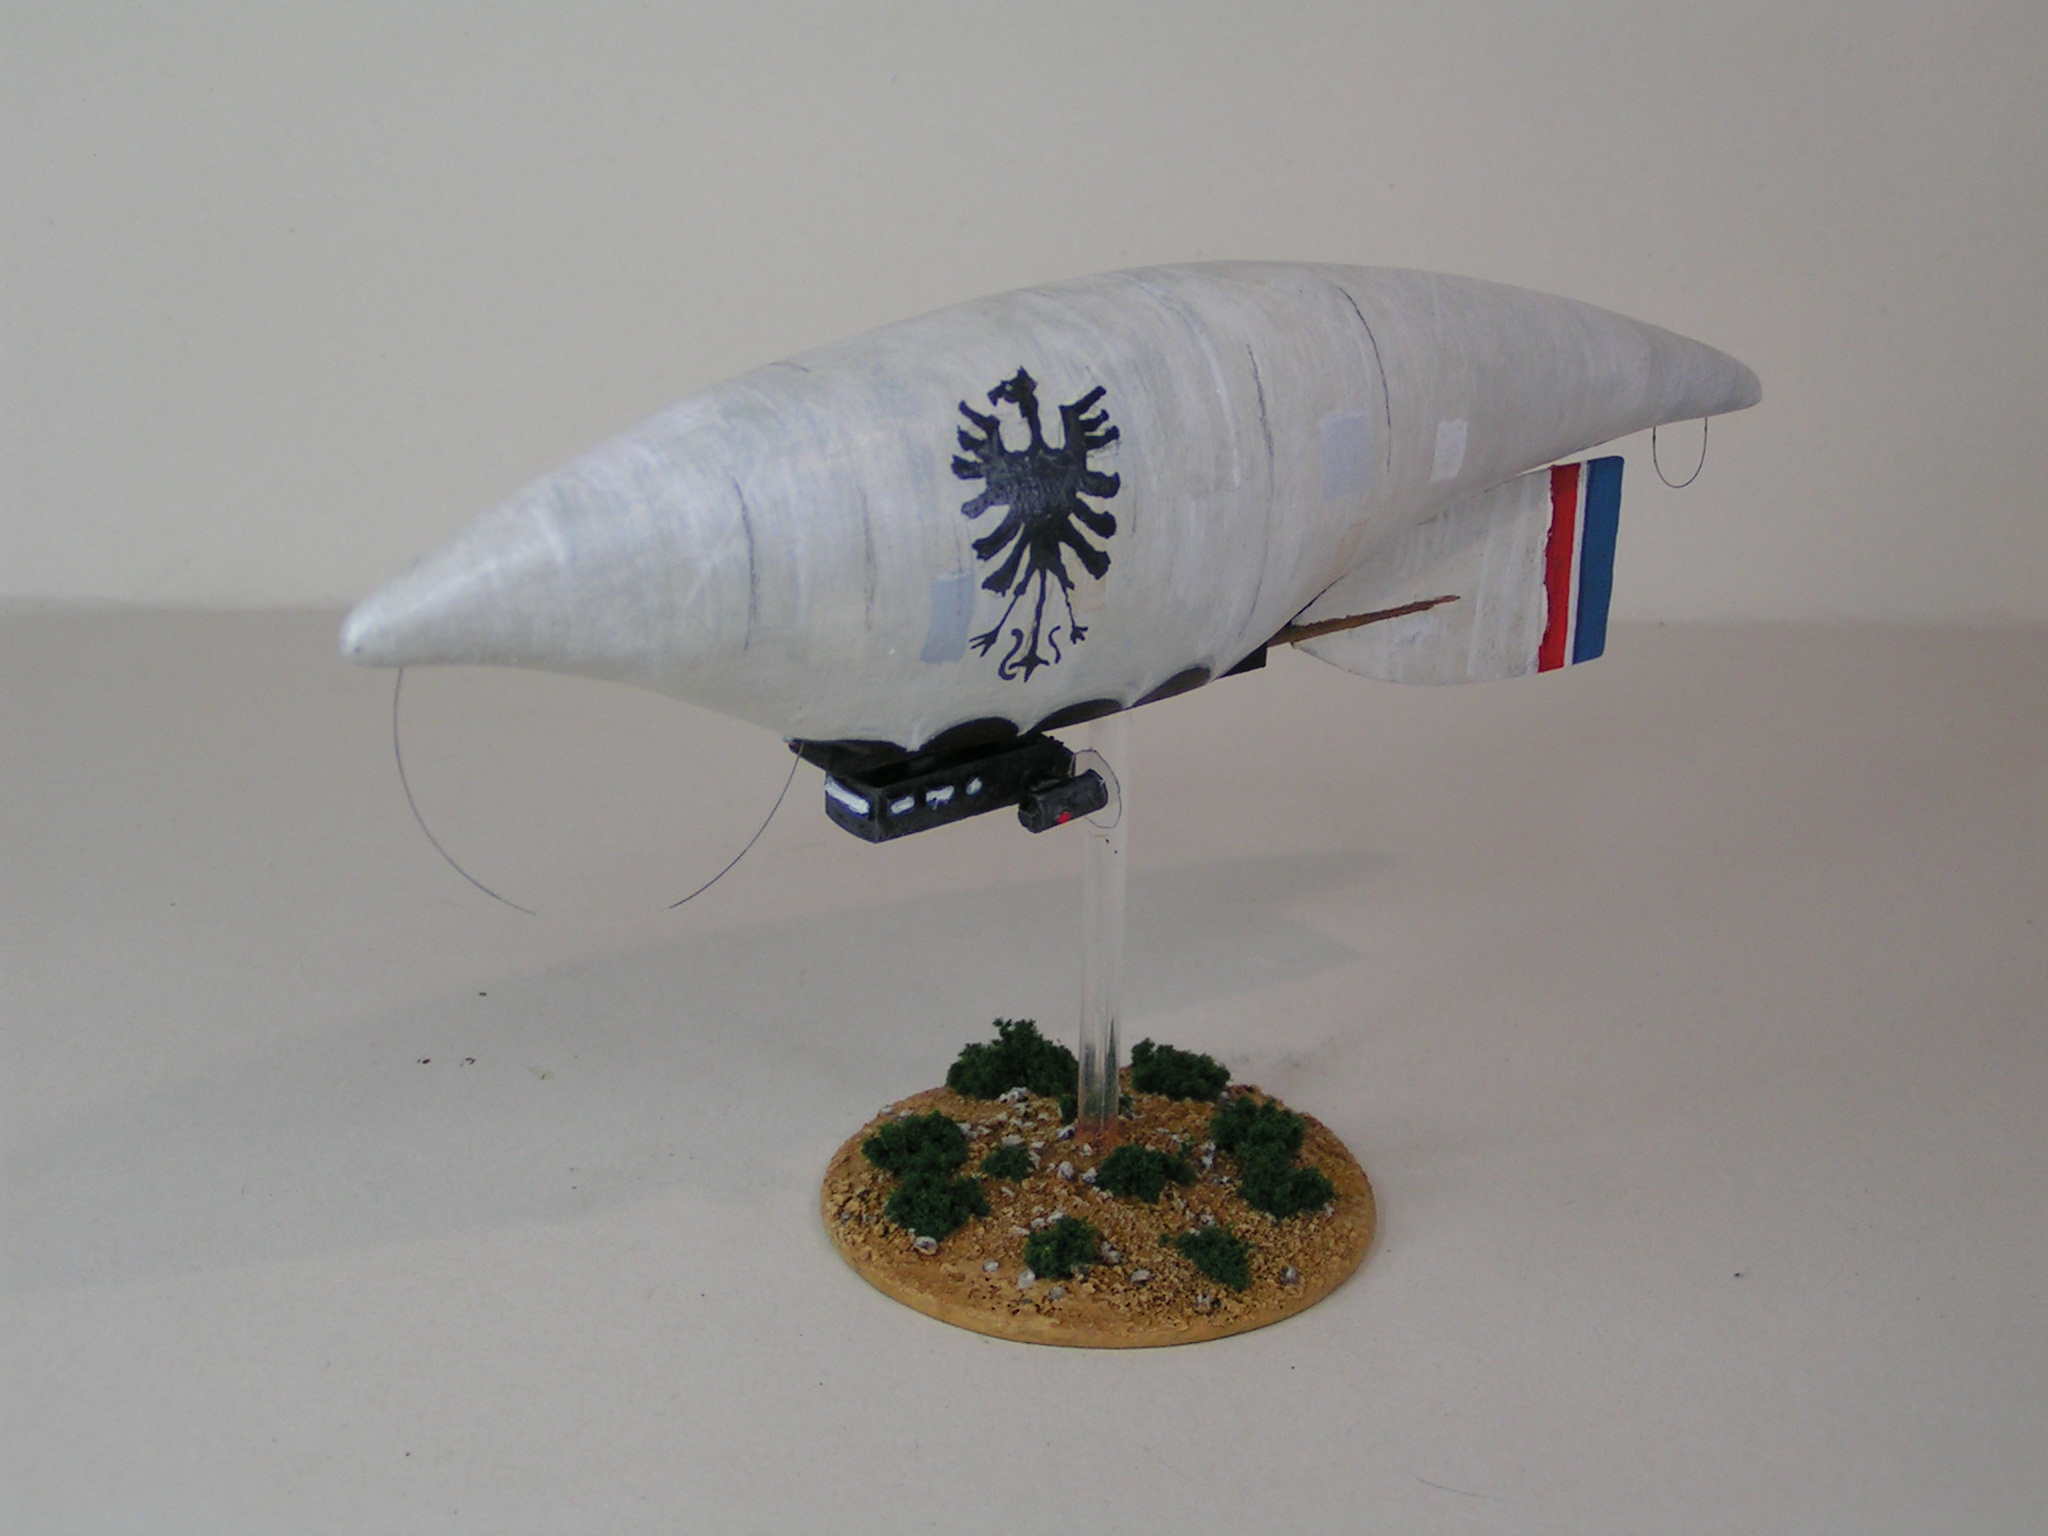
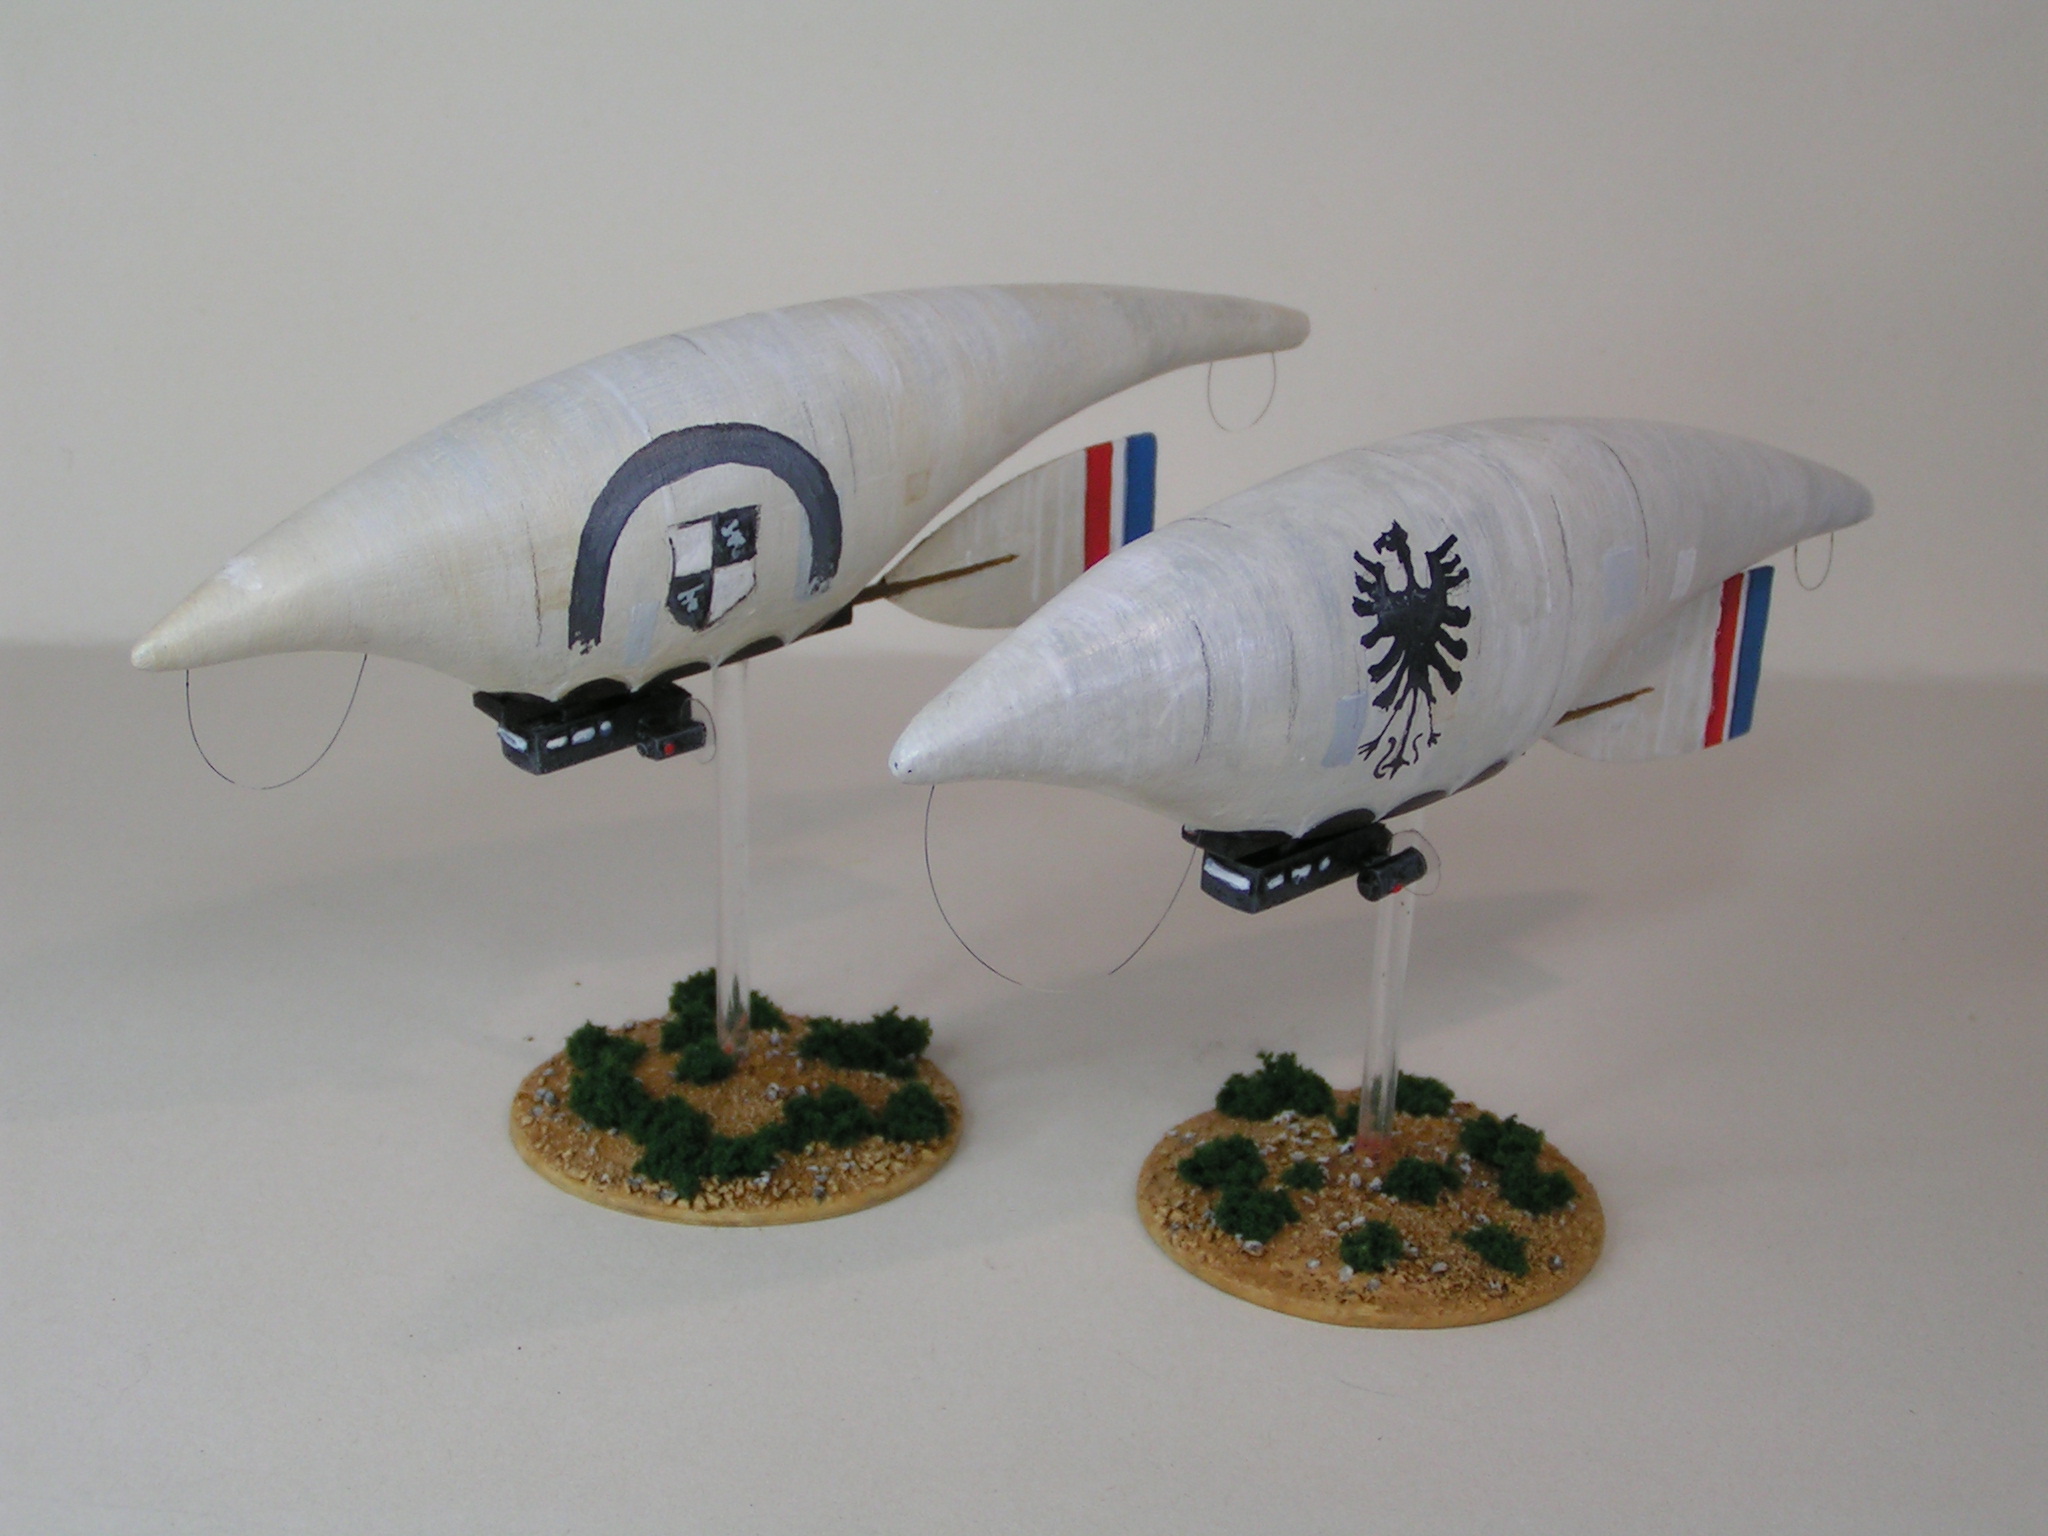
The latest issue of Miniature Wargames (issue 487, November 2023) has an article written by me showing how I built a couple of airships inspired by the Amazon Prime TV series Carnival Row. The blimps were cut from insulation foam with plastic card gondolas and painted with a range of acrylic paints before being based.

The models are built to a nominal scale of 1/600th and mounted on to 60mm round bases.

For more information, pick up a copy of Miniature Wargames, or check out this link.

The final image shows the second airship alongside a bottle of paint to give an idea of the scale and size of these models.


Tony

Sunday, 16 April 2023

The Spanish Aeronef - Miniature Wargames issue 481

Issue 481 of Miniature Wargames ((May 2023) features an article written by me showing how I scratch built this Spanish Aeronef for use in my re-imagined Battle of Lepanto using huge steam driven, lighter than air Skyships to re-fight this encounter in a Victorian Science Fiction 'What-if'.

The model used the drop tank from a 1/32nd scale Tornado fighter jet and loads of scrap plastic to built a steam driven Aeronef. The model was painted with standard acrylics and mounted on to a scratch built flying base.

The image above shows the Spanish Skyship alongside one of my Ottoman Empire Dirigibles (or Digs). Full details can be found in the magazine or by searching MW issue 481. Or click here.

Tony

Wednesday, 24 August 2022

Aeronef The Ottoman Fleet - part three

The latest addition to my Aeronef Ottoman Fleet is this smaller Nef.

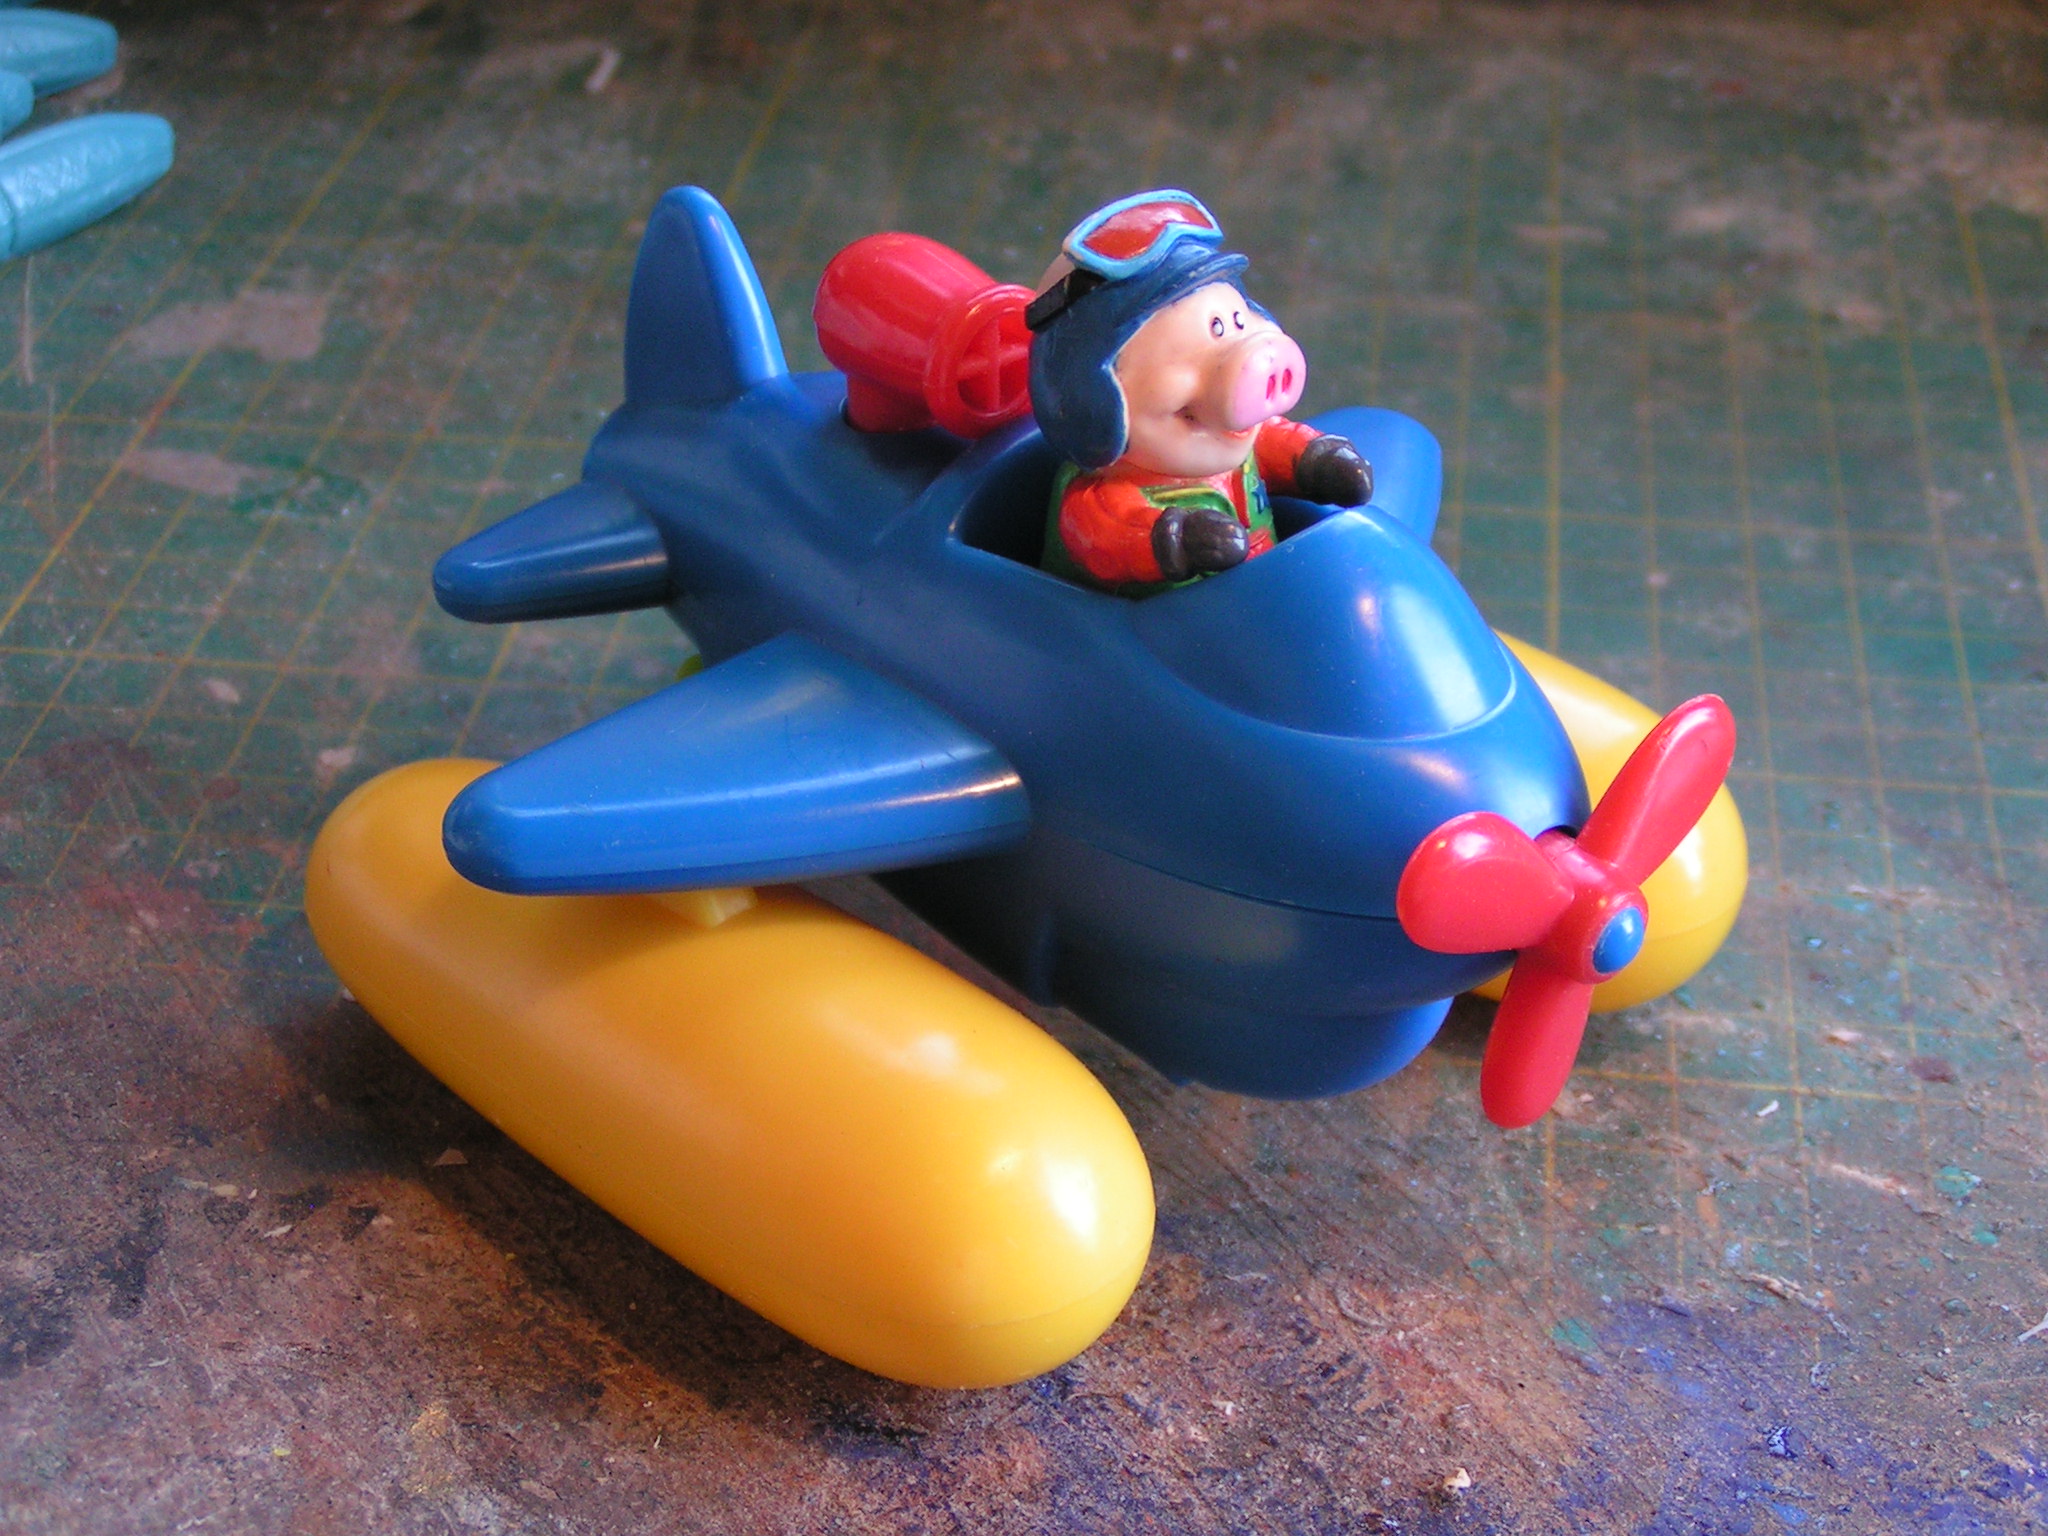
It was built from the same child's toy as the earlier models, but this time the hull was shortened. You can see the start of the construction in this image which also shows some of the Aeronef 'blanks' that I have and should be converted in to more Nef's soon.

Image three shows the new Nef alongside one of the earlier models.

While the last image shows the Ottoman fleet in full - at least for now.....


Tony

Saturday, 20 August 2022

Aeronef - The Ottoman Fleet part two

The latest addition to my Ottoman Fleet of Nef's is this huge battleship. It was built from the same children's toy as the earlier models, but the hull is longer - I cut the two of the yellow hulls in half and re-joined them to make the hull about 10mm longer.

Image three shows the construction - bits of plastic card, plastic rod and sticky-back plastic with a plastic rim from a pair of toy binoculars.

The final image shows the new Nef alongside the earlier model both mounted on to modified hex bases ready for battle.


I'm sure there will be more as I'm enjoying the construction so much and I have two shorter yellow hull halves just calling out to be modified.

Tony

Thursday, 18 August 2022

Aeronef - The Ottoman Fleet

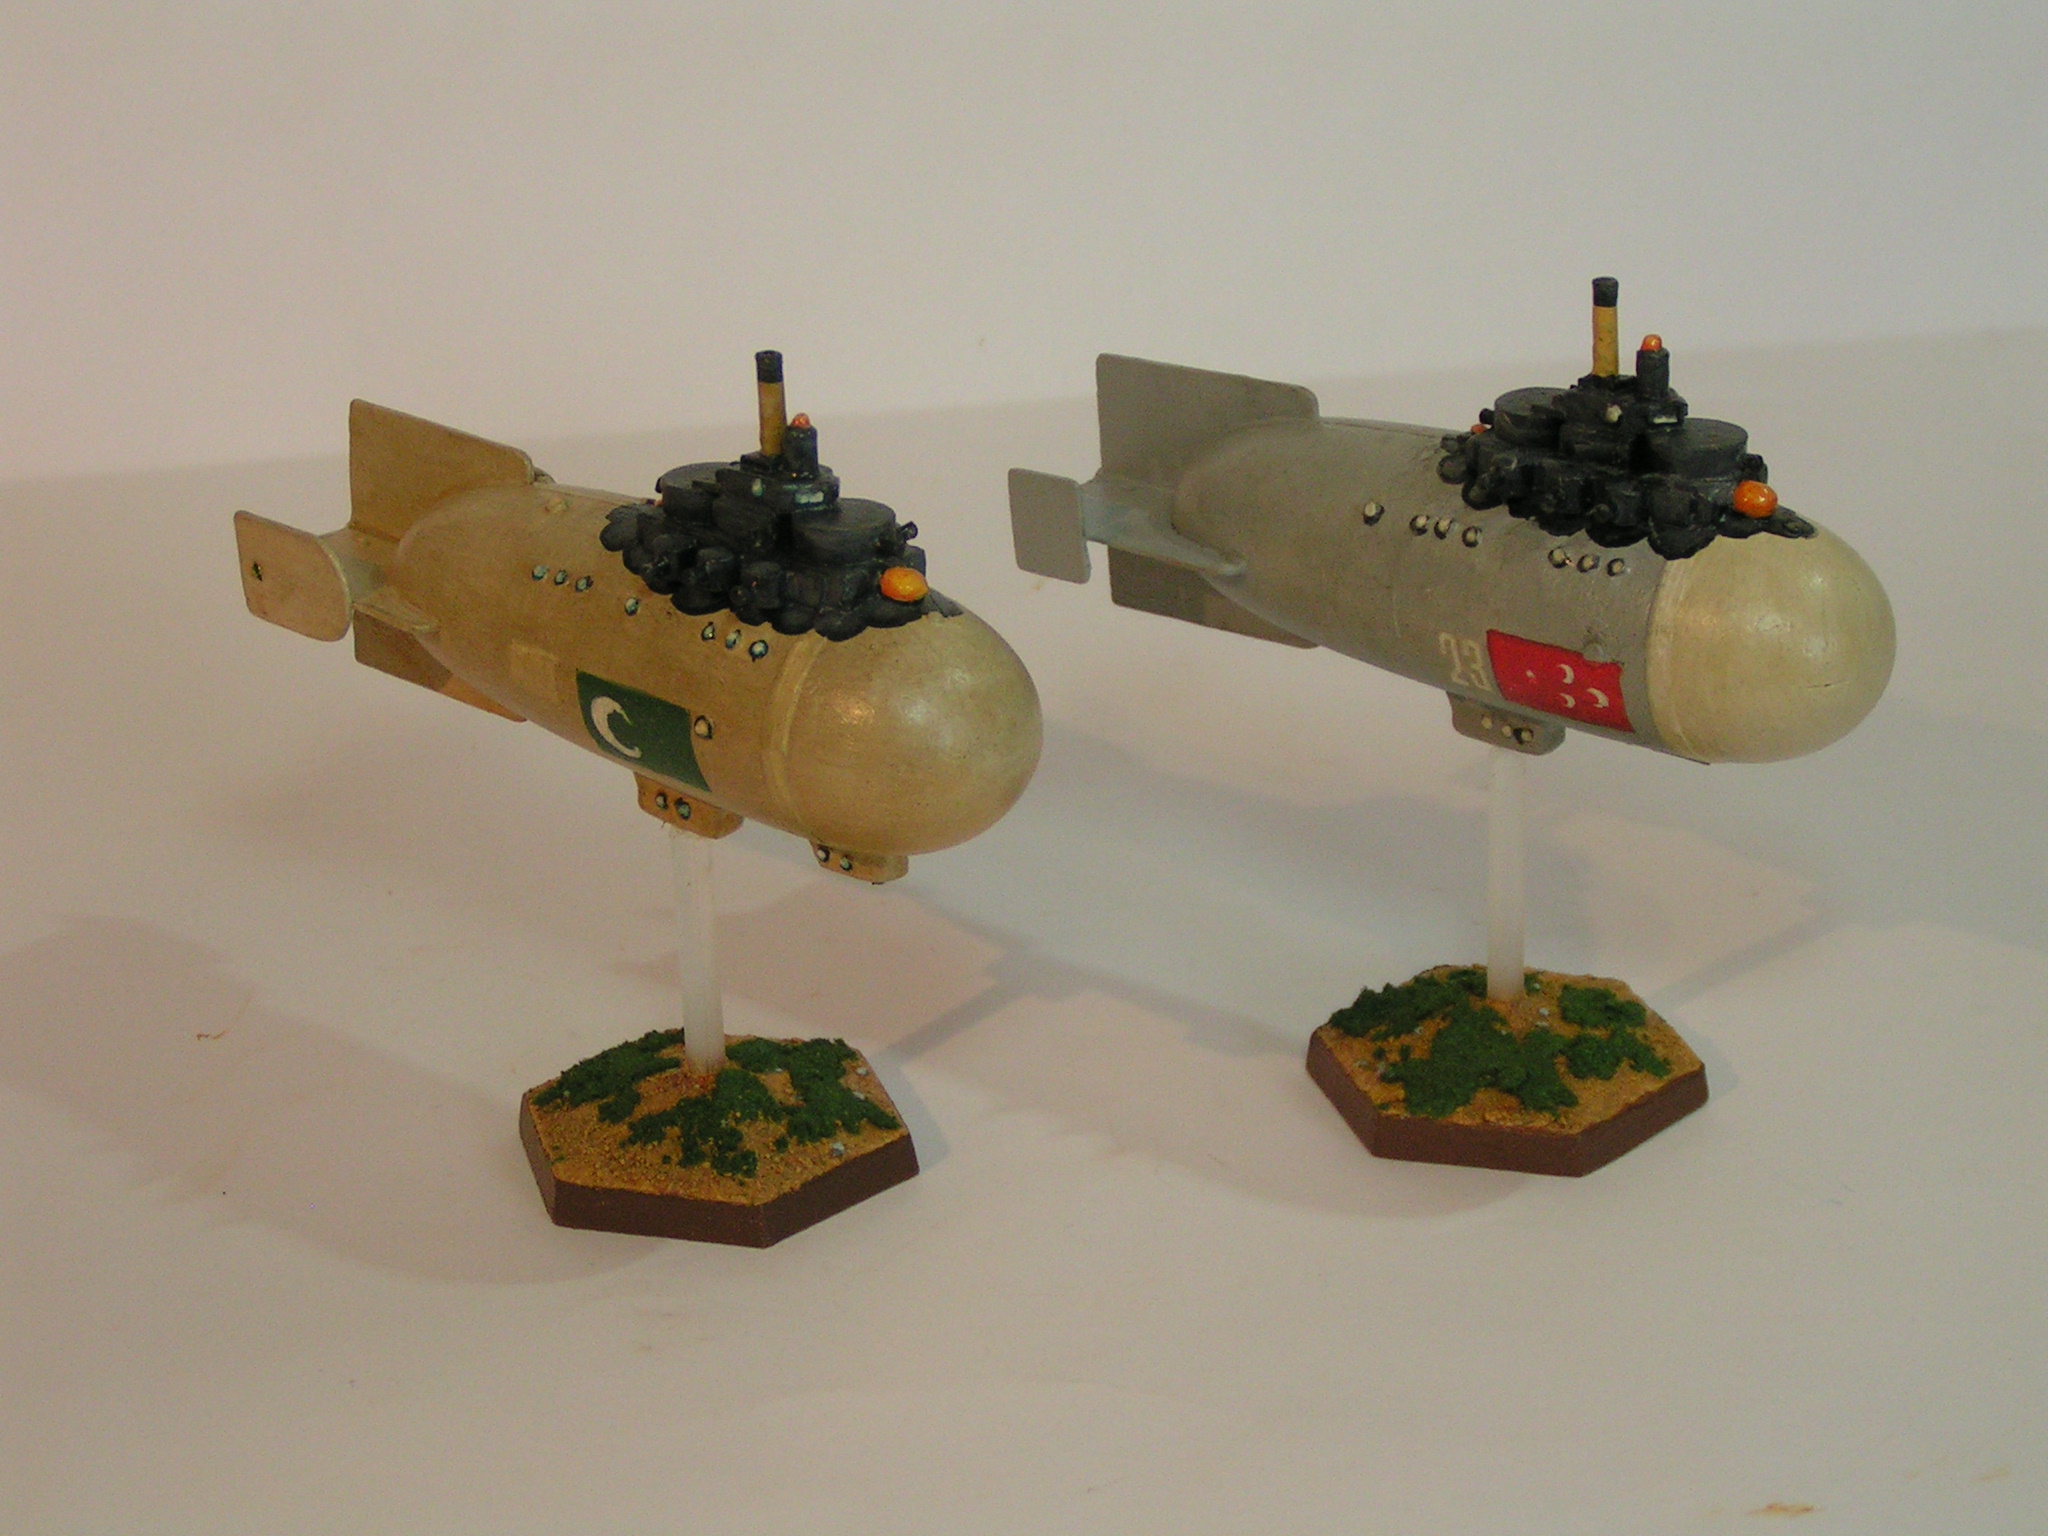
It has been some time since I posted images of any Aeronef models, but over the last couple of days I have been working on a pair of Ottoman Nef's to go with my Knights of St John Nef's and my Papal States Nef's. The first image shows a large Ottoman Nef, that was built some time ago, while image two shows the two latest models that have been scratch built from a child's toy

Here is the toy.....

Early stages of construction using plastic card and superglue.

The models fully constructed - plastic card, knitting needles, plastic rod and sticky-back labels, sitting on temporary clear bases.

And now partially painted. The left hand model fully repainted in the 'new' Ottoman colours and the right hand model wearing a mix of old 'battleship grey' with the previous owners marking still adorning the hull.

Here we have all three, fully painted and varnished on large converted hex bases. I still need a couple more before I have a force worthy of taking on the Knights and the Papal States, but I'm getting there.


Finally the largest Nef (in the centre) is 110mm long mounted on to a 40mm hex base. My back story for these scratch built Aeronefs is that the Third Battle of Lepanto was fought with lighter than air Nef's between the New Holy Roman Empire, led by the Knights of St John against a mixed force led by Pasha Suleiman III in an attempt to gain control of the Eastern Mediterranean. My take on The Cross and The Crescent, but with a Victorian Science Fiction twist.

More to follow.

Tony
Saturday, 4 March 2017

Hammerhead Shark BS2017- the voting is now open.


The Lead Adventure Forum Build Something 2017 Contest is now active and votes are being taken on the entries. For full details go to this link.

My Hammerhead Shark Aeronef is in Group A

Here are some construction and painting images for your perusal. While the image above is the image I entered for the contest.


I hope you enjoy the contest entries - there are some real beauties featured.

Tony

Sunday, 19 February 2017

BS2017 - Hammerhead Shark - part eighteen


The Build Something Contest on Lead Adventure update.

The entries are in and we are just awaiting details of the contest rules and how the entries are going to be judged. Good luck to everyone who entered and commiserations to those brave soles who's entries were not able to be completed in time.

Here is just one more image of the Hammerhead. Showing the painting started.


I will post details once the contest is live.

Tony

Wednesday, 1 February 2017

BS2017 - Hammerhead Shark - part seventeen


With the construction finished, here is the promised image of the undercoated model. I have used Vallejo Game Color Leather Brown as both a primer and an undercoat plus a Sepia wash to highlight some of the sculpted or modelled detail. Both the paint and the wash were applied with a medium sized soft hair acrylic brush and I used some Klear (Future) as a medium to get the smooth finish.

The final image shows the Hammerhead Shark posed alongside a Vallejo dropper bottle, as I had been asked in earlier posts to show the model alongside something to show the size and scale.


I am confident that I will meet the deadline for the contest - the painting and a base are all that is now required.

Tony

Sunday, 29 January 2017

BS2017 - Hammerhead Shark - part sixteen


The construction is finished.

I have added two deck mounted guns, one on the fore deck and one to the stern. These were constructed from plastic card and plastic rod with sections of knitting needles as bases (the red discs).


The model is 140mm long, 54mm across the head and eyes, 25mm wide across the main hull and 48mm across the pectoral fins. It is 86mm tall, bottom of pectoral fin to top of mast and it weighs just 18g.

I would expect this to be the last set of images posted for now as the rules state that this is a Build Something Contest and not a Paint Something Contest.

But there may just be one more! An undercoated shot.


I estimate that there are well over 120 separate pieces to the model.

Tony

Saturday, 28 January 2017

BS2017 - Hammerhead Shark - part fifteen


The model, at long last is nearing completion. The Pectoral and Pelvic fins were constructed from plastic card and after scraping and sanding to a slight aerofoil section, they were glued in place with superglue. I have built up the join from fin to hull with some more superglue and evened out any imperfections with more filler/uPVA glue.


I have used a number of Spelljammer images as inspiration for this particular model, taking points or parts from one and detail from another. Next will be the deck guns and then I can undercoat ready for painting.


Tony

Friday, 27 January 2017

BS2017 - Hammerhead Shark - part fourteen


Yesterday evening I added the main Dorsal Fin or sail which was constructed from .75mm thick plastic card. The method I used to add the sail was to cut out the sail section with a small upright addition to the bottom and then carve out a portion of the main mast so that the sail and this addition fitted into the mast running from the deck and up the lower part of the mast. The join was strengthened with superglue and accelerator as well as adding a ring of superglue around the mast where the sail attaches. I'm sure you can follow this when you look at the images. When the superglue had fully set, I used a scalpel to trim down the diameter of the lower mast.


I also have to admit to the first mishap of the project. I broke off the upper tail section at the join with the rear deck and this join then had to be reinforced with superglue and accelerator applied in layers. Once the supeglue was set, I sanded the join to get rid of some of the excess superglue and to smooth out the join.


I have also added some hull decoration - I used a thin strip of sticky-back plastic along the side of the hull.

I added another layer of the filler/uPVA glue, this time with some white acrylic paint added to the mix to both define and smooth out the hull contours. The same mix was used to smooth out the Hammerhead Sharks head and the join where the head meets the deck.


Progress is very slow as the cold weather has meant that visits to the shed-at-the-bottom-of-the-garden are limited. In addition I am trying to restrict working on the Hammerhead Shark as I have a second and more important project on the go at the same time. Call it Bad Planning.

Tony

Thursday, 26 January 2017

BS2017 - Hammerhead Shark - part thirteen


The latest post shows how I have added the viewing ports or galleries to either side of the rear hull. These were constructed from sections of pen barrels with plastic card bases and tops. They were glued in place with superglue and further detailed with sticky-back plastic.

Other detail included some scroll work on the hull sides and the distinctive Hammerhead Sharks eyes which were constructed from the tops of some round plastic rods.


Tony