Sunday, 11 March 2018

WMMS just one week to go


Just one week to go until the West Midlands Military Show, for full details see this link.

Tony

Saturday, 10 March 2018

An Industrial Narrow Gauge Adventure - the layout part twenty-six


Following on from the earlier post, I have completed the impressed brick wall. In these two images you can see the fully modelled wall. I have washed the bricks with a Vallejo Dark Wash as the plain white pizza foam does not show up too well when photographed. The metal Policeman stands 66mm tall.


I have purposely added damaged and crumbling bricks to the wall as I want this section to look run down. This was done by pressing a sculpting tool onto the foam or using a scalpel to remove sections of brick. In addition I have carried the brick courses around the corners to give a more realistic effect.

For larger views just 'click' on the images.

Tony

Thursday, 8 March 2018

Airfix Beam Engine as featured in WS&S issue 95


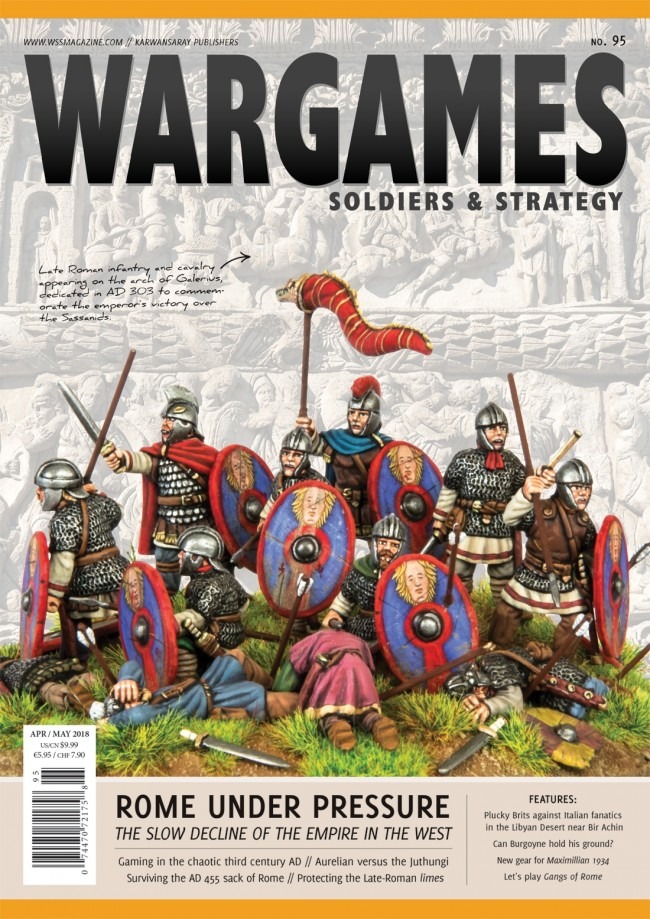
Wargames Soldiers and Strategy issue 95 - April/May 2018 features another 'how-to' article written by me showing how I modelled and re-purposed a veteran Airfix Beam Engine into this piece of 28mm or 1/56th scale Steam Punk terrain. Far from being a straight-forward build the 51 year old kit fought with me all the way. However I am very pleased with the finished model and it gave me a great deal of satisfaction to see how I made a plastic kit look like aged and oily metal.

For more details of the contents of the magazine see this link.


I have included two additional images showing the finished Beam Engine on a scratch-built plastic card base.

The model was constructed with both normal plastic cement and superglue. The painting was done with brushes and sections of broken sponge and the weathering was carried out with washes and watercolour pencils.


The Airfix Beam Engine was originally sold as a working model and included a small electric motor and battery compartment which was used to turn the main fly wheel. This later kit does away with the engine but I can confirm that it is still a working model - the rocker arm, main fly wheel and piston all work as intended.

Tony

Monday, 5 March 2018

An Industrial Narrow Gauge Adventure - the layout part twenty-five


I decided not to use individual brick slips (as seen in the earlier posts and when building the brick base for the salt pan). Instead I have used 3mm thick expanded foam (the foam base from a frozen pizza) which was glued in place with both PVA and superglue.

The brick shapes were pressed into the plain foam using a modified paintbrush bezel which I had re-shaped with a pair of modelling pliers. The brick sizes are slightly over scale being 8mm x 2.5mm. There are many tutorials on the internet showing similar techniques for examples see this link.

You can see the effect in the image above and the customised tool in the image below. I found it best to add a sharp cutting edge to the impressing tool - this was done by using a rat-tailed file.


Once you get used to the technique, you can produce an impressed brick wall in double-quick time, easier than adding individual brick slips and also allowing you to add damaged or imperfect bricks. I mistakenly started from the top of the wall. If you are looking to copy this technique I would suggest that you start at the bottom layer or in this case ground level.

More to follow.

Tony

An Industrial Narrow Gauge Adventure - the layout part twenty-four


In this image, taken from the internet you can see the canal-side view of The Lion Salt Works, Cheshire. My small shelf layout uses these buildings as inspiration for the low relief structures that run along the back of the 1;27.7 or 11mm = 1 foot layout.

The brick based salt pan has already been built and now I am starting on the larger (end on) building shown to the right.


I have started by building a blank or core in cardboard. This was done by laminating layers of corrugated cardboard together with my hot glue gun and sealing the edges with brown wrapping paper applied over PVA glue. This technique produces strong but light structures onto which I can glue detail.

I have used this technique to build many pieces of wargame terrain and even a full gaming tile so I know it works.


The cardboard blank is 260mm wide x 240mm tall and 40mm deep.

Tony

Sunday, 4 March 2018

WMMS just two weeks to go


The West Midlands Military Show, Alumwell Wargames is now just two weeks away. For full details see this link.

I have been given a table to exhibit my scratch-built and resin cast model terrain, so if you are going to be there, come along and have a chat.

Tony

Amended.....

Friday, 2 March 2018

An Industrial Narrow Gauge Adventure - the layout part twenty-three


The next step is to attempt the larger side-on building (marked with a Y). The building is closely based on The Lion Salt Works, Cheshire at a time before the end wall was renovated and the building was re-purposed as a modern salt museum. My plan is to build it as a low-profile, low-relief structure as seen in the image above.

Tony