Wednesday, 10 June 2020

Scalextric/Gaslands - part seven


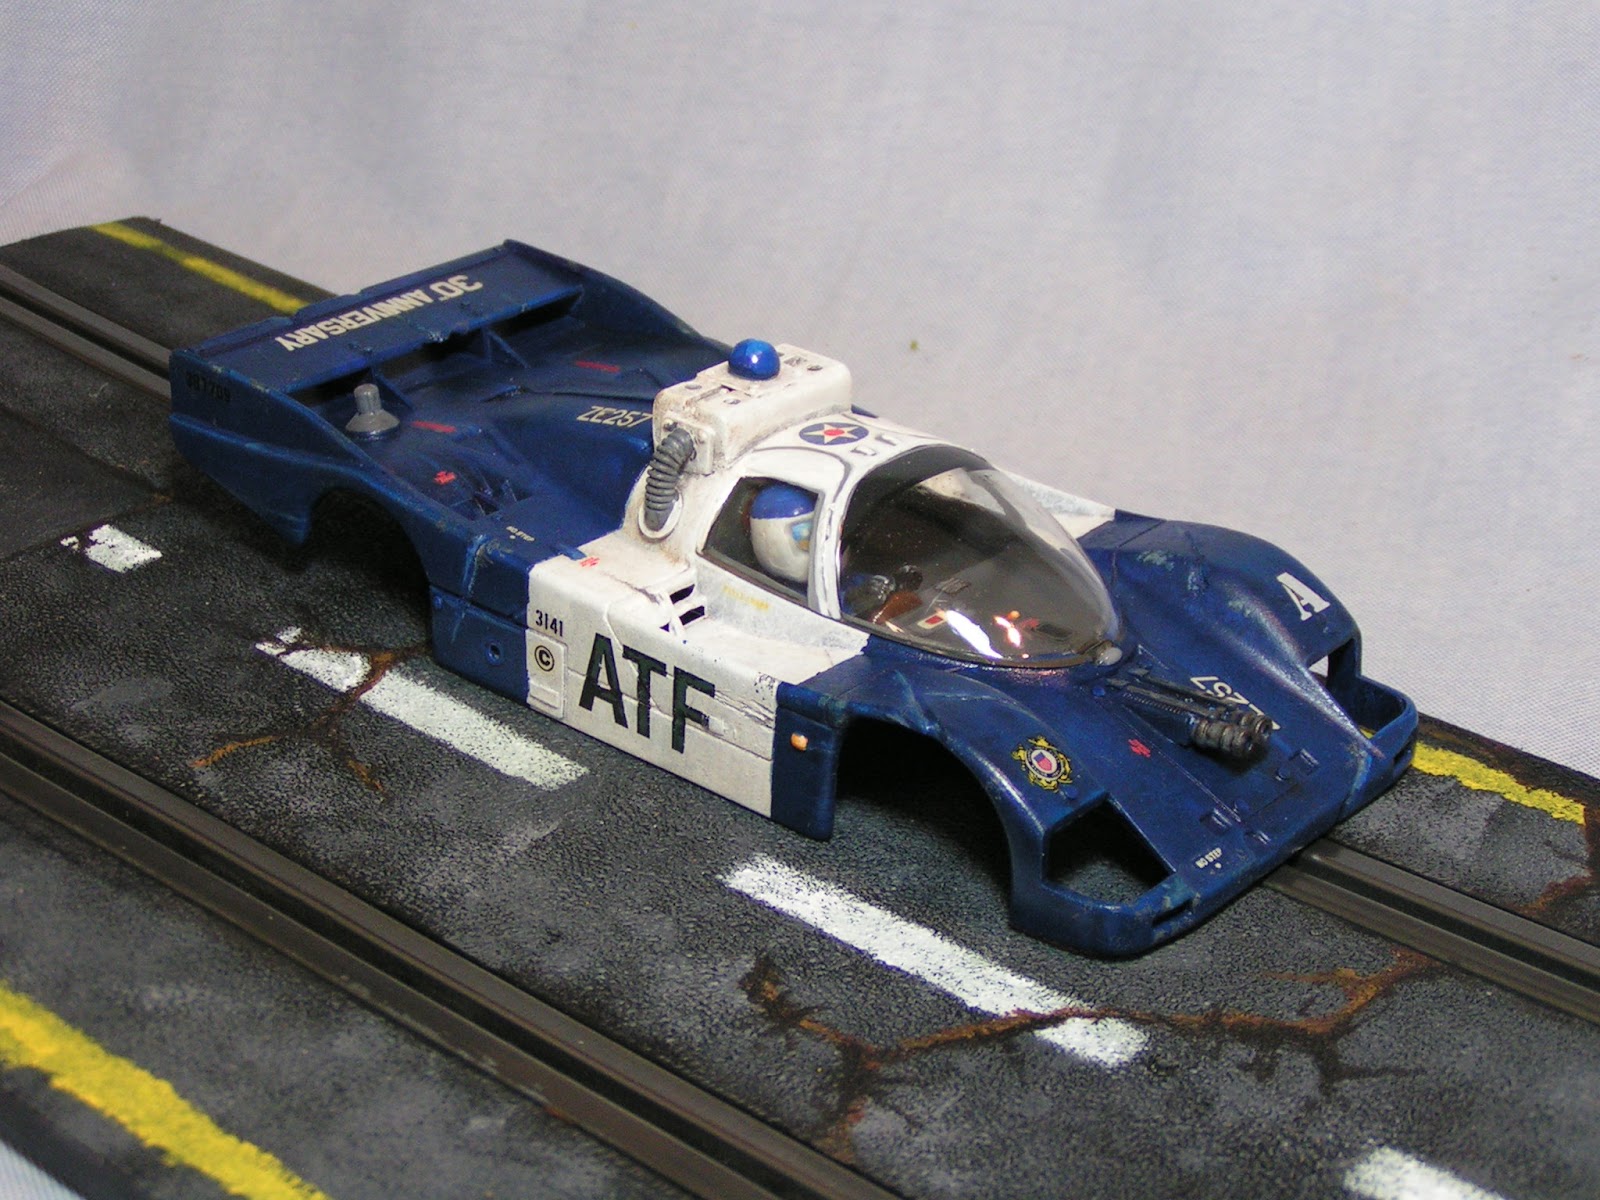
The second Scalextric Porsche has been modelled as a Blockade Runner and more Mad Max than the ATF Interceptor. The guns and circular saw were from an old Airfix Sci-Fi kit while most of the add-on's are from the spares box or plain plastic card. The rivets are from sliced up plastic rod.


I used lots of superglue and accelerator to make sure that the bits would stay in place and 'damaged' the bodywork with my Dremel fitted with a burr. The fuel drum fitted to the rear was from an old 7mm or 1:43.5 scale kit.


Stay safe and

Keep Calm and Carry On Modelling

Tony

Tuesday, 9 June 2020

Scalextric/Gaslands - part six


The first car, the ATF Interceptor is now complete. The new tyres have been fitted and I have given the car a quick test to check that it runs OK.

At the same time I've been working on the second car - a Blockade Runner and I'll upload images later this week.


Keep Calm and Carry On Modelling

Tony

Sunday, 7 June 2020

Scalextric/Gaslands - part five


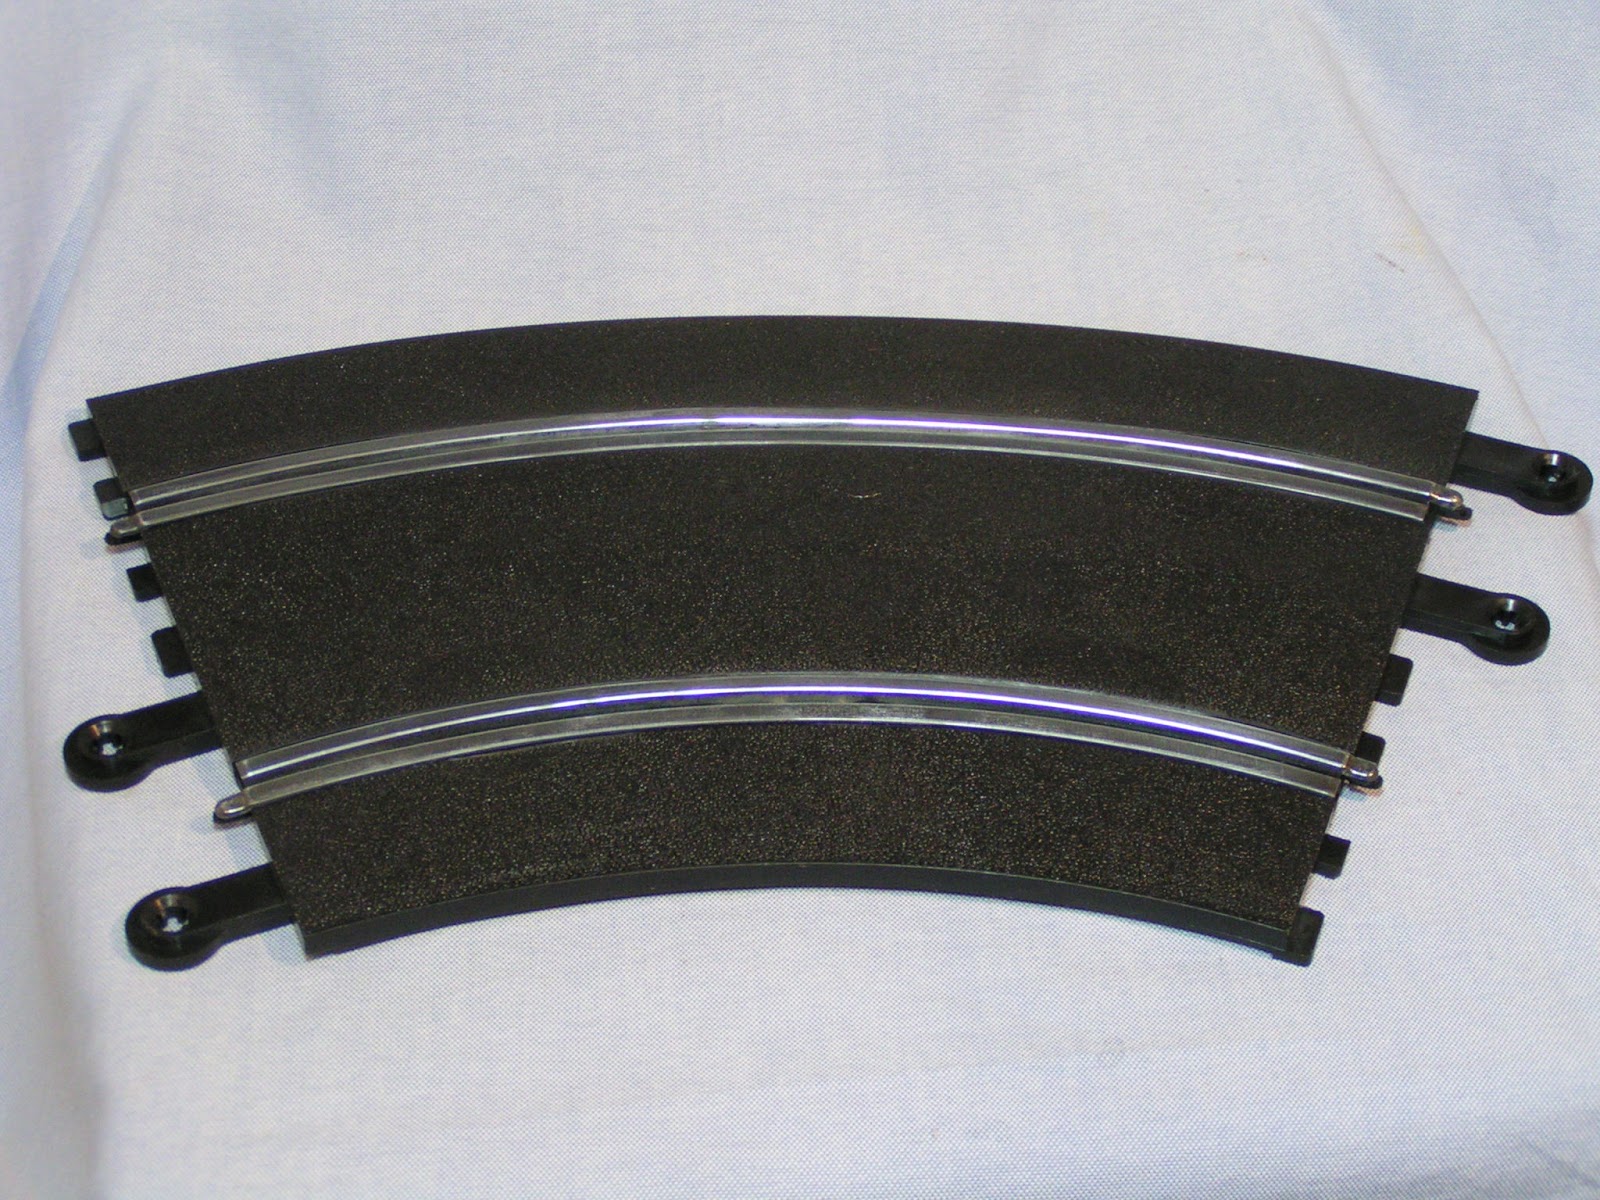
While I wait for the new tyres to be fitted I started to clean up the rusted Scalextrix track. I used my Dremel with a wire brush and some sanding sponges (cut down to fit the metal parts of the track) to clean and polish the pick up areas. They now look a lot better.....


However that was not enough for me and after searching tutorials on You Tube, I decided to paint my plastic track to resemble the Gaslands road sections seen in the game by Osprey Publishing.

The grey tarmac areas were sponged with two different acrylic paint greys and the road markings were stippled on (via a home made stencil) while the cracks were painted with a fine brush and based on the images/tutorials found on the internet.


The final image shows the Porsche interceptor on the newly painted track.


Hopefully, there will be more posts very soon, but for now. Stay safe and

Keep Calm and Carry On Modelling

Tony

Saturday, 6 June 2020

Scalextric/Gaslands - part four


The canopy was cleaned and dipped in Klear before being painted white. I brush painted the white as I could not be bothered to mask up the compound curves. The driver has been painted as a Highway Patrol officer before being slotted in place. The final piece of painting was to add a coat of Klear to the white areas before I applied the single US ARMY star to the roof.

The headlights were 'plated' with some metallic foil glued in place with contact adhesive and pressed down with a piece of polished wood.

The canopy was clipped in place (not glued) and I'm now just waiting for the new tyres before I add the motorised chassis.


Prior to taking these images, I roughly masked the cockpit canopy and splattered on some road dirt by flicking the bristles of a stiff brush which had been dipped in watered-down acrylic paint. I didn't go too heavy as I just wanted the hint of road dirt. I have also run the side of a graphite pencil along a few of the edges, to show exposed metal surfaces.

Stay safe and

Keep Calm and Carry On Modelling

Tony

Thursday, 4 June 2020

Scalextric/Gaslands - part three


Prior to applying any decals, I gloss varnishes the whole model with a diluted Klear (Future) mix which was ghosted on with my Paasche H model airbrush.

The decals were a selection of items from my ever-dwindling supply. There are decals from Games Workshop, aircraft decals and even a few from a racing car model. They were all applied with Microset decal solution and went on without issue although the decaling did take some time.


I think the application of decals has helped to 'liven-up' the model and give it a more 'realistic' appearance. I still need to add the canopy (which is soaking in a bath of Klear floor polish) and the driver.

The next post should be along soon, for now stay safe and

Keep Calm and Carry On Modelling.

Tony

Tuesday, 2 June 2020

Scalextric/Gaslands - part two


With all of the modifications done, it was now time to start the painting.....

I basecoated the model with Tamiya spray can plastic primer after I had washed the shell in warm, soapy water then mottled-on the white area with a sponge. I was purposely trying for a mottled or worn effect and not for a smooth all-over or new coat.


I masked off the white areas with decorators blue masking tape and sponged on the blue areas. I started with a dark blue/black base, then a second layer of just dark blue and then a highlight of dark blue/Enchanted blue to pick out the surface detail.


I touched up any areas where the paint had bled under the tape and brush highlighted the damaged areas before I started searching for suitable transfers/decals. I had scribbled some designs on scrap paper - I was not looking for a plain POLICE logo and tried LAW, DEA and finally ATF (Alcohol, Tobacco and Firearms).


I used a Letraset transfer sheet of black letters (1411) for the ATF and then sealed them with Klear (Future) before painting over the letters with dark grey (to weather-in the black ATF). Finally, I once again sealed the letters with Klear which was brushed on.

I think the ATF looks great and I am already imagining the second car as a blockade runner being chased by the ATF officials. As stated in the earlier post, this has been great fun and I'm looking forward to seeing them on the renovated Scalextric track.

More to come and soon, but for now stay safe and

Keep Calm and Carry On Modelling

Tony

Monday, 1 June 2020

Scalextric/Gaslands Mash Up


Lockdown just got weird.....

Now that I've done all of the jobs that needed doing in the garden, tidied my shed and even arranged my magazine and book collection, I could put it off no longer - I started to tidy the garage. I'm sure like many my garage is a glorified dumping ground and has never been home to any car. My garage is pretty much crammed full of old furniture, tools that I will never use, old junk and cardboard boxes. One cardboard box (actually two large cardboard boxes tucked away in the corner and full of cobwebs) held my sons old Scalextric racing car set. The track was rusted and none of the cars would run but we do have loads of track and about six cars in various states of decay. These cars have not been used for over twenty years!

I took out the two Porsche 962's and though I would try to get them to work. Some time later I had the engines running but the tyres were completely shot having decayed and cracked. Before I try ordering new ones from e-bay, I thought I would try renovating the bodies and taking inspiration from the internet and the Games Workshops Dark Future car wars game I started to add guns and armour to the red Porsche.


Car No. 1 was modified as a Police Interceptor with linked machine guns to the front and a police light bar mounted to the roof. All the 'bits' came from my well stocked bits box and were glued in place with superglue.


As you can see there was very little in the way of modification/customisation, but I was pleased with the look and enjoyed the project which took less than a day to get to this stage. Dents and scratches were added with my Dremel set on high speed and at the same time the stripped-down chassis was given a thorough clean.


Now, I just need to paint it.

There are loads of sites on the internet showing how others have modified their own Post Apocalyptic vehicles and some, for example the board game Gaslands from Osprey show how Matchbox and Hotwheel cars can be modified with new wheels, armour and guns as well as outlandish paint schemes to produce unique playing pieces. I have not seen anyone do this with Scalextric slot cars, but there's no reason I can thick of not to try.

Part two will show how I painted this 1:32nd scale model.

Stay safe and


Keep Calm and Carry On Modelling

Tony