Friday, 15 January 2021

Flintloque Line Infantry - part seven

The flesh areas have been further detailed with selected Flesh/white dot highlights. The lips were painted in a Pale Flesh/Leather/Bright Red mix and I gave the face and hands a very light, home-made wash of acrylic medium and red paint to give the face a reddy glow and make them a little warmer.

The teeth were first painted light grey and then detailed with almost pure white with a No. 2 sable brush.


The trousers have been painted pale grey - a mix of differents greys and highlighted by adding white to the mix. The 'warmer' flesh colour has helped to bring the miniatures to life and I'll be spending time on the red uniforms next.

Stay safe.

Tony

Wednesday, 13 January 2021

Flintloque Line Infantry - part six

It is rare for me to paint any miniature without starting with the face or flesh areas first and these eight Flintloque Orcs are no exception. I built up the flesh areas over a Leather Brown base and highlighted with Pale Flesh and then a Pale Flesh/White mix before washing the areas with a diluted Flesh wash. I used the blue-topped Flesh wash from Games Workshop (these are now very old and difficult to get hold of, but I still think they are some of the best Flesh washes you can get).

Prior to taking these photographs, I have 'tidied-up' the dark brown/black areas with a fine sable brush. Notice how I have allowed the dark brown areas to show through in the recesses and shadows.


Stay safe.

Tony

Tuesday, 12 January 2021

Flintloque Line Infantry - part five

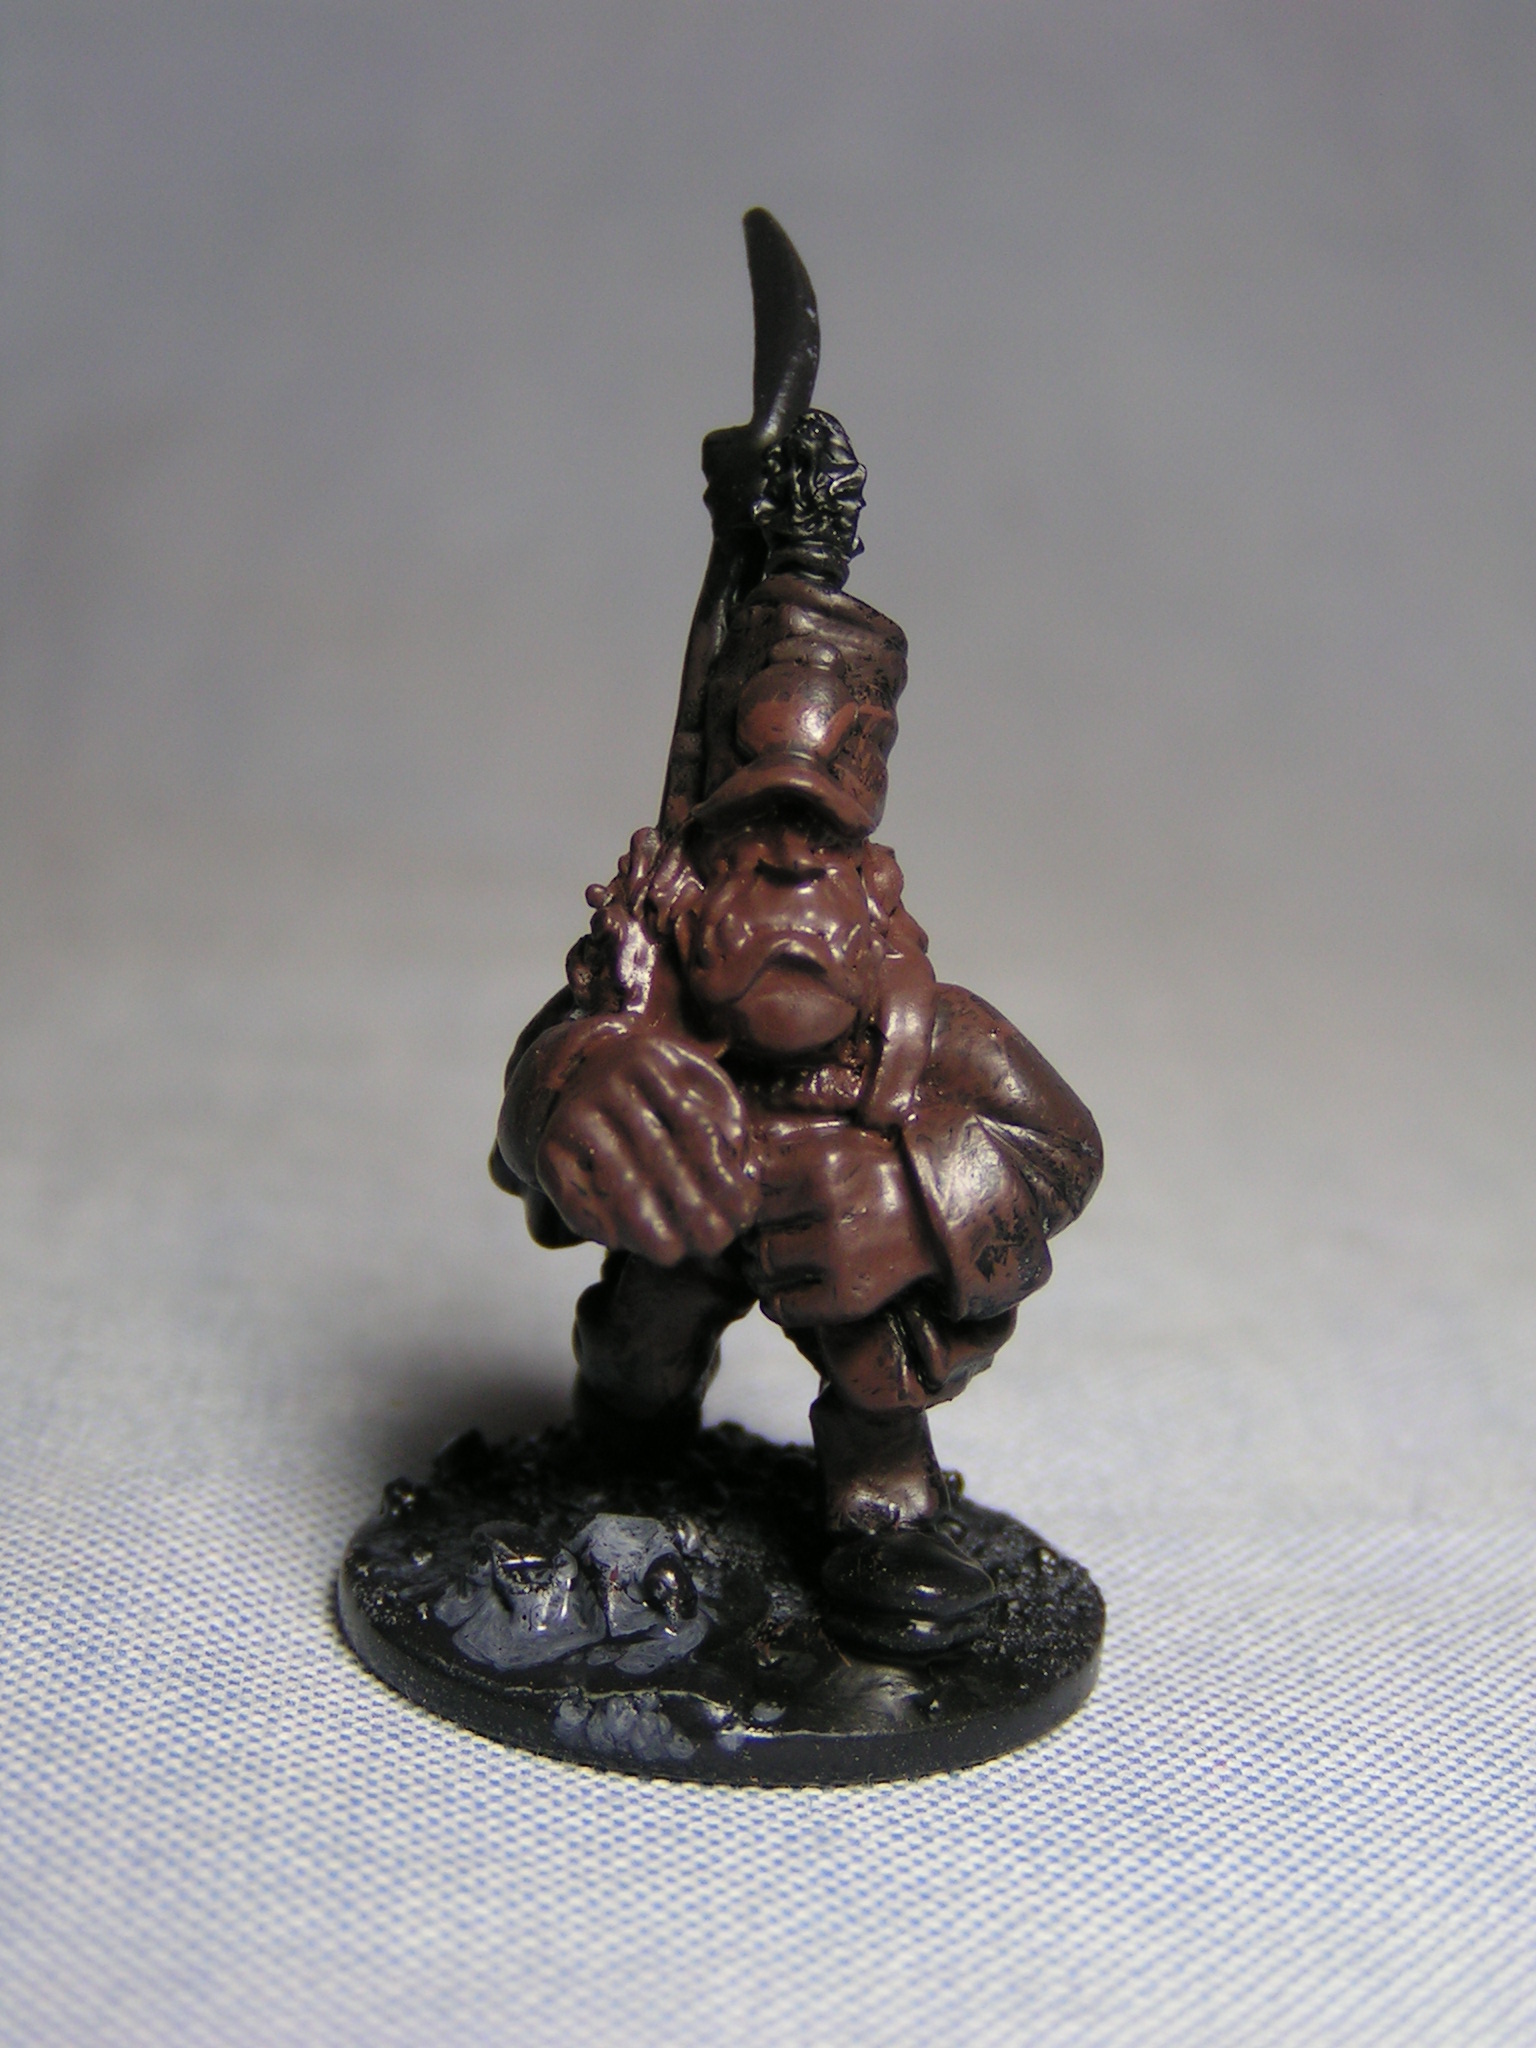
The eight Flintloque metal miniatures were first spray painted with Tamiya grey primer then sprayed with Anthracite - an acrylic craft spray paint bought from Hobbycraft. Over the last few years I have found that I prefer painting my Orc skin tones over dark brown rather than pure black (or anthracite which is a very dark grey). I brush painted dark brown (mixed from Chocolate Brown and Black) onto the 'flesh' areas with an old brush. In the image below, you can clearly see the effect.


Hopefully I can get some actual colour onto the eight Orcs soon.

Stay safe.

Tony

Monday, 11 January 2021

Practical and Simple Wargame Terrain - part eight

This Blog post shows my latest scratch-built model to appear in Miniature Wargames (issue 454 February 2021) A Prussian Barn which is based on a decorative oil burner I first saw at a Christmas market back in 2011 (remember those?).

This is the eighth tutorial/article in the series showing how I build simple wargame buildings from everyday and easily obtainable materials. This particular model was built on a corrugated cardboard core with egg box detailing, card tiles and DAS modelling clay. for full details see the MW site here.

The earlier articles are;

A Stone Cottage

A Timber Framed House

A Round Dovecot

A Thatched Cottage

European Barn

A Wooden Shack

A Simple Thatched Hovel


I have at least one more tutorial/article in the pipeline and am thinking of another, but would welcome suggestions and comments on how to proceed with this series.

Tony

Sunday, 10 January 2021

Flintloque Line Infantry - part four

My initial plan was to start undercoating the eight Orc minis, but.....

I actually spent most of the day tidying up the metal mouldings. I used a knife and some needle files to remove casting defects or misaligned mould join lines. Then.....


Played with some Green Stuff and a pointed dental tool to add some customisation to the figures. I added new and more defined strapping or rough rope to the backpacks and a small round clasp to the ammunition pouches. The Green Stuff was added over superglue and any detailing was done with the dental tool or the point of a scalpel.

I can now get on with priming or undercoating the minis - that is if the weather doesn't deteriorate too much.

Tony

Friday, 8 January 2021

Flintloque Line Infantry - part three

I used Yellow/Grey or standard Milliput epoxy putty to build up the 2p bases. The Milliput was applied with a dental tool and 'cooked' at low temperature for 10 minutes in the oven to speed-up hardening. The cold weather is playing havoc with my modelling time down the shed and the oven cooking was a great help.


Further texturing was done with some sieved stones and sand applied over PVA glue. I then brought the minis into the house so that the PVA would dry or set properly.

I am often asked 'why I base and texture my bases before painting?'

I find it is a much more logical progression as I can prime, basecoat and paint the mini and base in one go which in my opinion gives a much more unified effect and reduces the chance of damaging the miniature when apply basing material after the figure has been painted.

Stay safe.

Tony

Wednesday, 6 January 2021

Flintloque Line Infantry - part two


Prior to basing the miniatures, I had to do some remedial work on the castings, particularly the rifles. I used my fingers and some slight pressure to straighten the barrels before repairing the broken bayonets.

I had four Orcs where the bayonets were OK and just strengthen the end of the barrel and the start of the bayonet with some superglue. The remaining four, where the bayonets had been broken off were repaired by cutting the bayonet away from the end of the gun barrel and supergluing the small barrel end back in place. Once again I used superglue and accelerator to seal the delicate join.

All eight figures had their bases smoothed out by sanding back the bottom of the metal base with some sanding sticks (wooden sticks with sandpaper/abrasive paper stuck in place with double-sided sellotape).

The figures were glued to 2p coins with more superglue and accelerator. I use a brand of superglue called Mitrefast from Everbuild which can be purchased via the internet.

I am well aware that there are a wide variety of different basing techniques/materials used by Flintloque gamers. I have persisted in the use of 2p coins since my first Flintloque Orcs were modelled over twenty years ago. By the way, my first Flintloque minis were purchased from a now long-gone ironmongers/model shop in Stratford-upon-Avon.

Bases I have seen used on Flintloque miniatures;

1 - Coins (as already stated, I use UK 2p coins or 1p coins on some of the smaller figures)

2 - Metal washes

3 - Square metal bases (as supplied by Alternative Armies). These were the bases included with this box set of Flintloque Line Infantry

4 - Square plastic bases (similar to the Games Workshop bases, but without the 'Slotta-base')

5 - Round plastic bases, either simple or with a curved lip

6 - Card or balsawood square bases

7 - Resin 'cartouche' bases, either round, square or rectangular as supplied by AA 

So which bases do you employ?

Tony