Wednesday, 10 August 2011

Stone Barn an on-line build part five

Some time ago I started this On-Line build to show how this old model was re-painted. At long last it is finished, for more information see this post this post and this post

The model was built over twenty years ago (maybe even twenty five years) and is constructed from card that was originally used as advertising material/display material for Gonzalez Byass Sherry! The surface detail is DAS modelling clay and as you can see it has held-up well to the rigours of gaming and being stored in the attic.

The model is quite large (too large) at 300m long x 100mm wide and 120mm tall.


Here you see some close-ups of the stonework and surface detail. I feel that I have improved somewhat since these (very) early modelling tests, but am still proud of the technique and sculpting. For those who are interested the stones were first spread out on a glass cutting board and when cut to shape were added one-by-one to the building frame over a layer of uPVA glue. The roof tiles (stones) are individual DAS pieces which I think work well on some models but looks a little hap-hazard on this one.


The Stone Barn has given sterling service and has been re-based once and re-painted twice since first modelled. Of note is the fact that it was originally built with a open base (on a hollow card shell) but has now been mounted onto a 3mm thick plastic card base with the groundwork built up from DAS and Milliput.

The green growth climbing up the side of the building is made from small clumps of foam, superglued on to the walls and then covered in fine sand.

For anyone considering a similar modelling project I would recommend making it a little smaller with a 160mm x 100mm footprint being easier and more practical.

At this moment I am not sure what I will do with this model - nostalgia says keep it, but I am not sure that it fits in with my 'other' terrain pieces being a little too large and coarse. I have other 'early' DAS models stored in the attic which I may well remodel and re-paint at some time.

I hope that you like this example of my early modelling work.

Tony

Tuesday, 9 August 2011

An Ogre of Valon - part four

A quick 'n' dirty update. First the red uniform. I have used Red Gore as a base and Blood Red as a highlight, once fully dry I washed the area with Baal Red wash from GW. (Note; I have only Basecoated and then one highlight - I find this works better with red, which can be highlighted too much and either look orange or worst still pink!)


Next we have the 'buff' cuffs and turnbacks. I started with a 50/50 mix of Snakebite Leather and Bad Moon Yellow then highlighted with Bad Moon Yellow and later an extreme yellow highlight of Craft Paint Gloss Yellow which looks a little strange at the moment - but should dull down once matt varnished.


There is still a lot to do, but I am enjoying this On-Line Build, something that has been on my 'too do' list for some time.

Tony

Sunday, 7 August 2011

An Ogre of Valon - part three

The first three images show the basecoated miniature, a simple matt black spray can (bought for £1.00 at the local Poundland) and touched up with Chaos Black.


Photos Four, Five and Six - show the flesh areas painted. I used a base of Snakebite Leather, some Blood Red and Skull White. Once dry I washed the areas with Sepia, Mud, Black and Purple. The eyes are painted in with a toned-down Skull White and a fine brush.

During the initial painting I finished the head and hands and completely forgot about the bare feet!


The face on this Marauder Miniature is a real treat to paint - just full of character. I cannot wait to start on the uniform.

Tony

Friday, 5 August 2011

An Ogre of Valon - part two

The sculpting and basing are now complete. On the base I have added sieved sand and a second plinth beneath the wooden wheel which was bought from a charity shop for a few pence. It needed some 'cleaning up' but now that it is fixed in place I am pleased with the result.

Photos One, Two and Three - Show the finished model.


Photos Four and Five - Close ups.


The model stands 44mm high (top of feather to base of feet).

In the next post I will try to get some paint down.

Tony

Thursday, 4 August 2011

An Ogre of Valon

Since starting this Blog there have been many landmarks that have come and gone without any recognition, no comment, no post. Earlier today I saw that Dampf's Modelling Page now has 250 followers and this small landmark just couldn't go unrecognised.

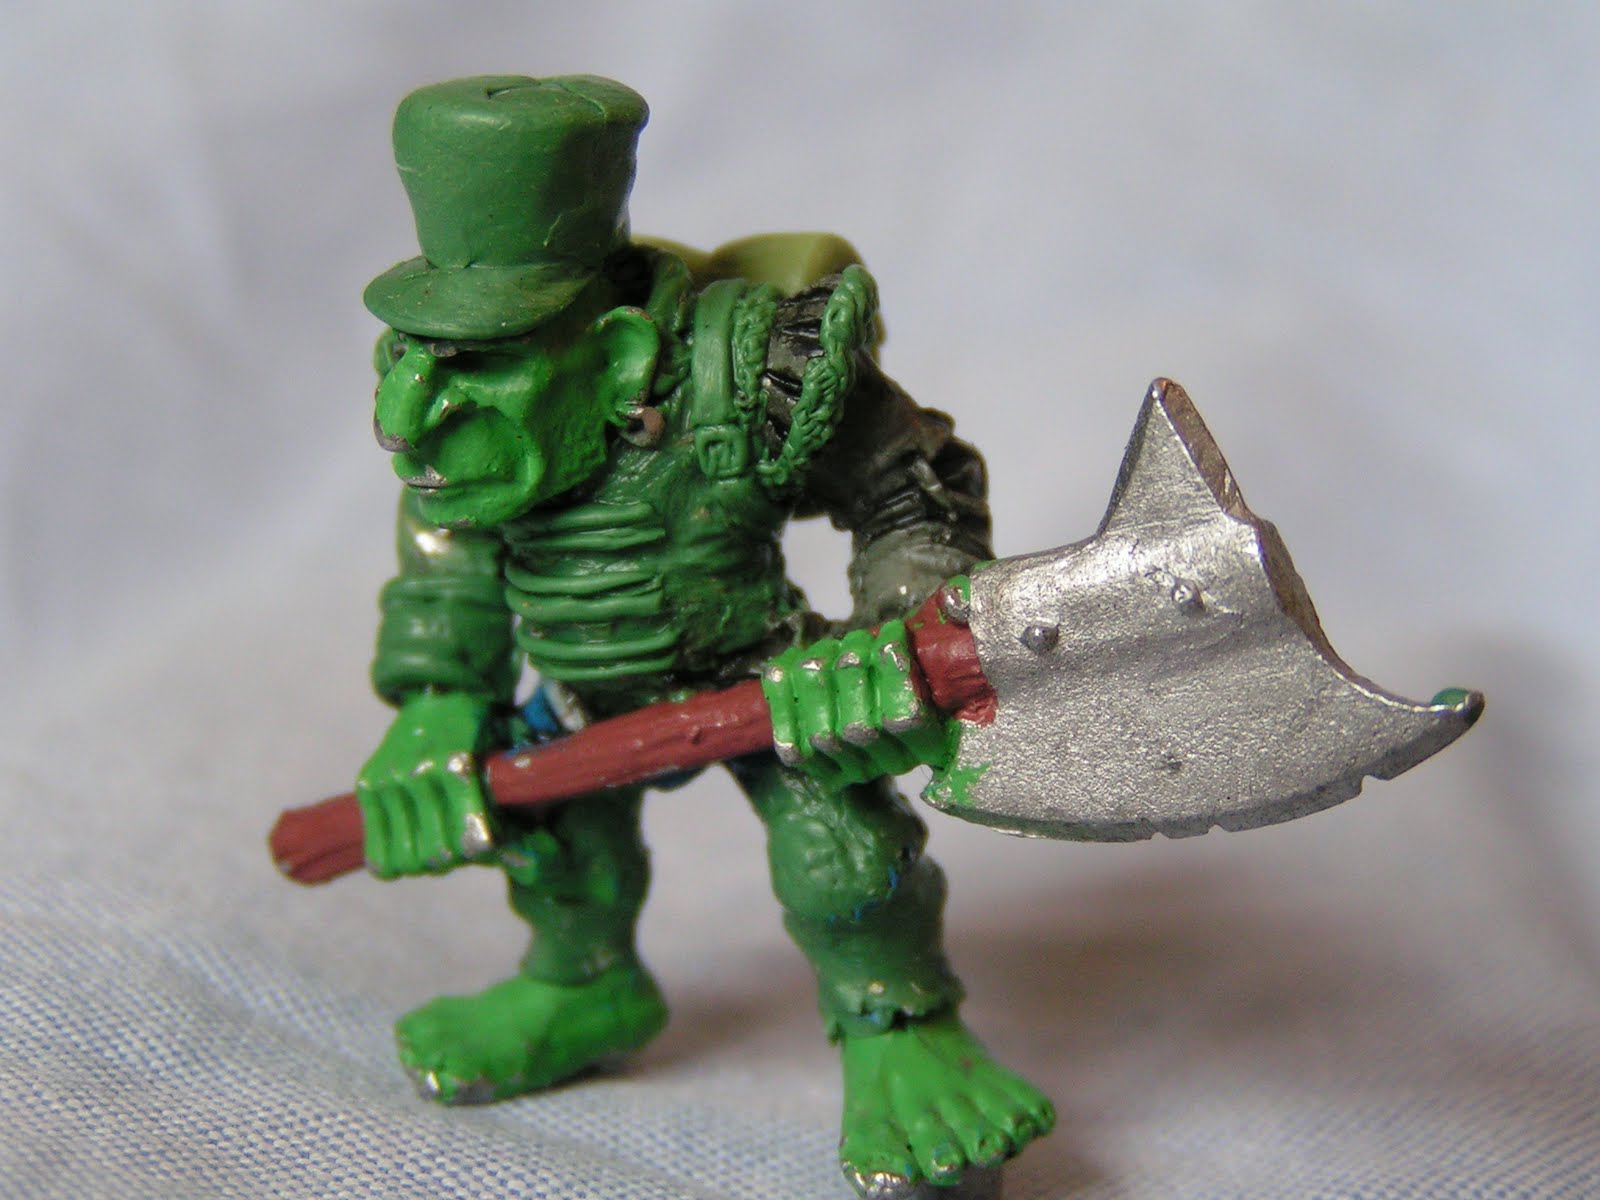
I have been planning for this occasion and had started work on this Ogre conversion to commemorate the 250th follower. The Ogre is a Marauder Miniatures Ogre MM41 and was bought from e-bay some time ago, for more details see this link (bottom right). I have not bothered to strip the metal casting, but instead have removed some of the puffed-sleeve detail and built up the uniform to fit in with my Flintloque collection.

Photo One - Shows the original Green-Stuff sculpting or conversion work.

Photo Two - The same stage taken from a different angle.

Photo Three - I thought about building up the bare feet into army boots, but decided that my sculpting skills were not quite up to it!

Photo Four - The miniature Ogre based on to a small wooden display disc; the groundwork being built up with small slate scraps and Milliput. The earthenware jug is a Knex joining piece carved into shape and sanded smooth.

From the offset, I had planned that this model would be a display piece rather than a gaming miniature. I have therefore spent a little longer than usual on building up the base and adding texture.

The model is supposed to depict an Orc Sergeant of the 'Buffs' serving on the Cataluchian Front sometime during the early Mordreadian Wars. He is armed not with a Flintloque, but with a vicious pole-arm axe, a favourite weapon of Orc Sergeants from this period. His uniform is showing some signs of wear which again was common following the ill-fated retreat from Kooruna.

Further posts will detail the final bits of sculpting and how I painted him. Thank you to ALL of my followers and just as importantly thank you for your comments - they are greatly appreciated.

Tony

My inspiration

For the last couple of months I have been writing short Masterclass articles for Craig at Barking Irons Online My plan is to build up a library of articles to be published each month, already there are three articles available; Tilting at Windmills, Cabbage Patch and Dwarf Lager.

In my search for inspiration I came across the Snapdragon site and was struck by the 'quirky' style of these resin models, later in my search through some early Miniature Wargames magazines I found some adverts for Snapdragon scenery. I think the style of these sculpts is just fantastic and my plan is to build some Flintloque inspired terrain pieces in a similar style - not copying, more an homage.

For now I promise to keep the Blog updated and notify regular followers of any updates. On a separate note August this year is planing to be a busy month for me and the whole family as on the 13th my Son, Gary marries Beckie, his sweetheart from school. Then on the 15th my Daughter moves to Bangkok, Thailand on a two year teaching contract. Please excuse the lack of updates, I am sure you will realise the reason/reasons.

Tony

Monday, 1 August 2011

Working with Plastic Card - part two

In part one, I showed the different steps in building this simple village pump and trough.

Photo One - Shows the well finished and fully based. For completeness the groundwork is built up with DAS modelling clay and the additional texture is various stones, sieved sand and fine sand applied over uPVA glue. I tend to use my own mix rather than a propriety brand and add it in steps; first the larger stones, then the sieved sand, finally the fine sand.

Photo Two - The well painted in a mix of Scorched Brown and Black.

Photo Three - The first highlight, a blend of Scorched Brown and Snakebite Leather, loosely drybrushed with a large brush.

Photo Four - I wanted to stay away from a Grey or Granite coloured well and went with a warmer, honeyed stone colour. The second highlight is Snakebite Leather again drybrushed.

Photo Five - The metalwork was painted in dark brown then highlighted in various metallics to give a bronze effect rather than cast metal. The water is painted, first black, then Midnight Blue, then Enchanted Blue to give some 'depth'. You will also see that I have highlighted some of the larger stones with black/white to give some grey stones.

Photos Six and Seven - Two images showing the finished and varnished piece - I used Galleria matt varnish and then added railway scatter material to the edges of the base. I have also glued three static grass clumps down with uPVA glue and gloss varnished the surface of the water.


Photo Eight - Yet another image of the finished well. This time with a converted Flintloque (28mm) figure to give an idea of scale.

Photos Nine and Ten - A different well/pump that I built some years ago. This time built from strips of Balsawood and mounted onto a much smaller gaming base. This well was inspired by a fantasy well shown in early White Dwarf magazines.


Having agreed to write a number of Masterclass modelling tutorials for the online magazine Barking Irons Online I have been building up a wide range of new Flintloque themed terrain pieces. This simple stone well was intended to be such a Masterclass, but I have since started work on a larger and more ornate model which should feature on BIO very soon. When I have more details I will post links.

Tony